Are you looking for a guide on how to use OBS Studio to start streaming or creating content? Our guide is fully packed.
What Is Open Broadcasting Software / OBS Studio?
OBS Studio (formerly known as OBS) is a free lightweight, high-performance real-time video and audio capturing software. This software allows users to stream to multiple providers, such as Twitch, Mixer, YouTube, and many more.
This powerful tool allows users to create an unlimited amount of scenes that consist of multiple sources such as Game Capture, Display Capture, Capture Cards, Images, Texts, Webcams, Browsers, etc.
Moreover, OBS Studio utilizes easy to use configuration options that allow users to customize their properties quickly. It also comes with an Auto-Configuration Wizard for a quick setup.
Furthermore, it has a great community that provides functional and customizable plugins and scripts tailored to your specific needs.
Lastly, OBS Studio has a low impact on system resources. I don’t think you will find another one that performs better.

Is OBS The Same As OBS Studio?
OBS Studio has had its code rewritten from the ground up to provide a better performing program than OBS classic. Henceforth, it should run better on your system compared to the older alternative.
Firstly, the significant difference includes that OBS Studio already comes with a lot of the popular plugins installed to get you started quickly. No more having to search the web for the exact plugins that you needed.
Secondly, the global state of sources is now always active, meaning they are continually running and can be used with all scenes independently. Before this, you had to specify which of your sources that you wanted to be global. The new software also has a bunch of filters that you can choose. The filters are an excellent addition for adding effects to your scene-to-scene transition.
Lastly, OBS Studio has a Studio Mode, which allows the user to have a preview and a live environment at the same time. This new feature lets you make changes in the background without affecting your live stream.
OBS Classic is no longer supported or maintained by its developers, and all significant development has moved to OBS Studio. Make sure you do the smart thing and switch to OBS Studio if you haven’t done so yet.
Getting Up And Running With OBS Studio
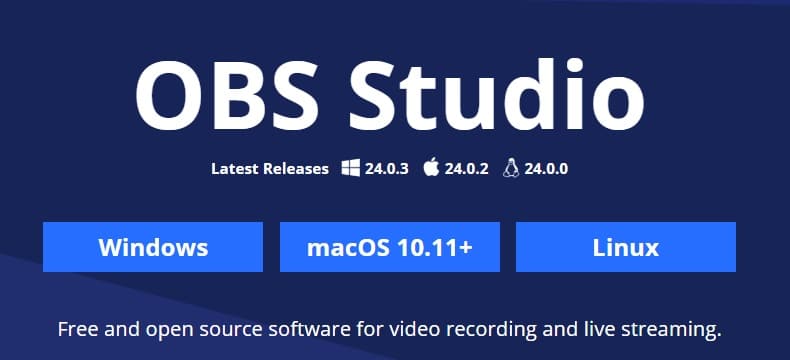
Now that we’ve gotten the nitty-gritty out of the way, you can head to the OBS website and download OBS Studio for your system.
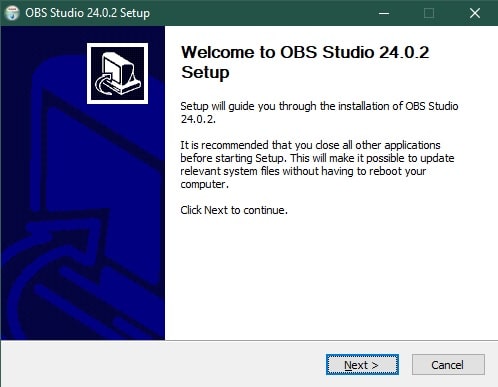
Once completed, just install the software.
Step 1 – Download OBS Studio
Step 2 – Install OBS Studio
Step 3 – Start OBS Studio
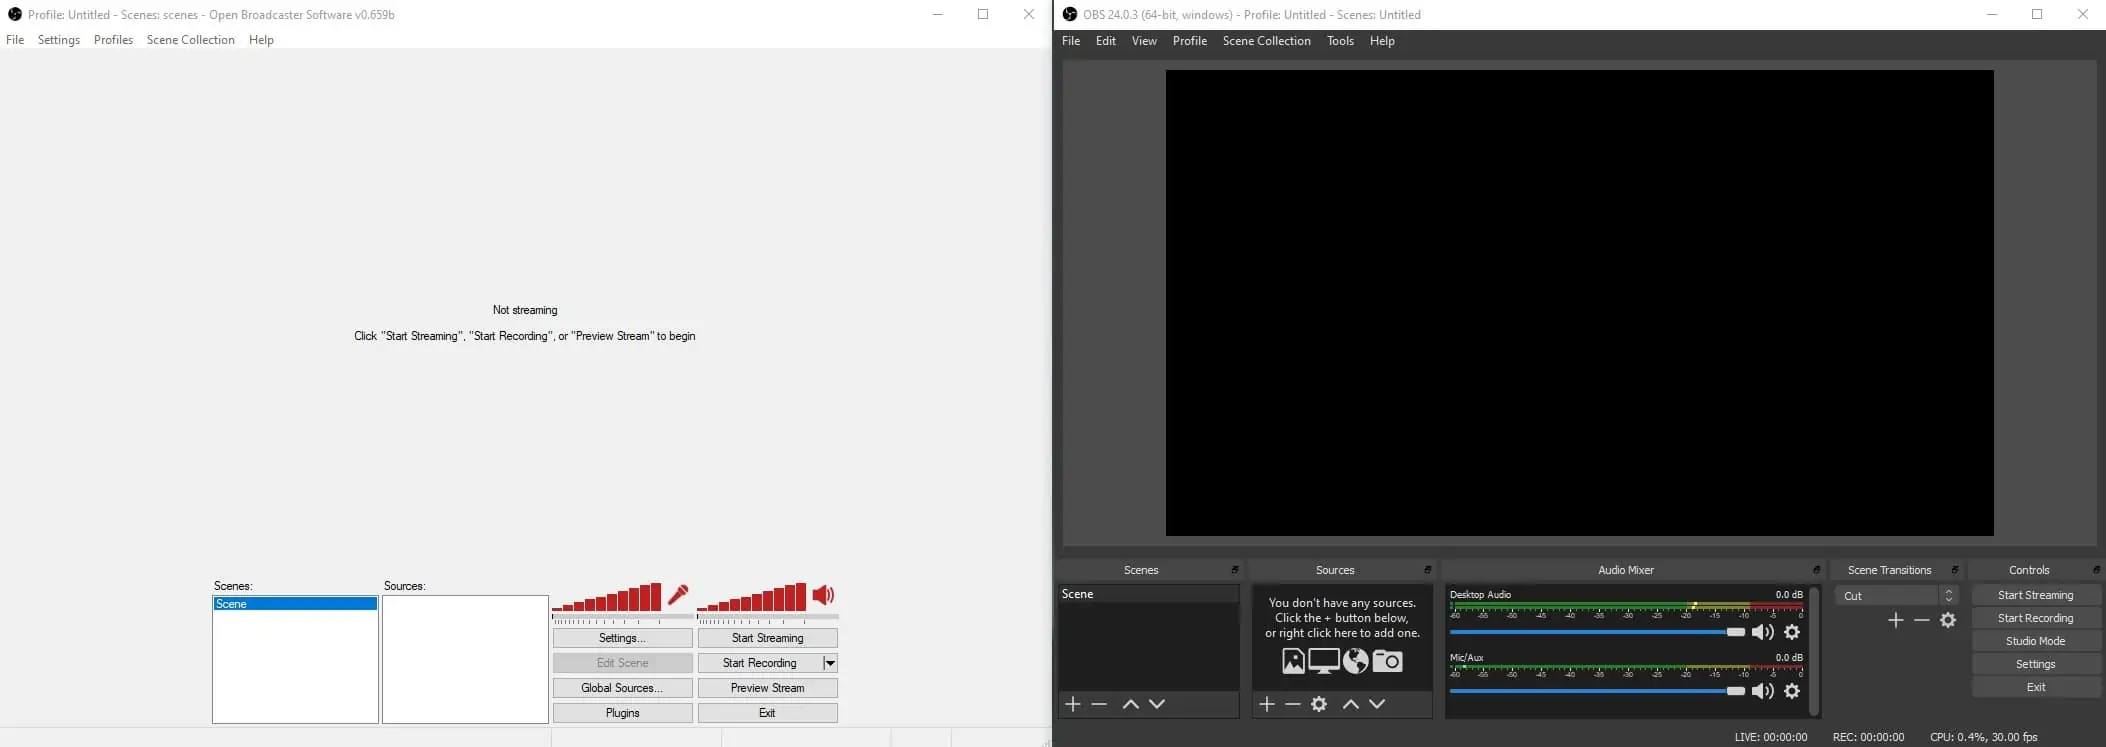
OBS Studio And The Basics
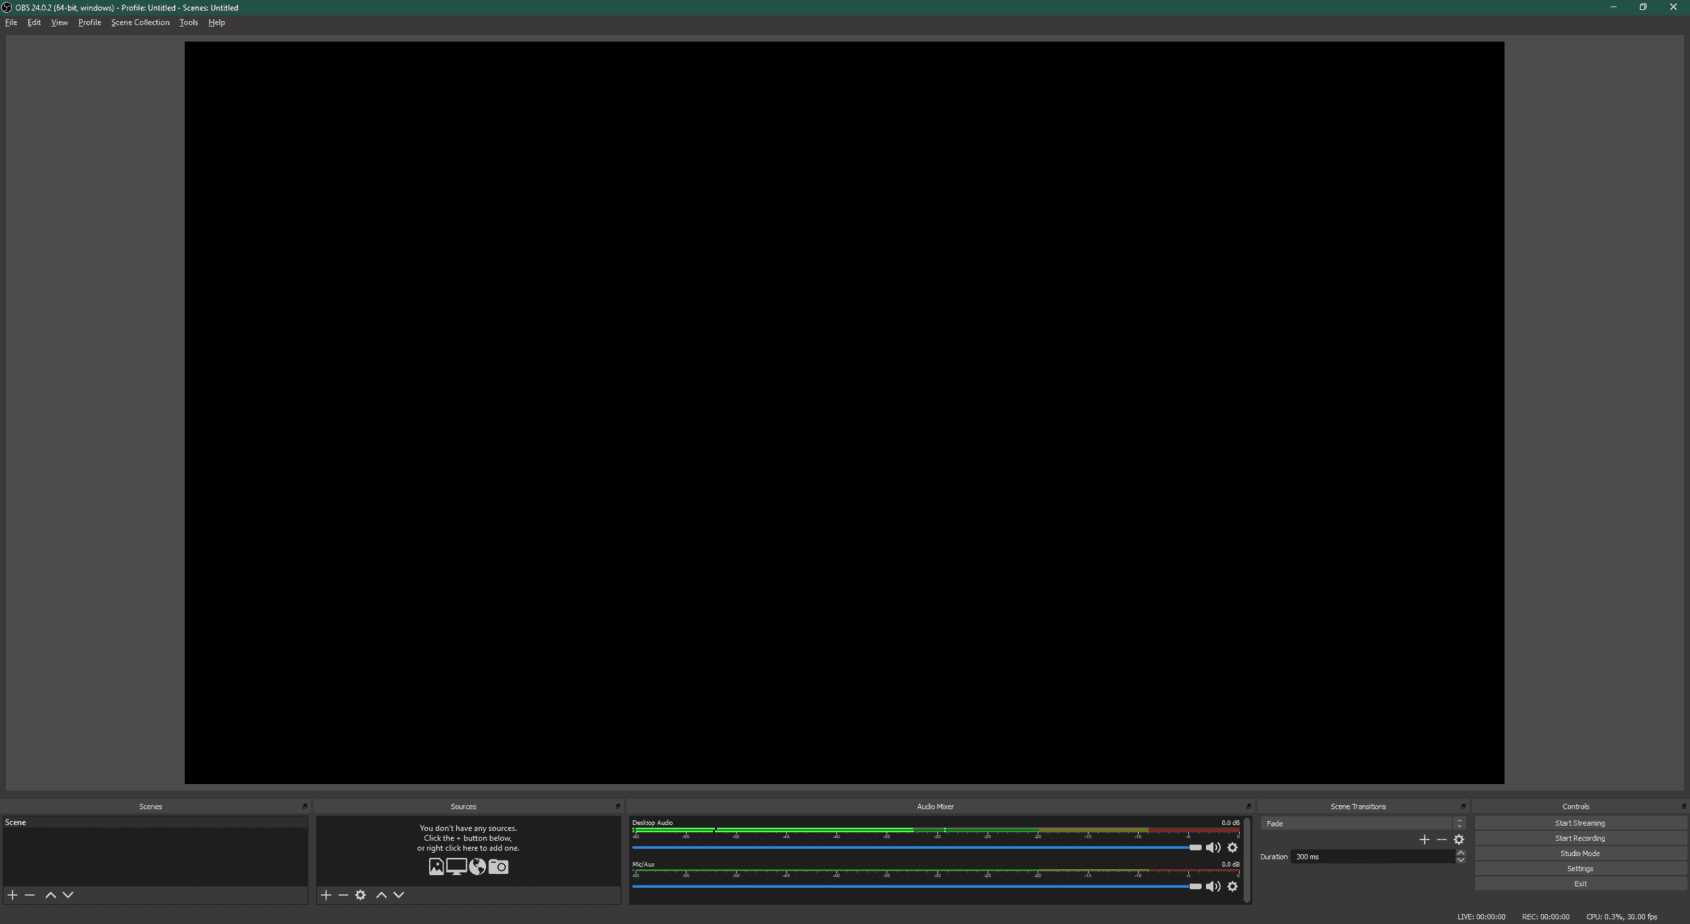
Now that you have OBS Studio installed and opened, we can take a look at what we will be working with inside this program.
Preview
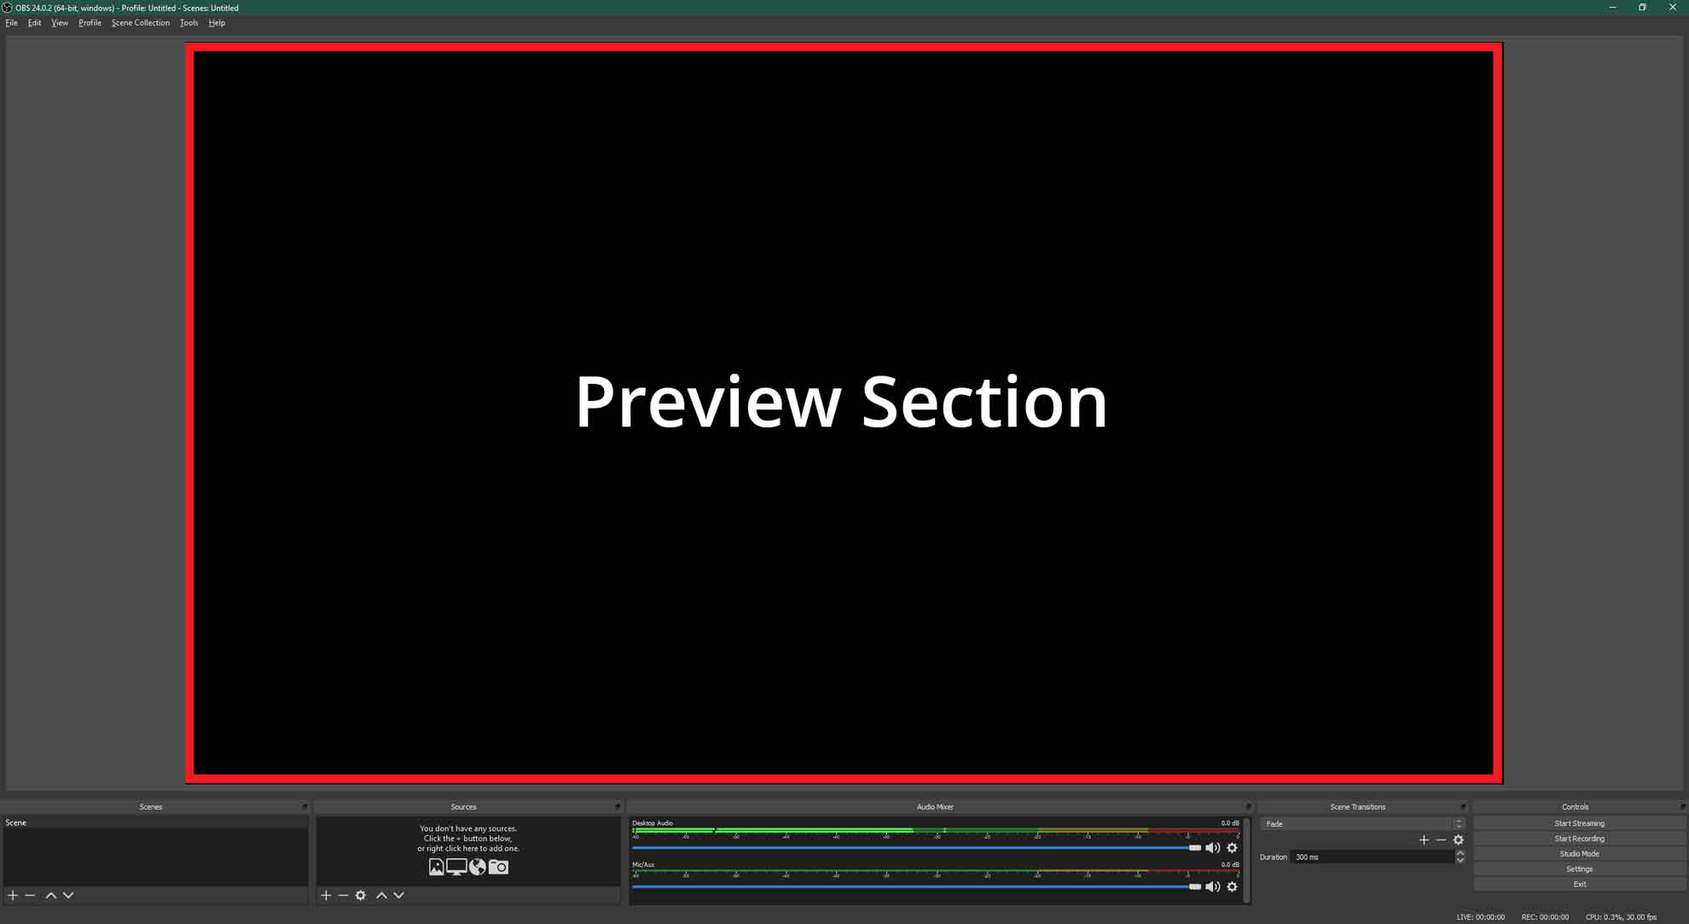
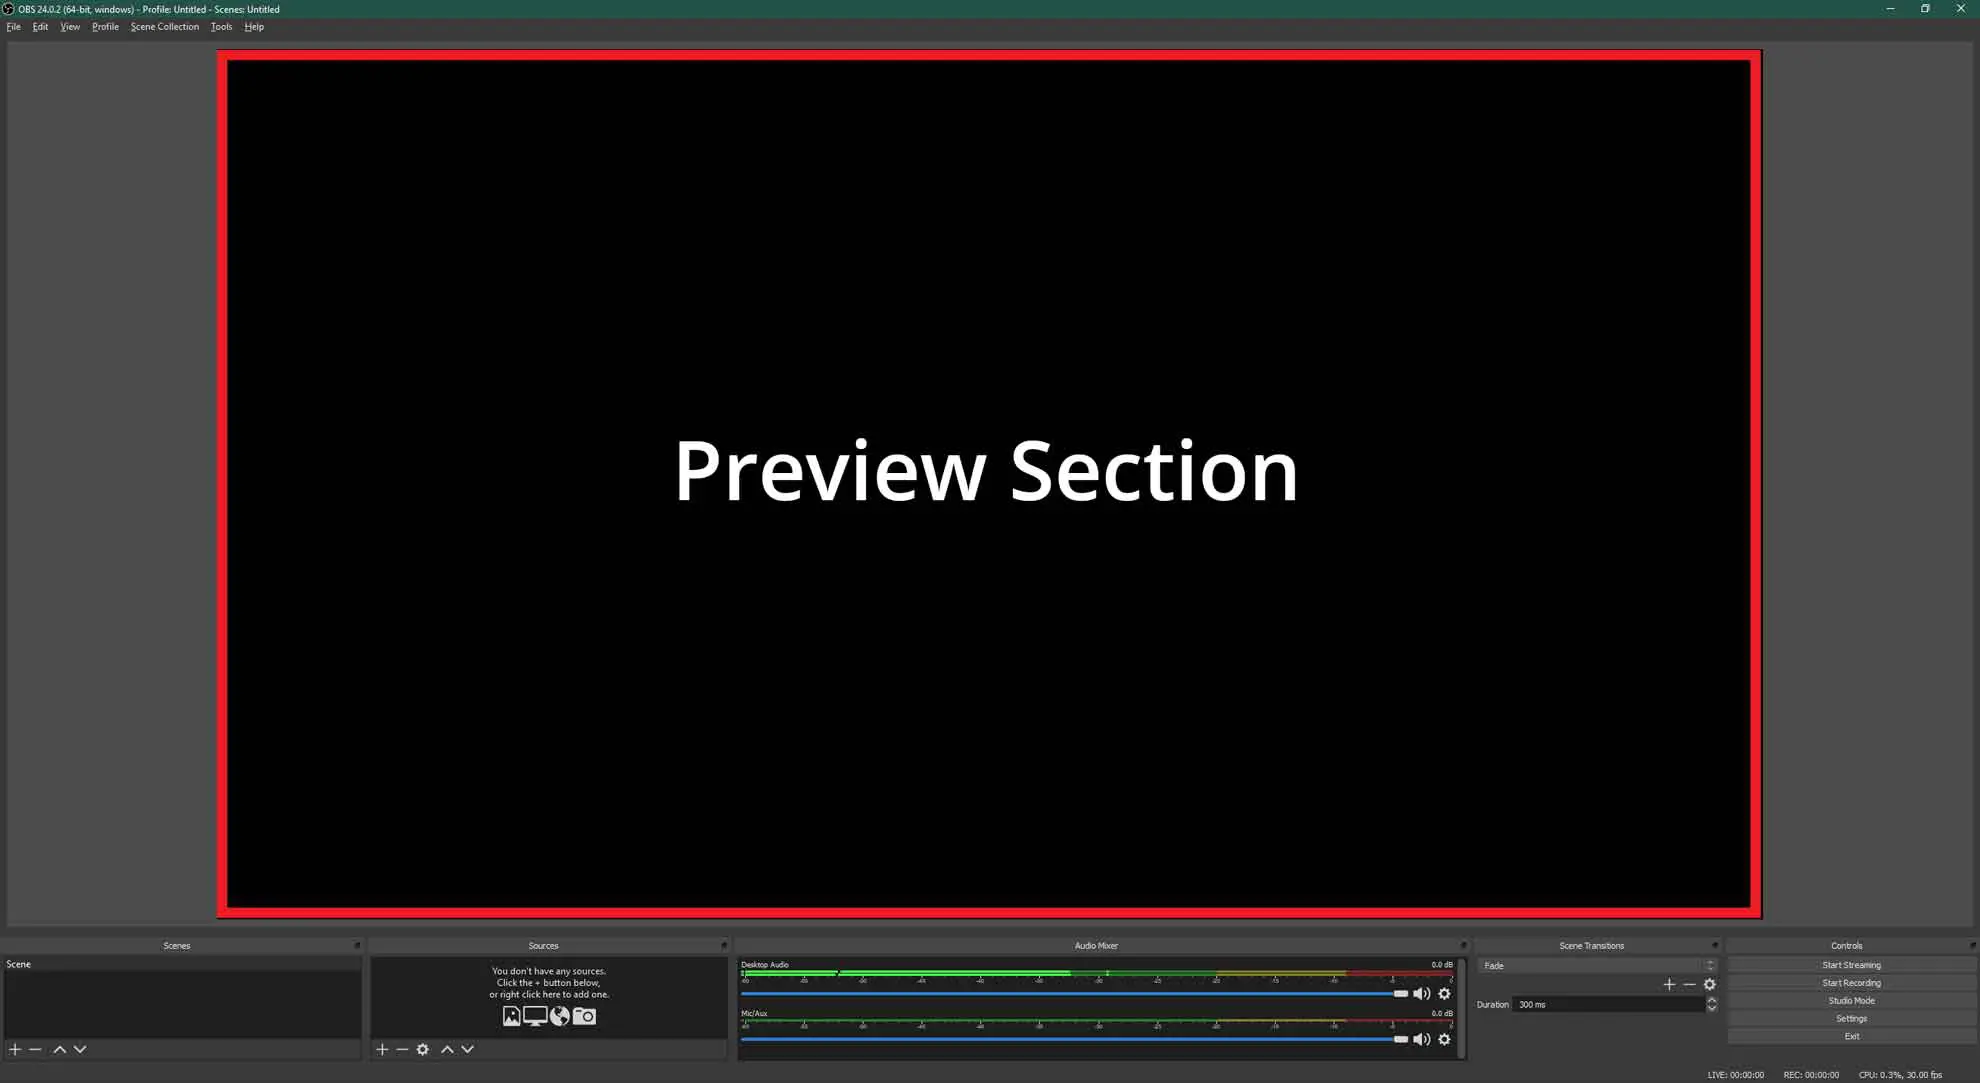 This section is called the preview section, and it is where you can see what is being broadcasted or recorded. This area allows you to customize what your viewers will see.
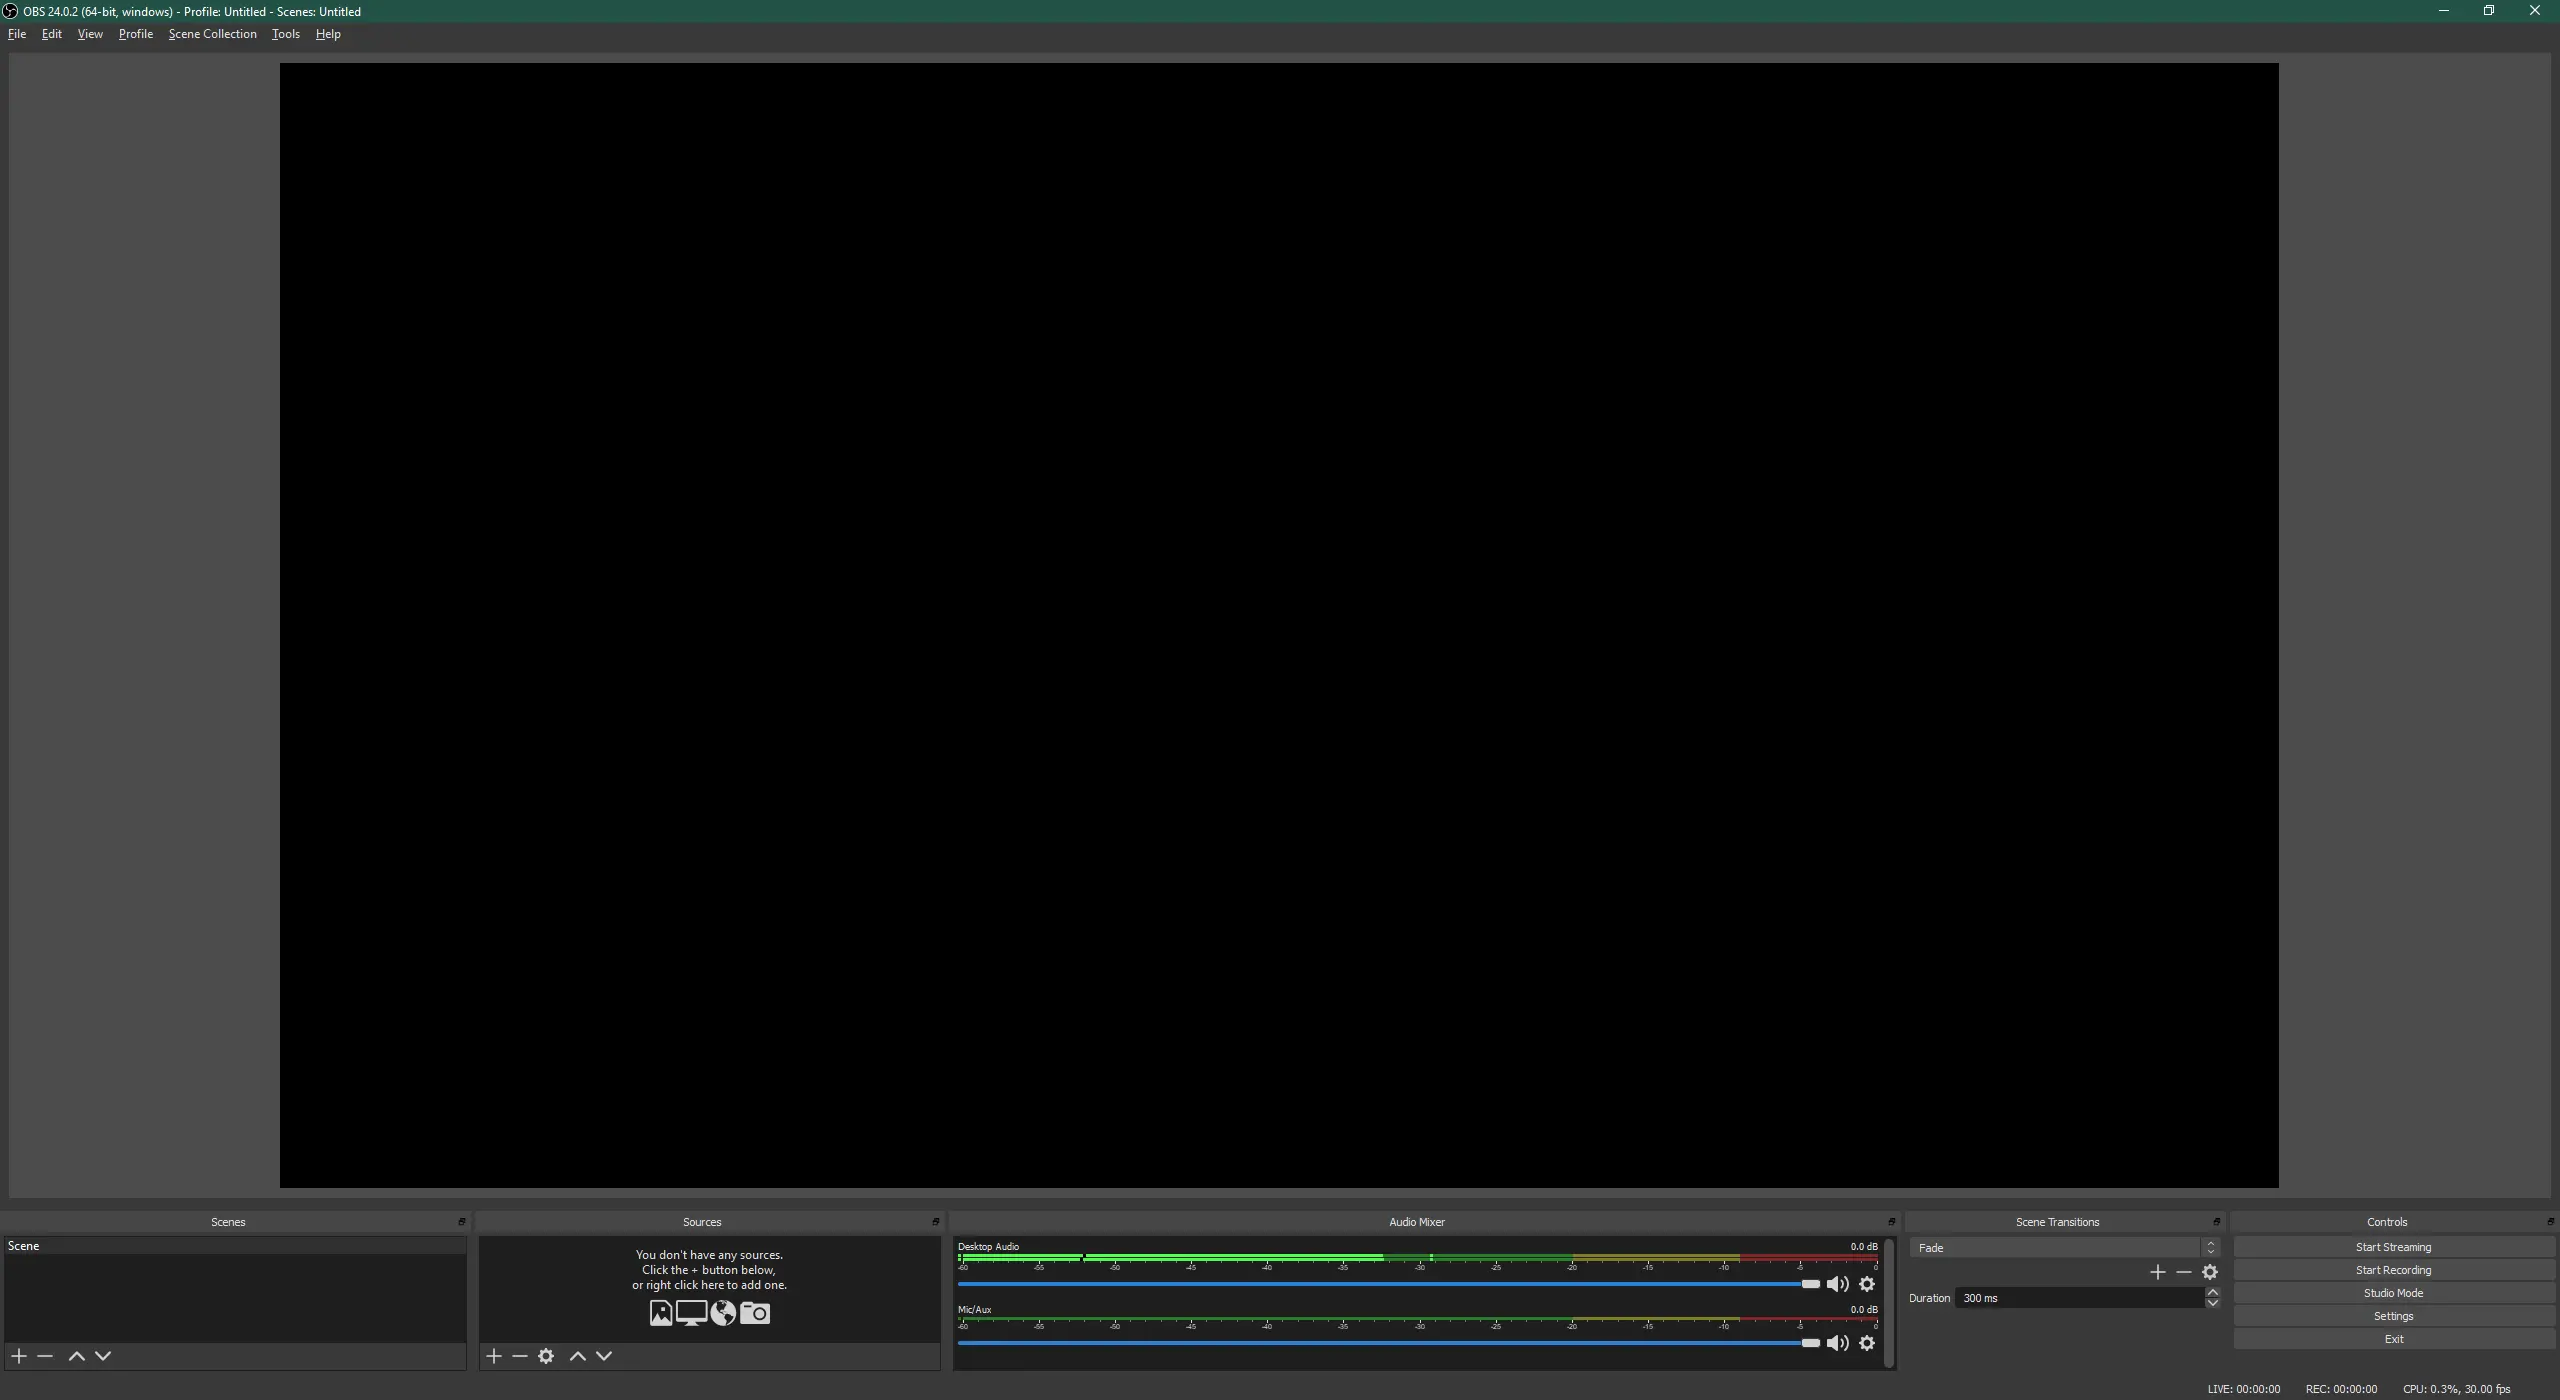
Scenes
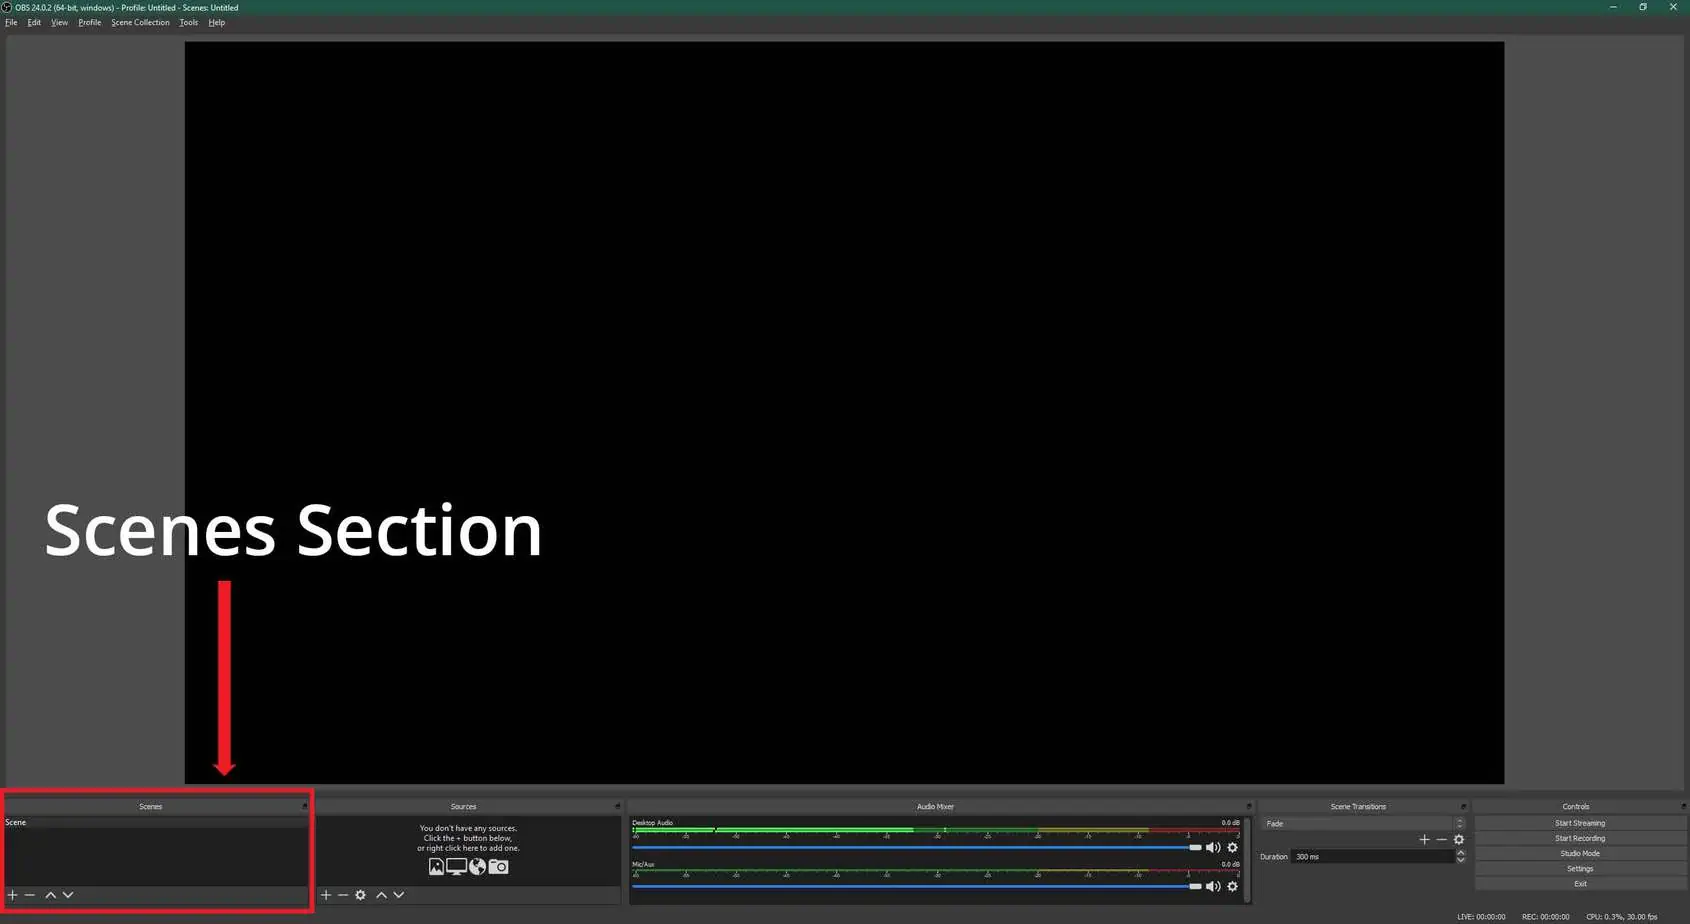
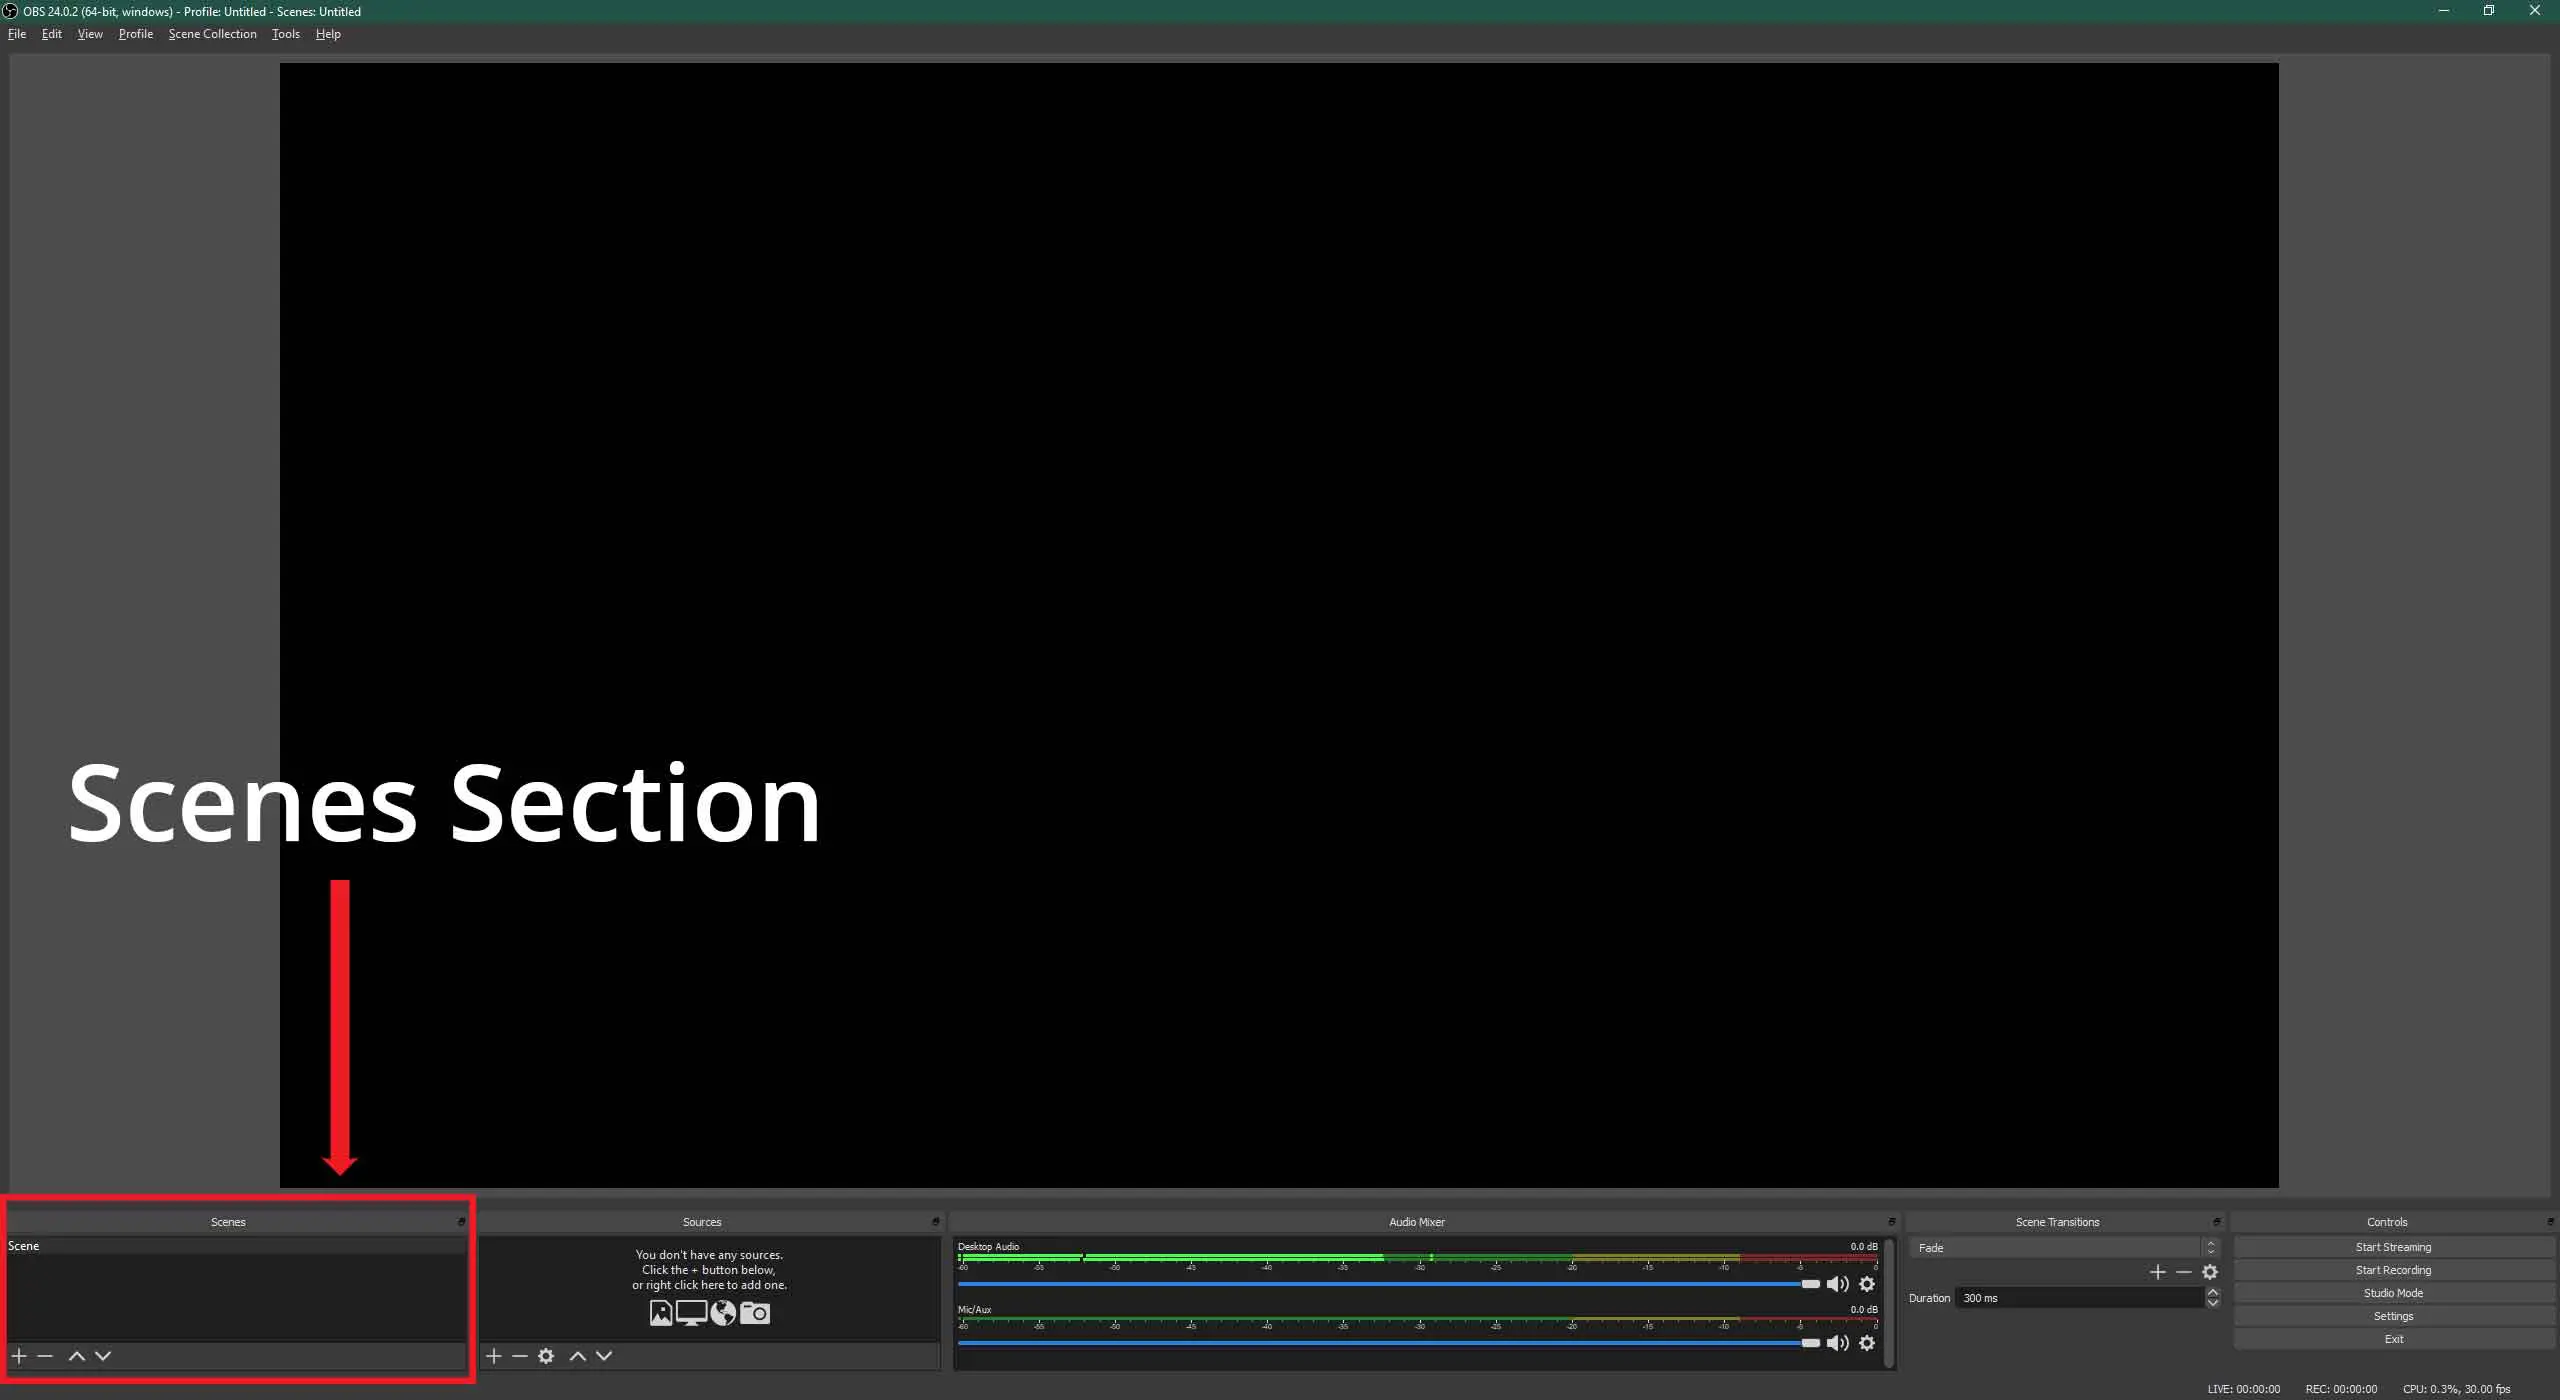 This section will allow you to manage your screen layouts. By changing which view is currently active, it will switch to that specific instance, and it will be what everyone sees.
Sources

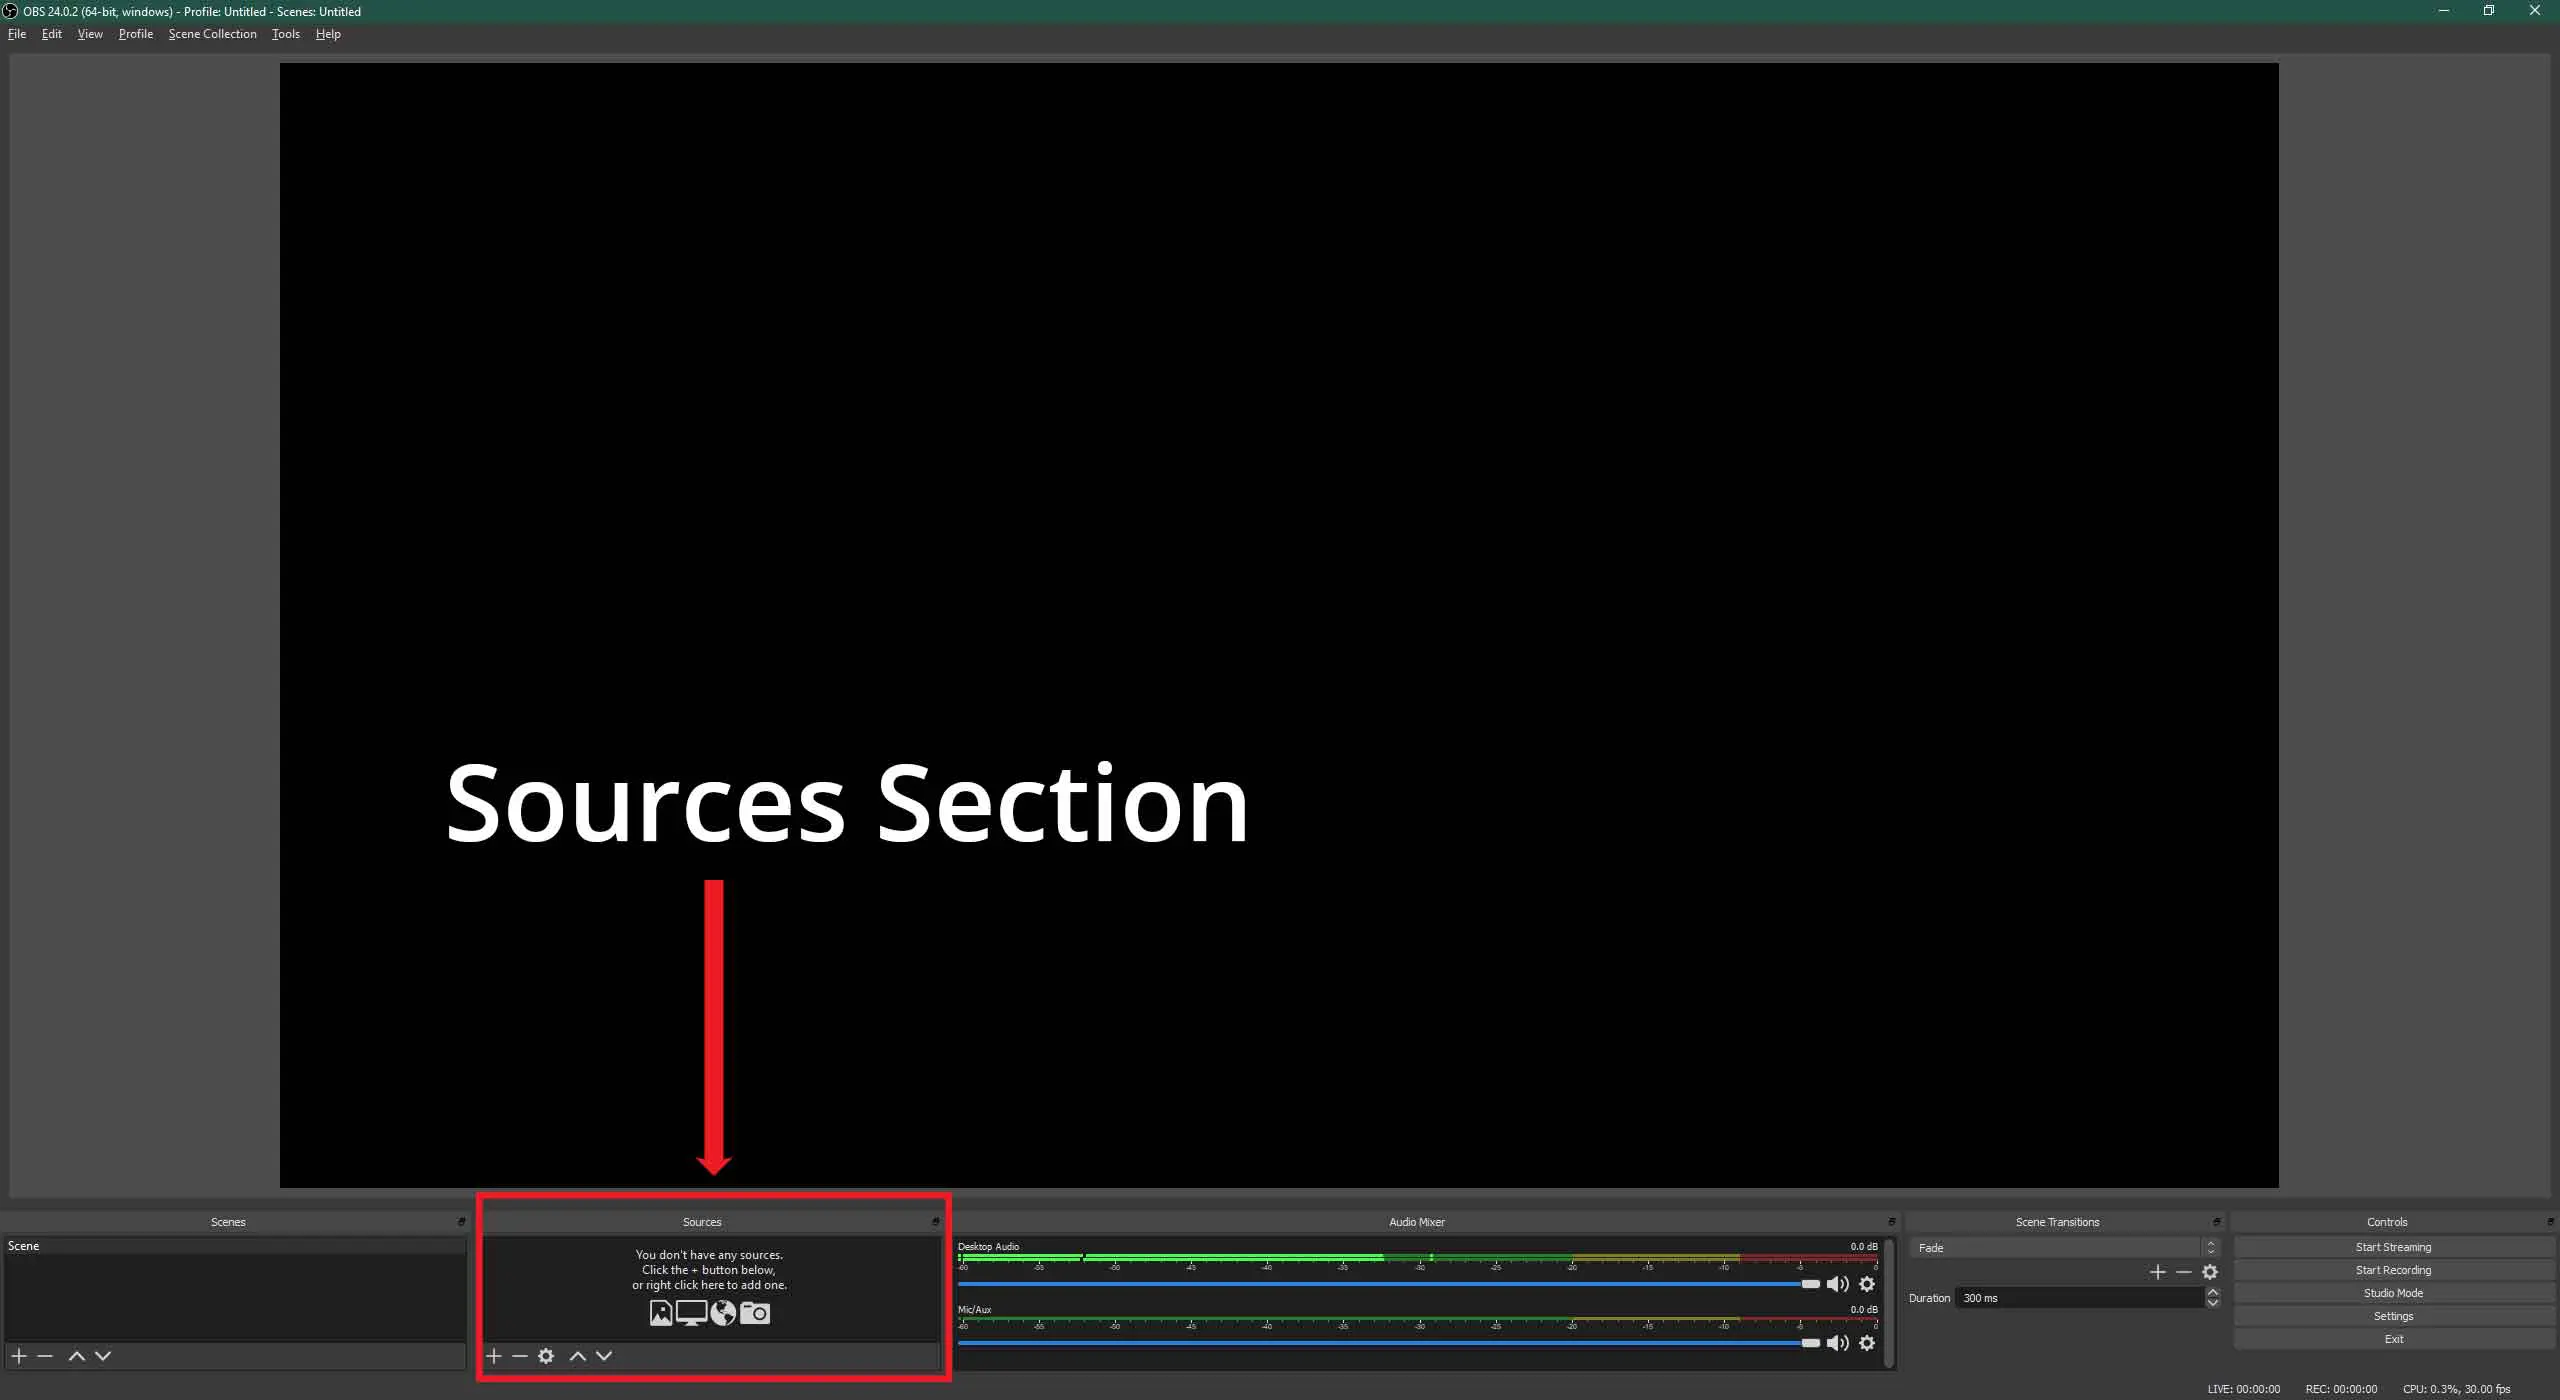 This section is where you will build or add to your layouts in the scenes you’ve created. This area allows you to add overlays, images, text, game capture, display capture, browser captures, media sources, etc. – pretty much anything you want the viewer to see.
Audio Mixer

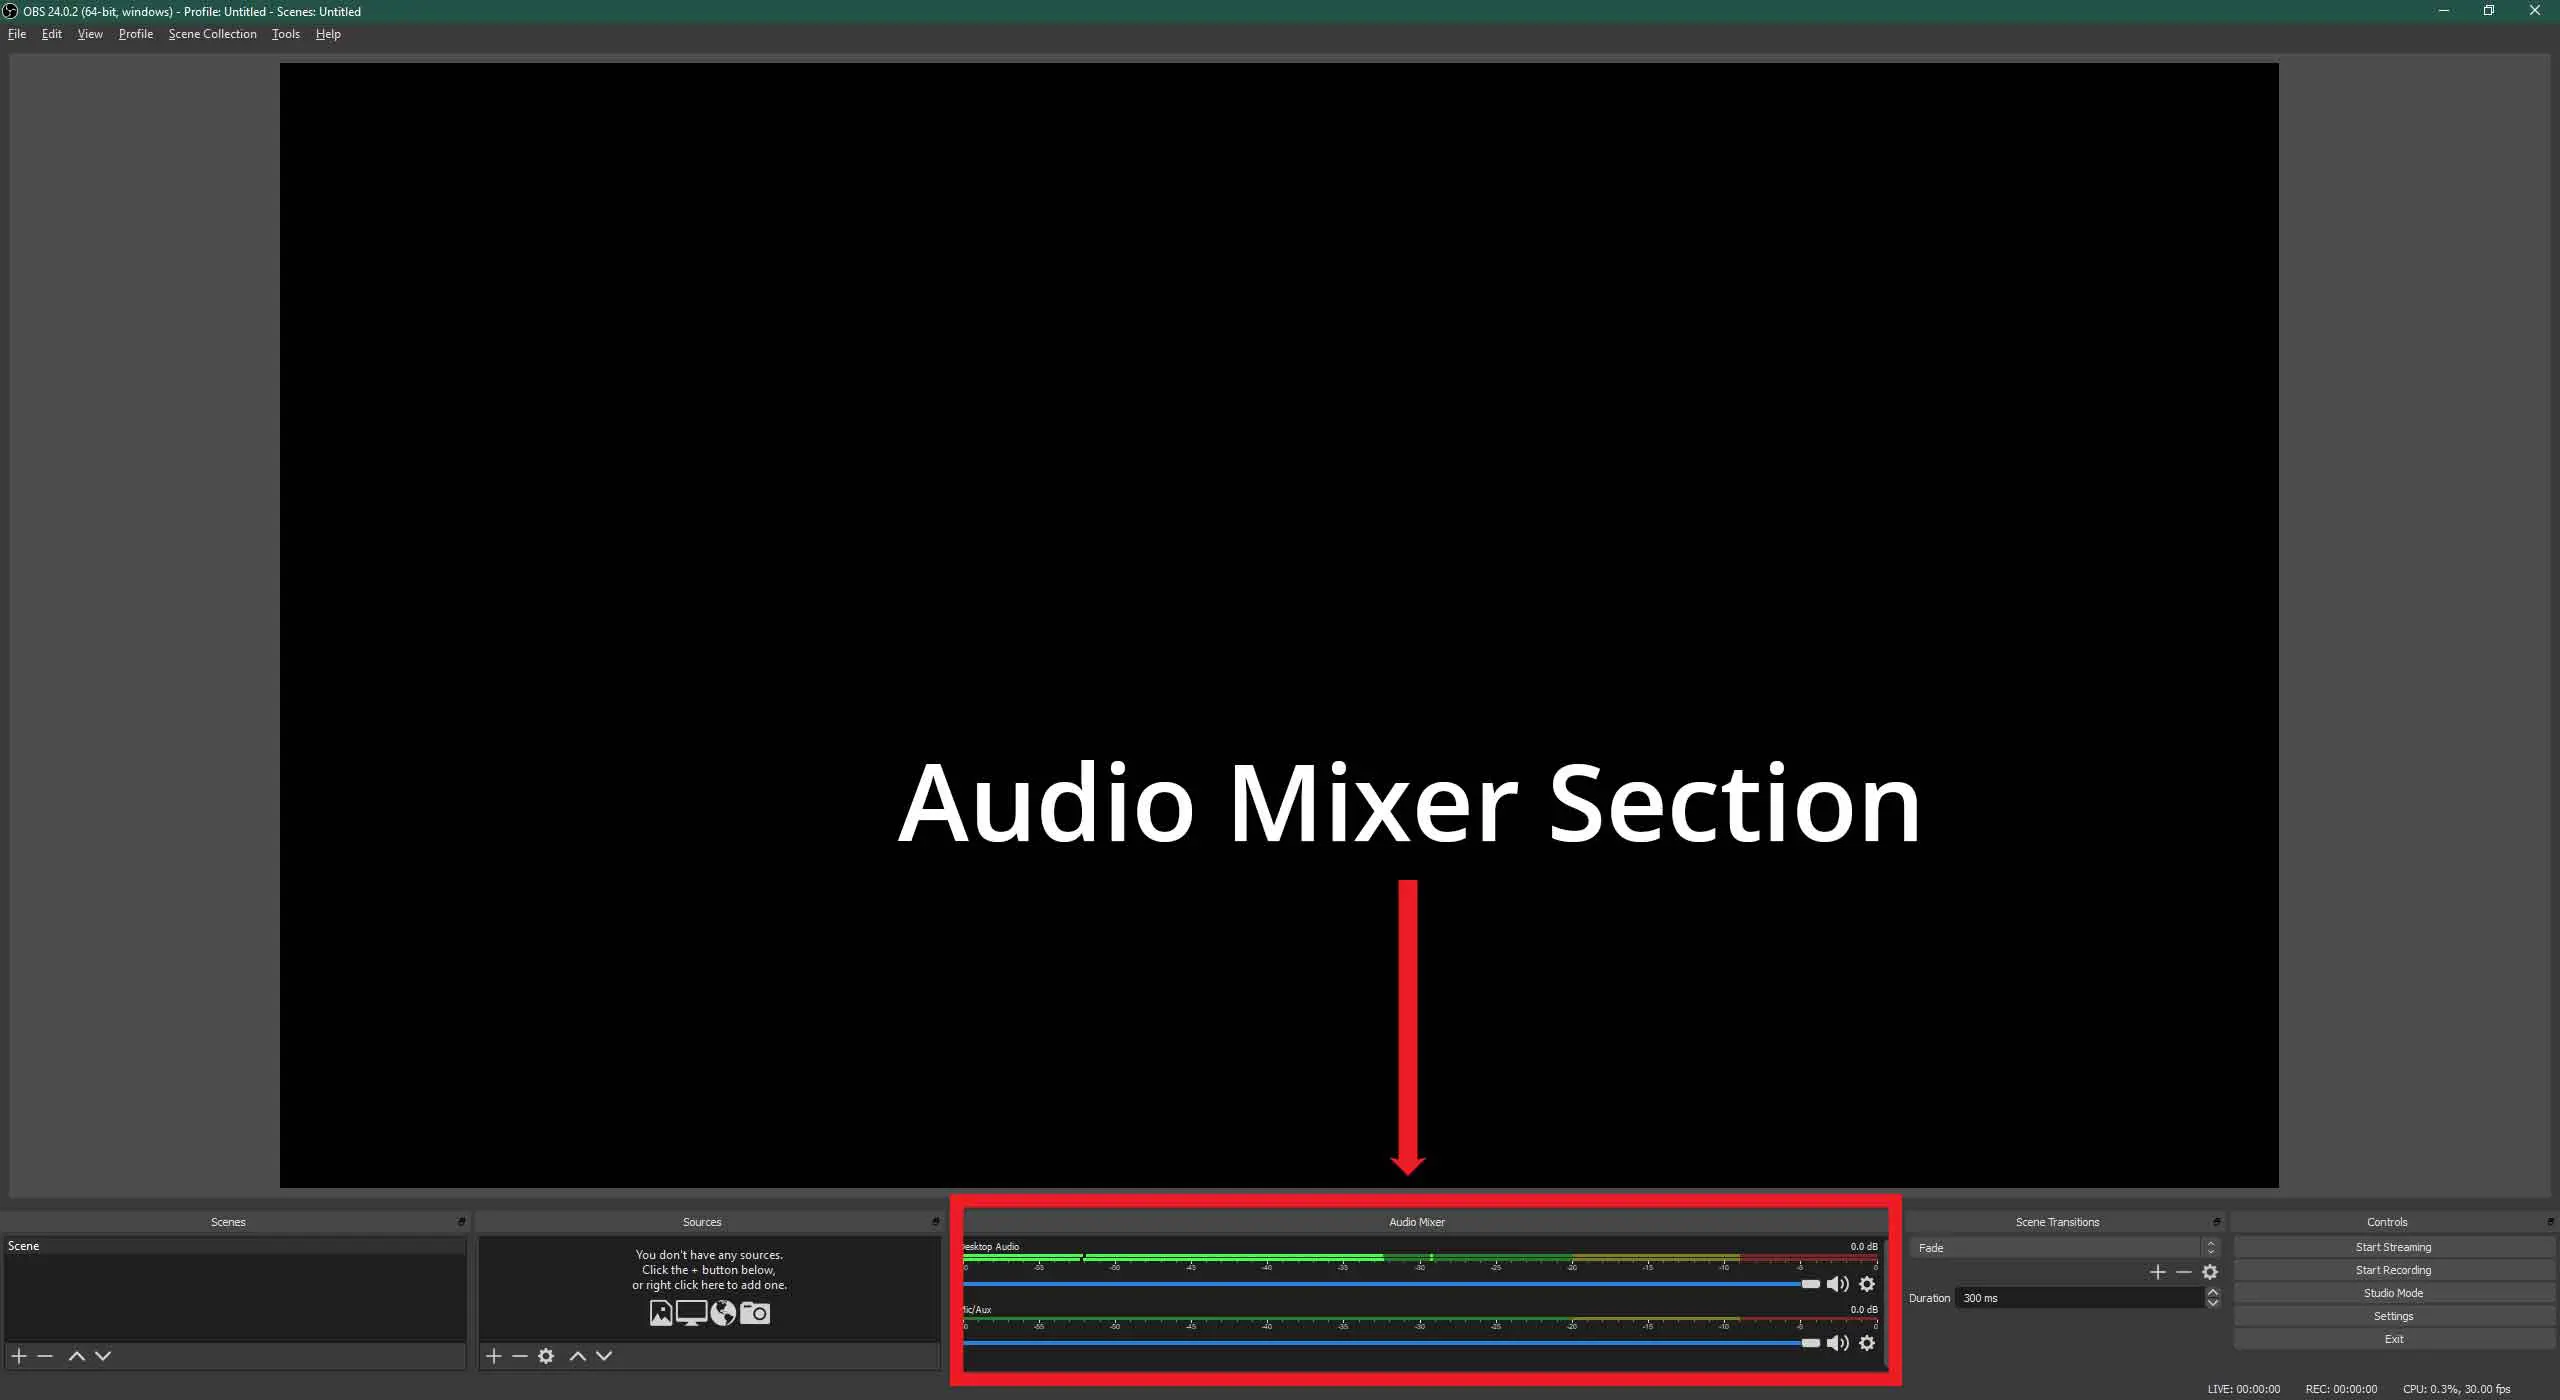 This section is where you can manage your audio coming in and going out. You can change the volume on your speakers/headphones and adjust your microphone. Make sure to go into the properties to select the proper outputs.
Controls
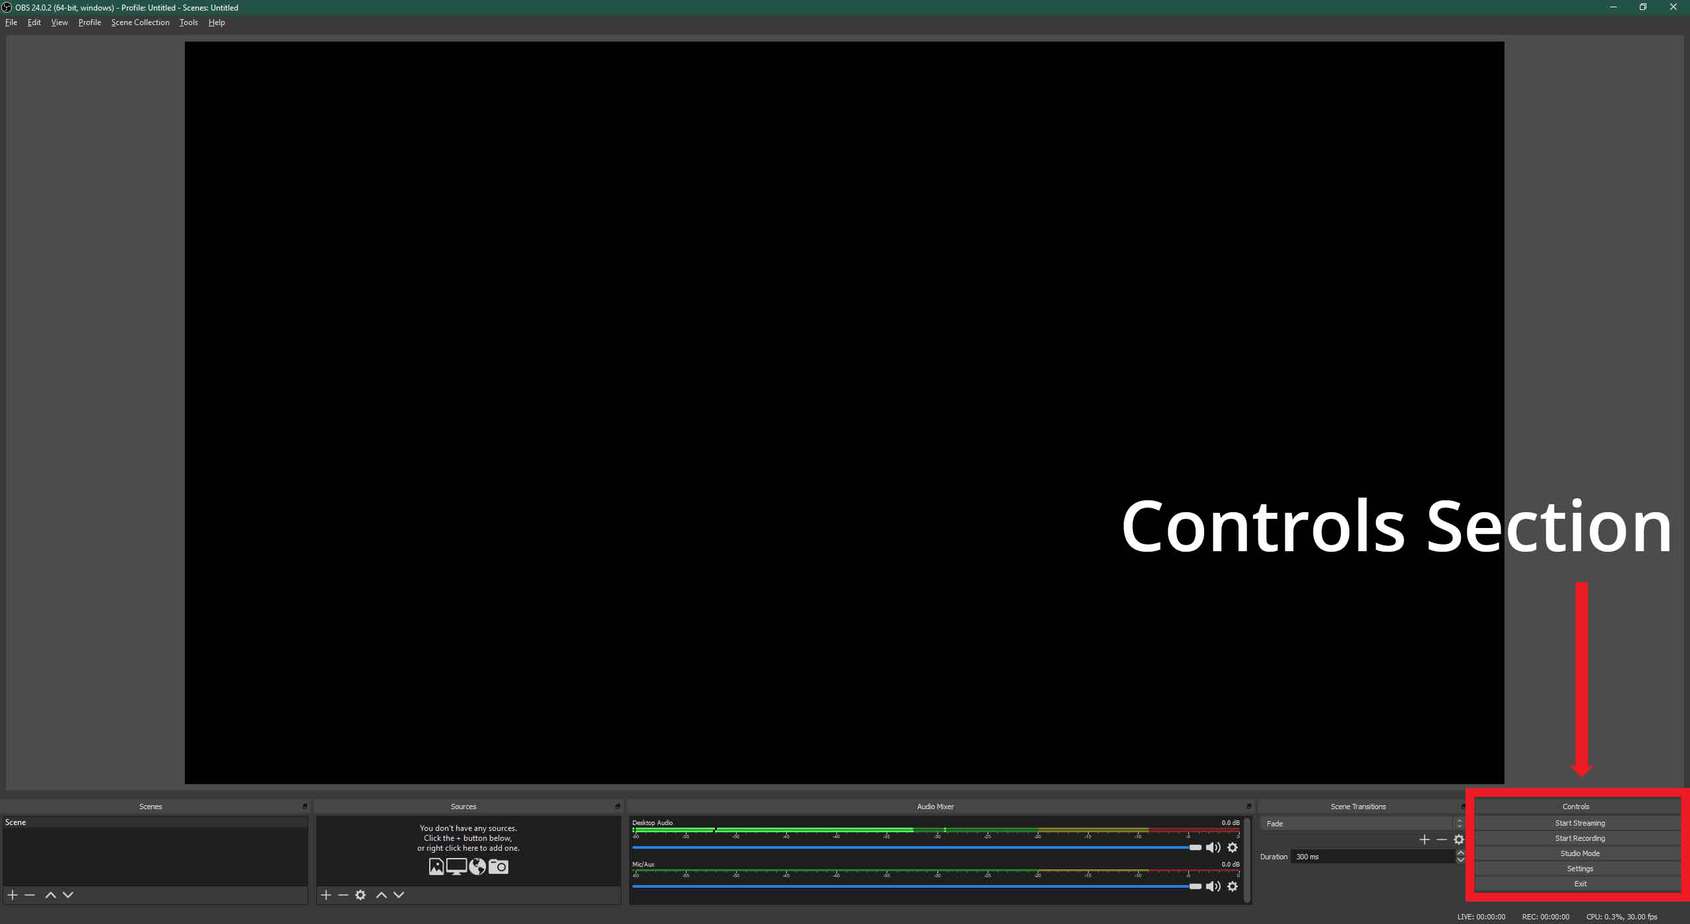
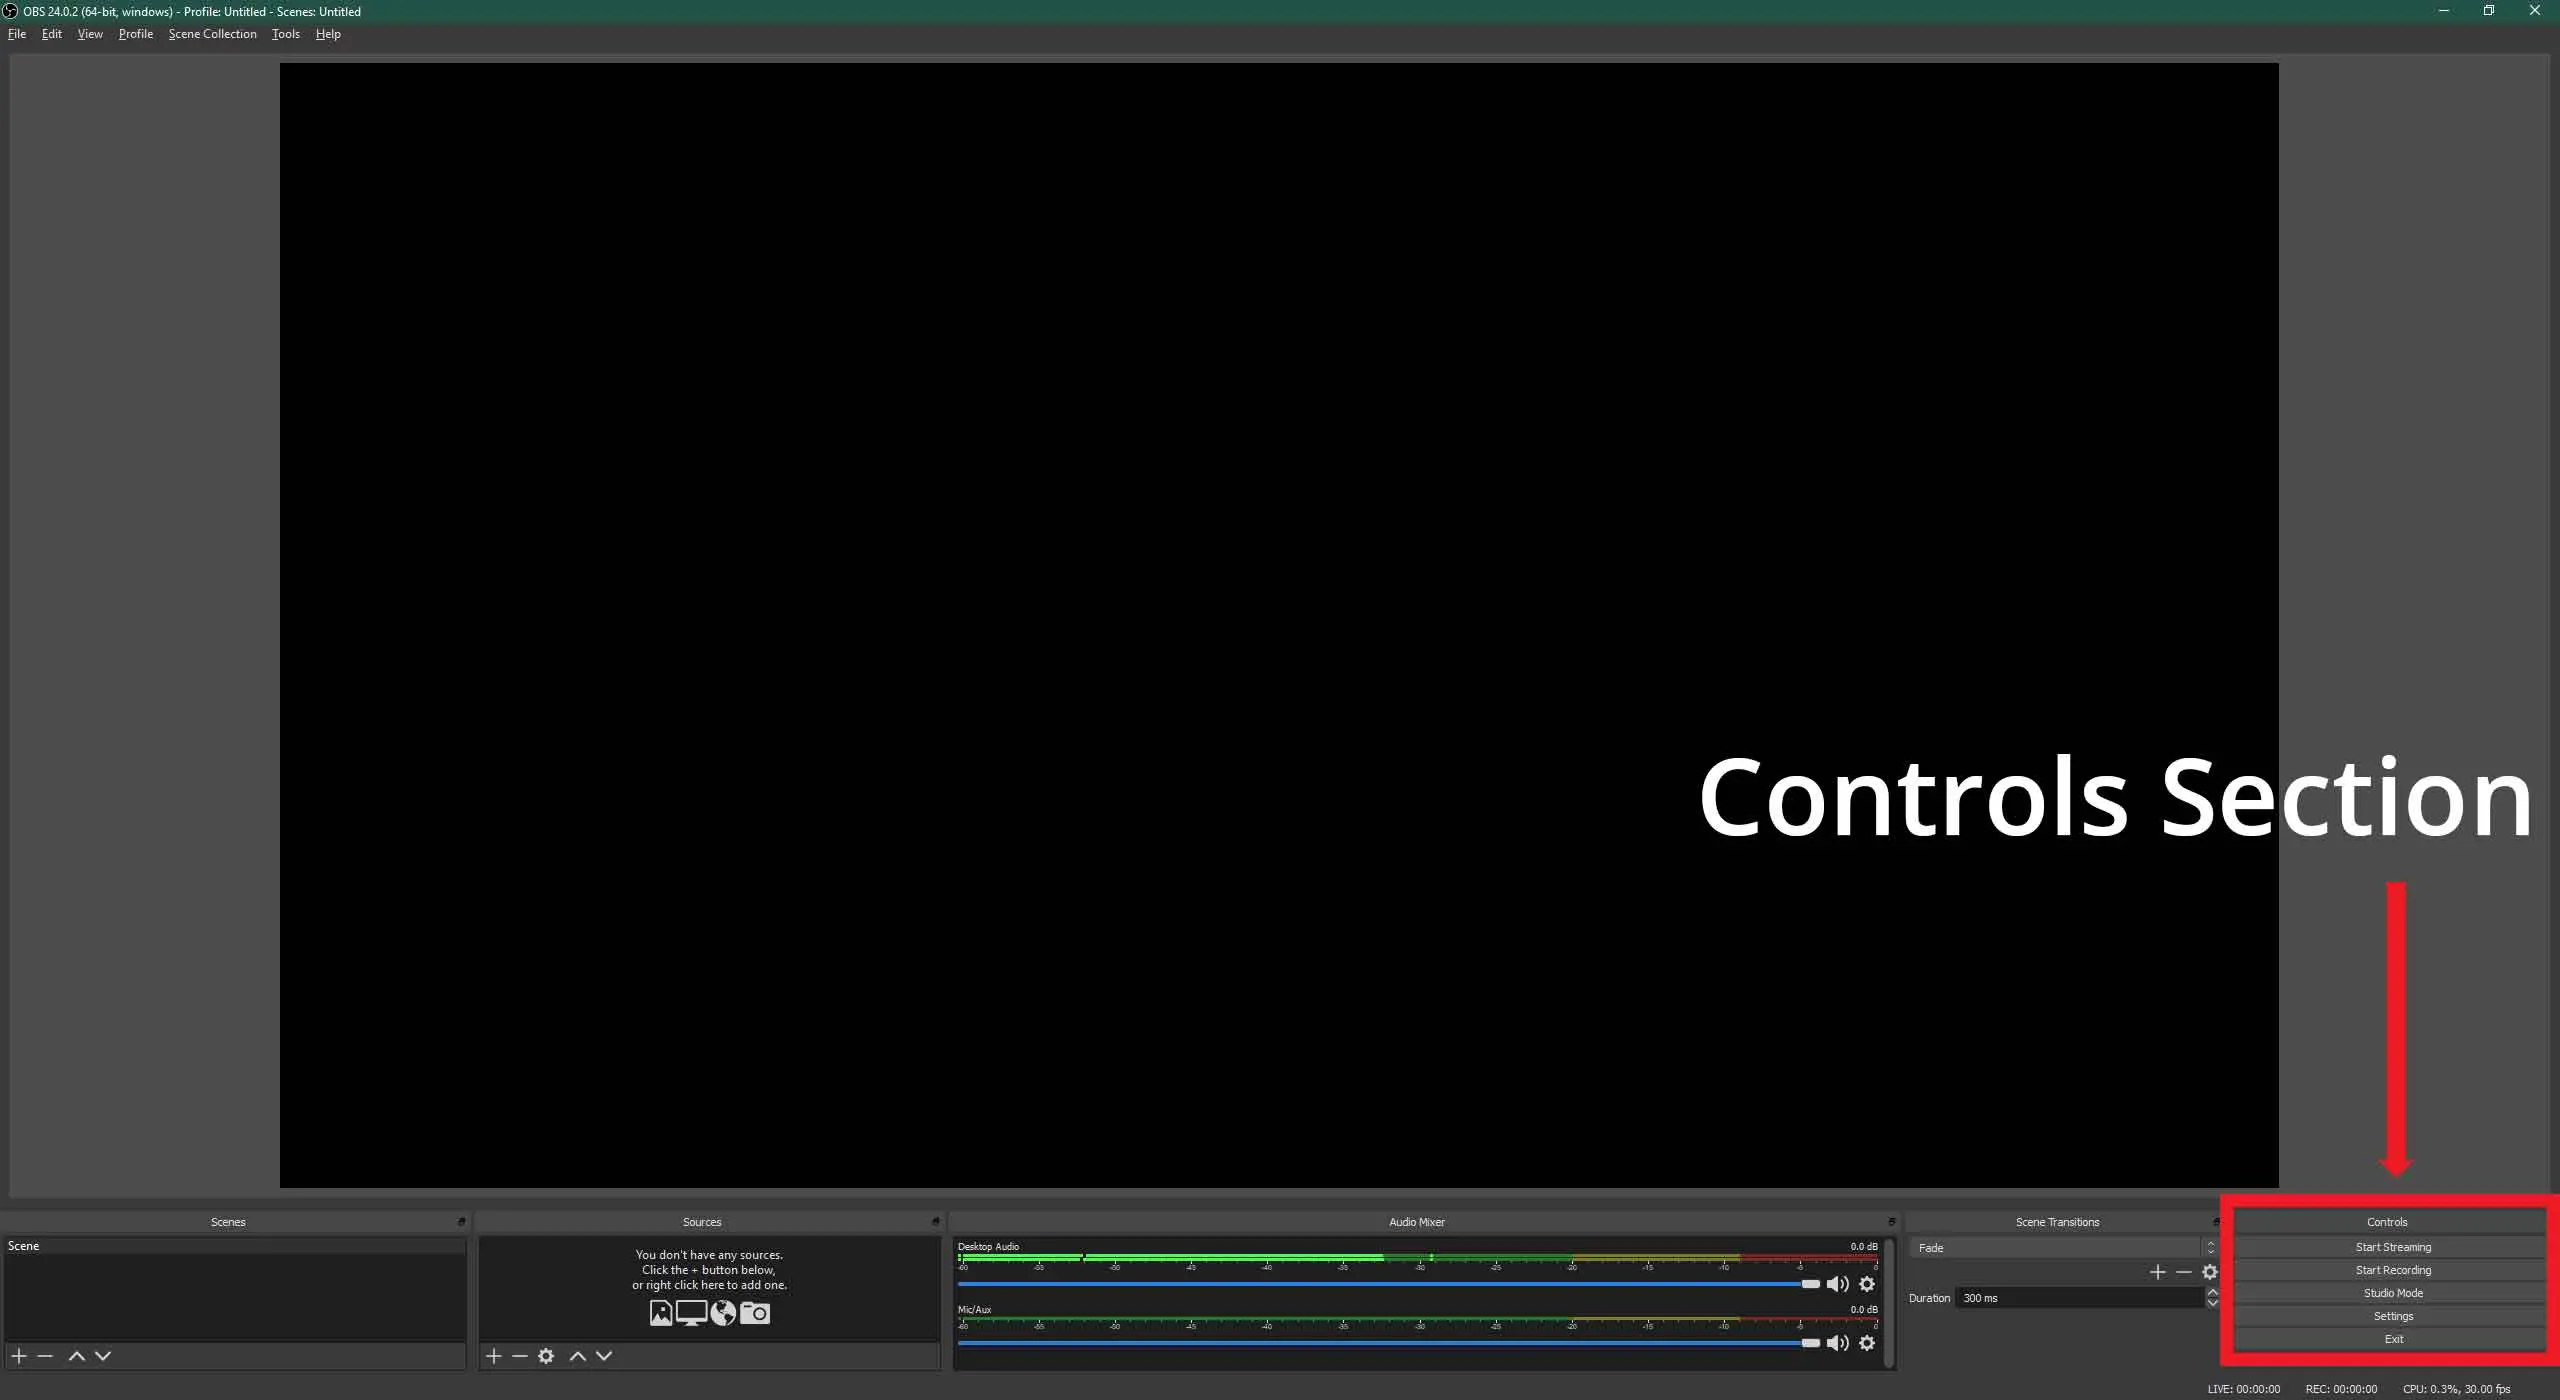 This section is possibly the most important one. It allows you to start streaming or to start recording your content for your viewers.
Setting Up Your Profile In OBS Studio
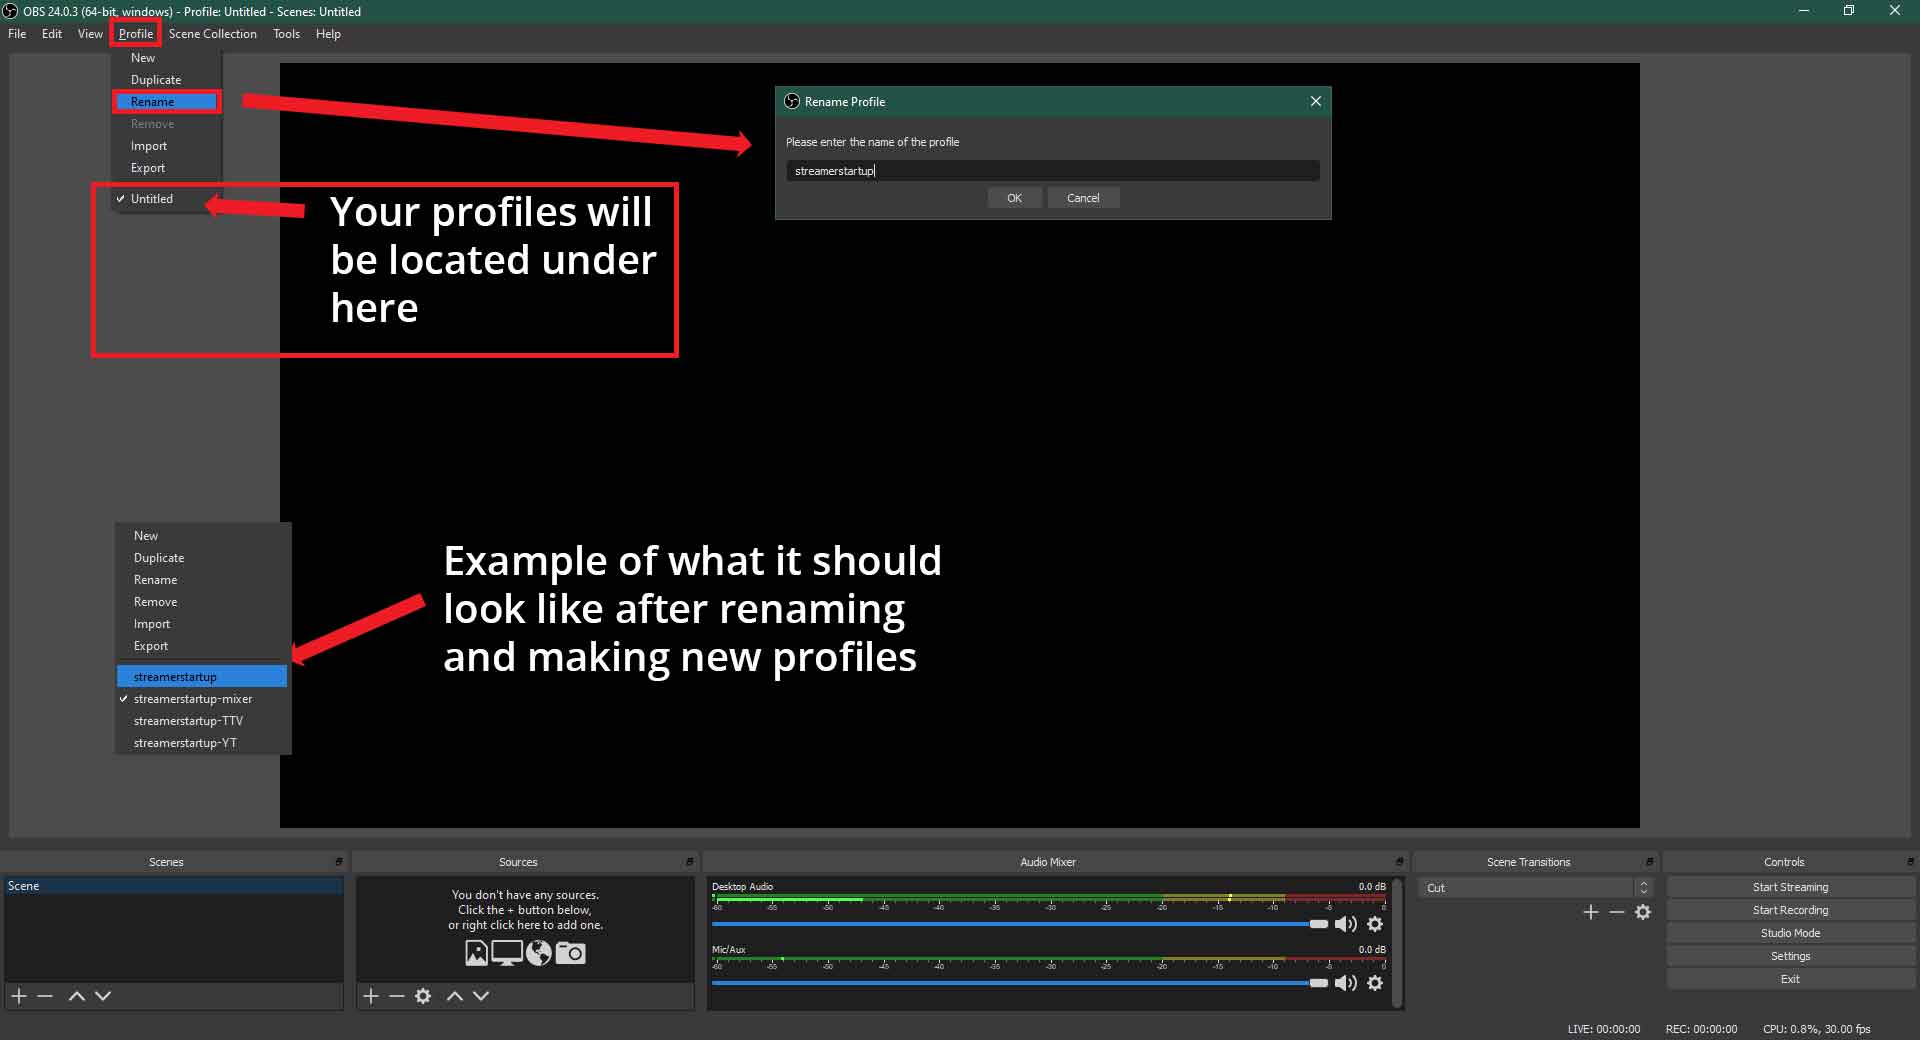
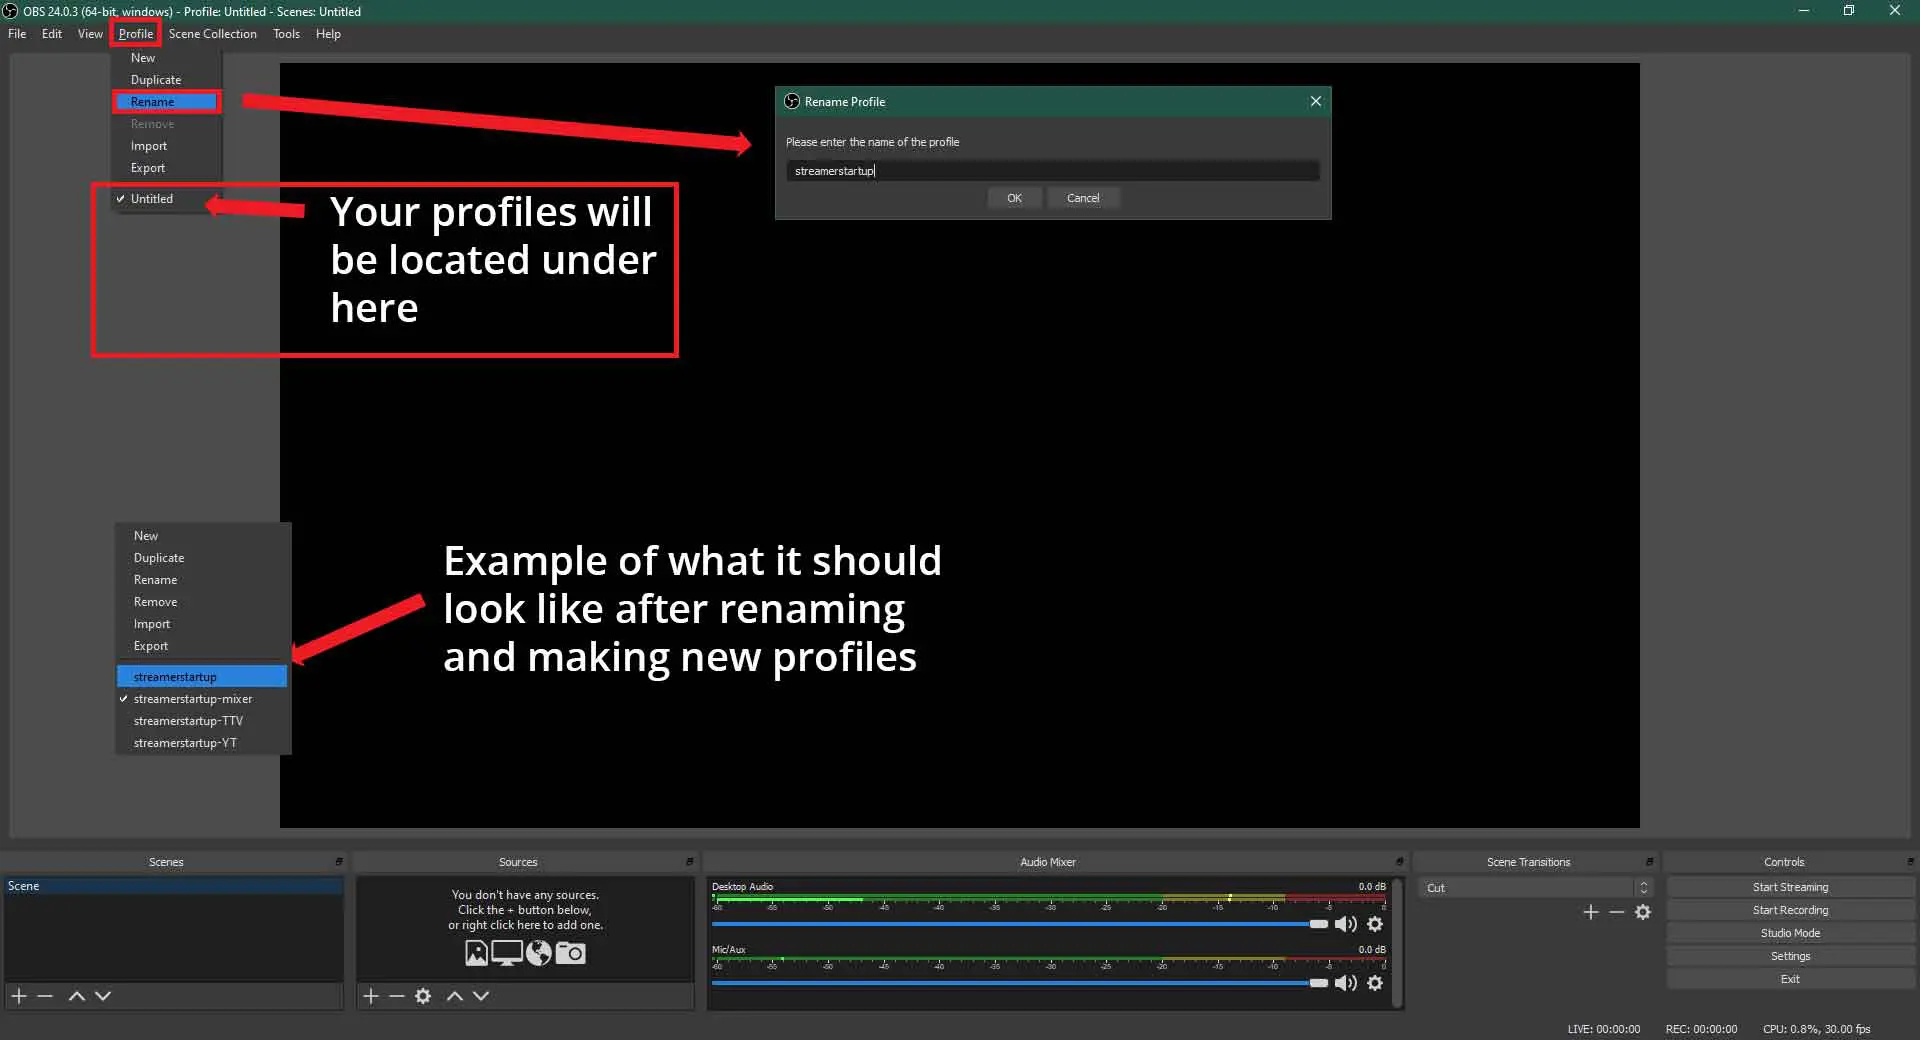
If this is your first time in OBS Studio, your profile will likely be defaulted to “untitled.” You can easily change that by going to your Profile button in the menu above and selecting Rename. Changing the profile name allows you to make it more personal for you.
Make sure you come up with a good naming scheme for these profiles if you make a bunch of them. The last thing you want is getting mixed up with the actual profile you wish to use to get your content to your audience.
It’s a good habit to create a profile for each different provider that you stream or record your content to, and this helps keep things organized. It keeps your settings separate, and you can easily switch between them.
Pro Tip:Each profile will save all its settings differently. Don’t be afraid to use this to your advantage.

Setting Up Your Scene Collections
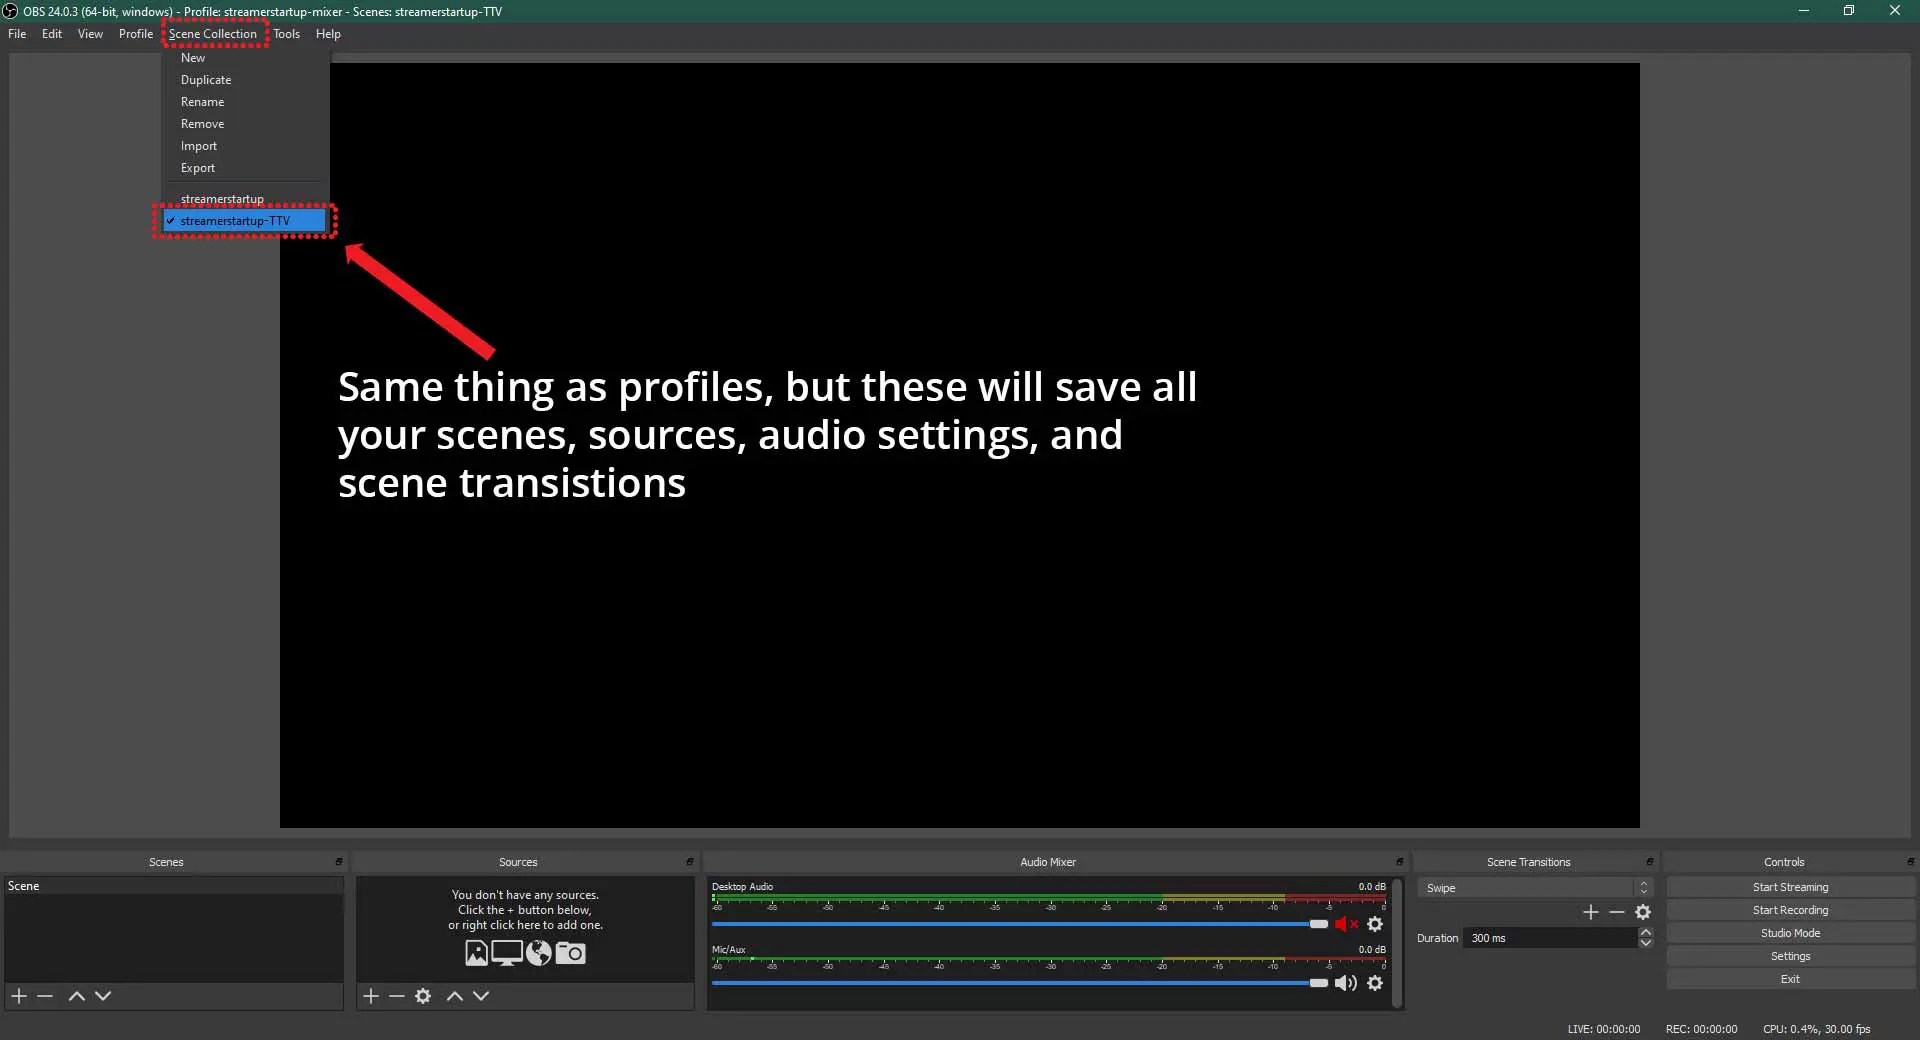
Similar to the profiles before, scene collections act in the same manner. The difference with scene collection, instead of the settings getting saved, it is all your scenes, sources, audio settings, and scene transitions that get saved instead.
Scene collections are useful when changing profiles as they allow you to quickly switch to match the correct profile instead of going through everything.
Lastly, getting everything set up by following a proper naming scheme and creating functional layouts for your scene collections will save you a lot of time.
All you will need to do is pick your preferred profile and scene collection, and away you go.
The Ease Of Use Of OBS Studio’s Auto-Configuration Wizard
Many people struggle with configuring settings such as bitrate, proper output resolution, canvas sizes, which video encoder to use, etc.
With OBS Studio’s Auto-Configuration Wizard, all that becomes less stressful as it configures those settings automatically for you. The settings are set based on your answers to the prompts given by the wizard.
For now, there are two options. You can configure your settings manually by clicking the Settings button in your Control section or the File Menu -> Settings. Secondly, you can make it easy on yourself, especially if this is your first time using the software and use the Auto-Configuration Wizard found in the Tools menu above.
Those of you who have likely already tinkered with the wizard and found no success, I will list other guides for optimal settings at the bottom of this guide. What I am looking for is getting people streaming right away. Then they can look into tweaking their settings to get the desired results they want.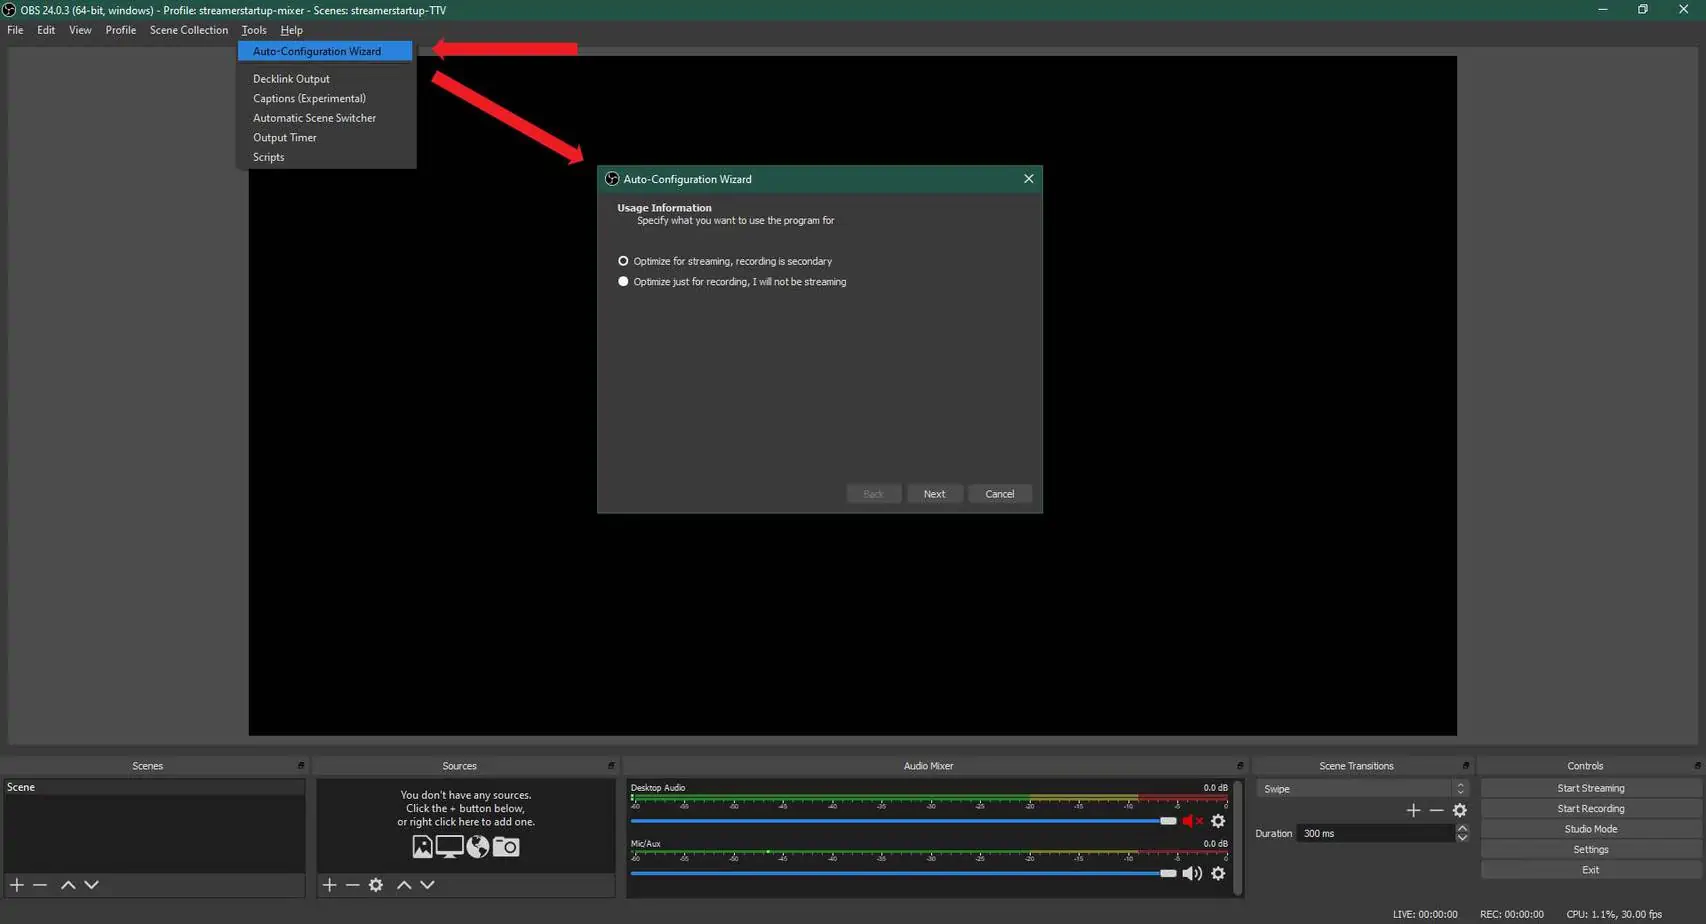
 Before we begin, I have written up a couple of guides on retrieving your stream key from some of the most known streaming services out there.
You can find them in the guides below.
You would enter this key under the Stream menu in the Settings window.
OBS Studio Auto-Configuration Walkthrough
The Auto-Configuration Wizard is typically good enough to get your settings close to optimal for you to start streaming. The wizard is not always full-proof, and you will likely need to tweak your settings manually later on once you start streaming.
Step 1
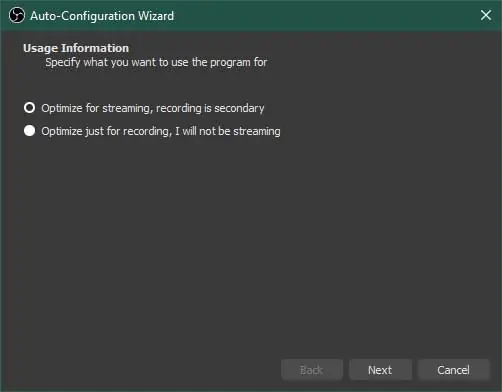
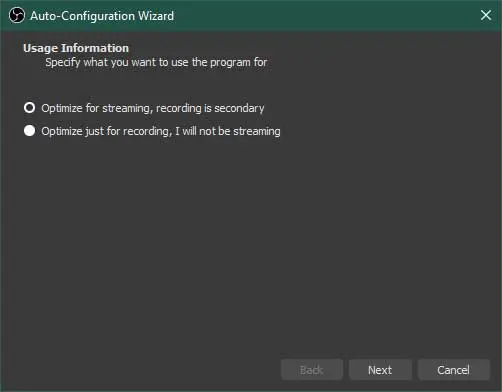 Select what you will be doing, either recording or streaming. For this example, I will go through a streaming setup.
Step 2
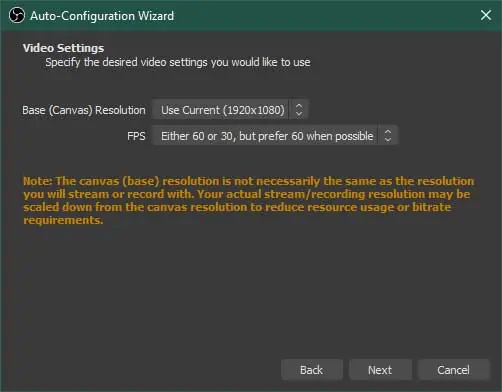
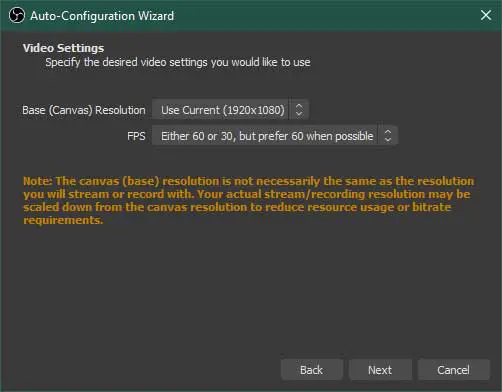 Set the base canvas to the in-game resolution you will be using and pick the FPS setting that suits you best.
Step 3
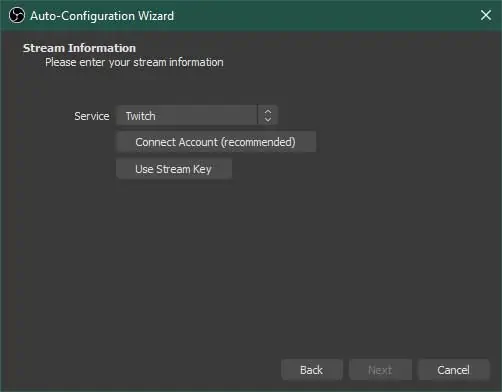
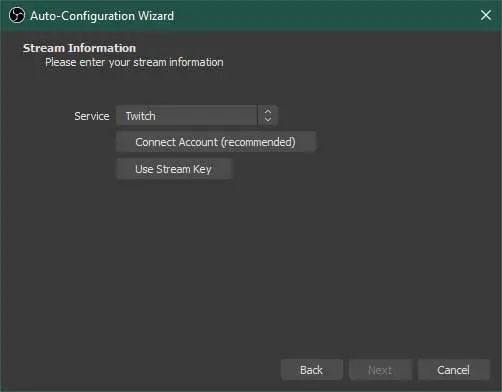 Choose the service that you will be streaming to, and enter your details. You can also connect your account through OBS Studio, depending on the provider.
Step 4
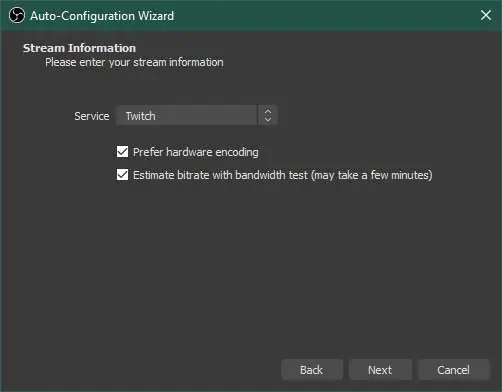
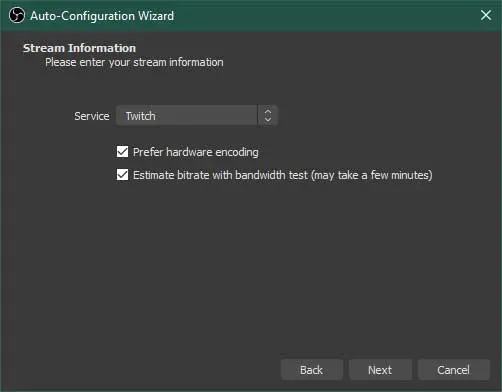 Once you’ve set up your service account, make sure to check the test feature so the wizard can do a test stream to get the best settings for you.
Step 5

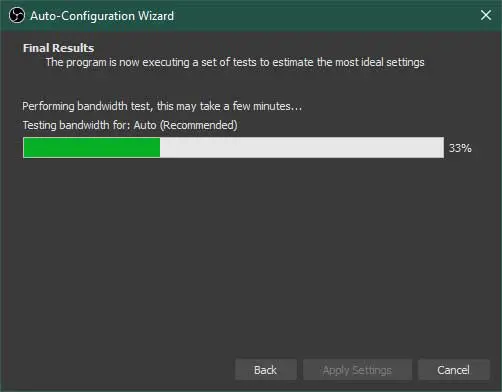 Wait for the bandwidth test to complete. It will check the nearest servers close to you of your streaming platform for the best connection.
Step 6
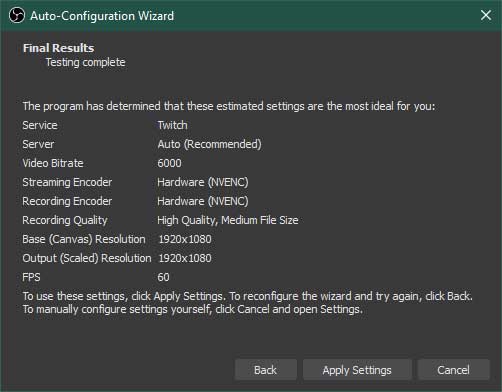
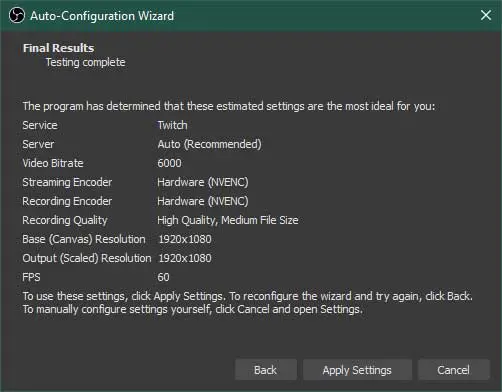 The wizard will have completed its test and setup. All that is left now is to click Apply Settings.
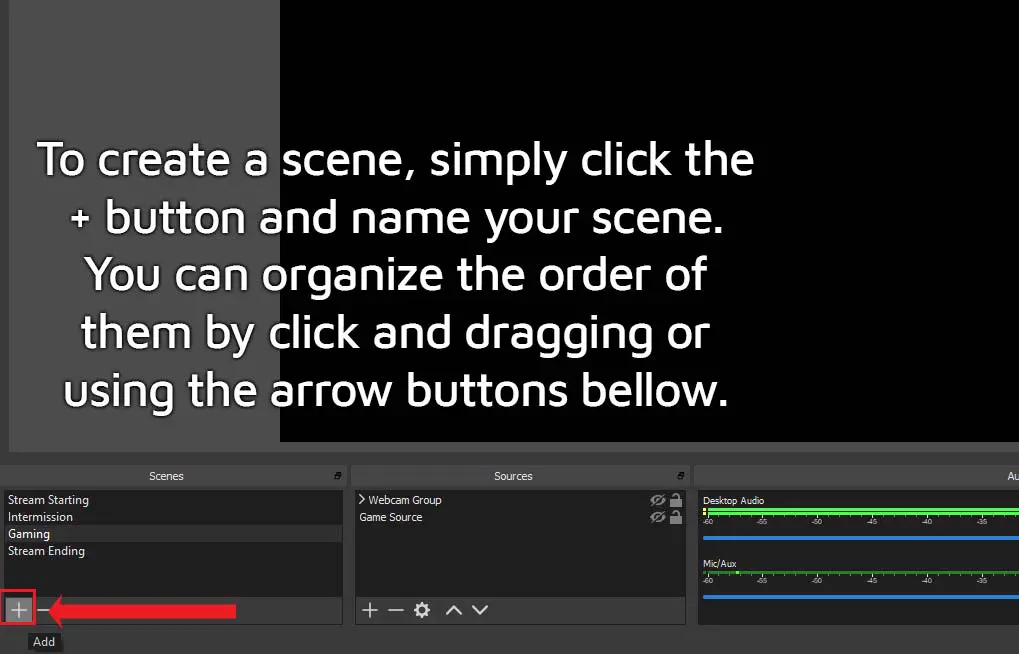
Creating Scenes In OBS Studio
Think of scenes as screen layouts. Now to make things more interesting for your viewers, you should have more than one and have good transitions between them. Typically, the average streamer will have at least the following scenes:
1) Stream Starting Scene
2) Intermission Scene (Usually has webcam/chat in it)
3) Game scene (don’t forget this one!)
4) Stream Ending Scene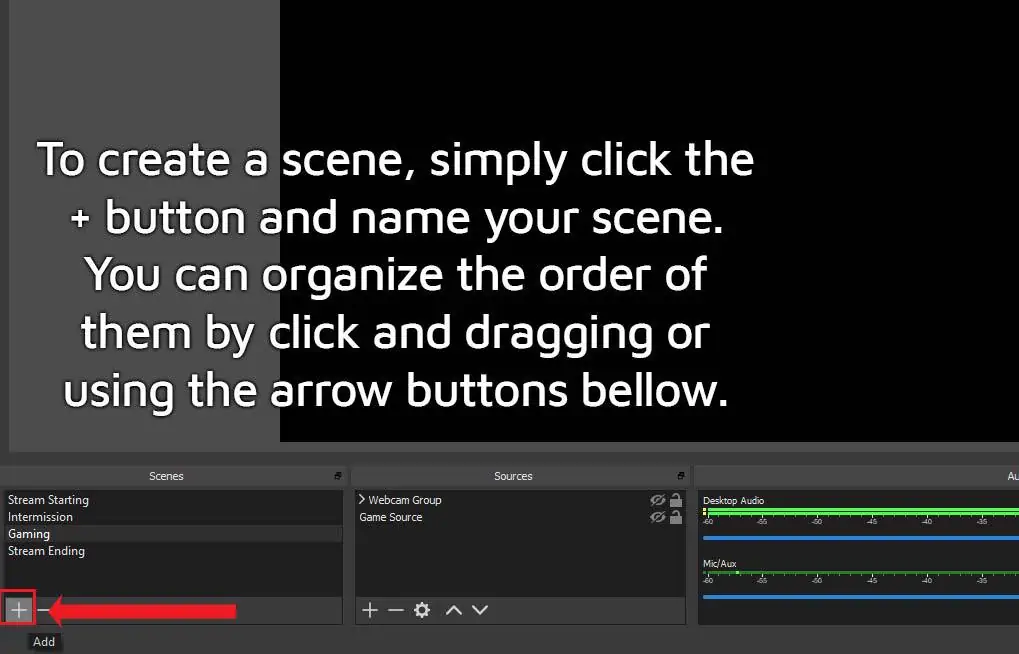
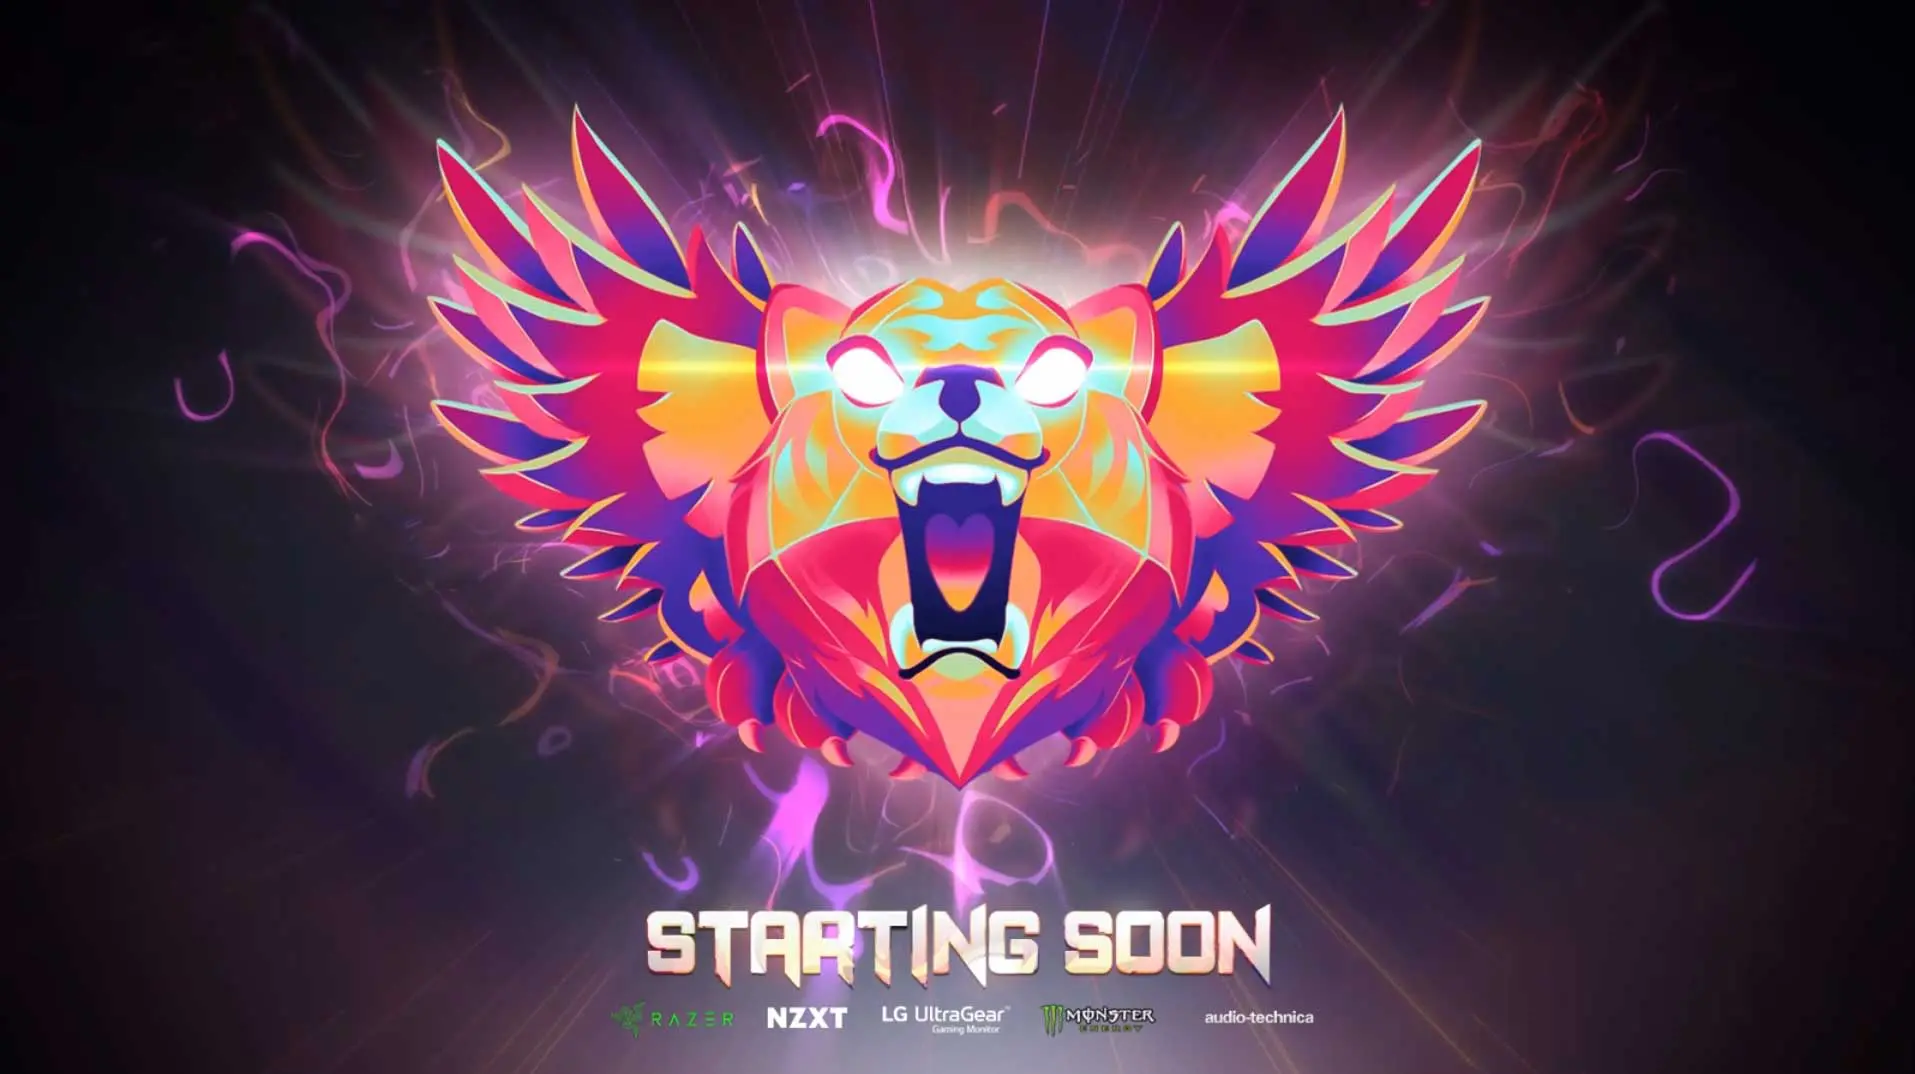
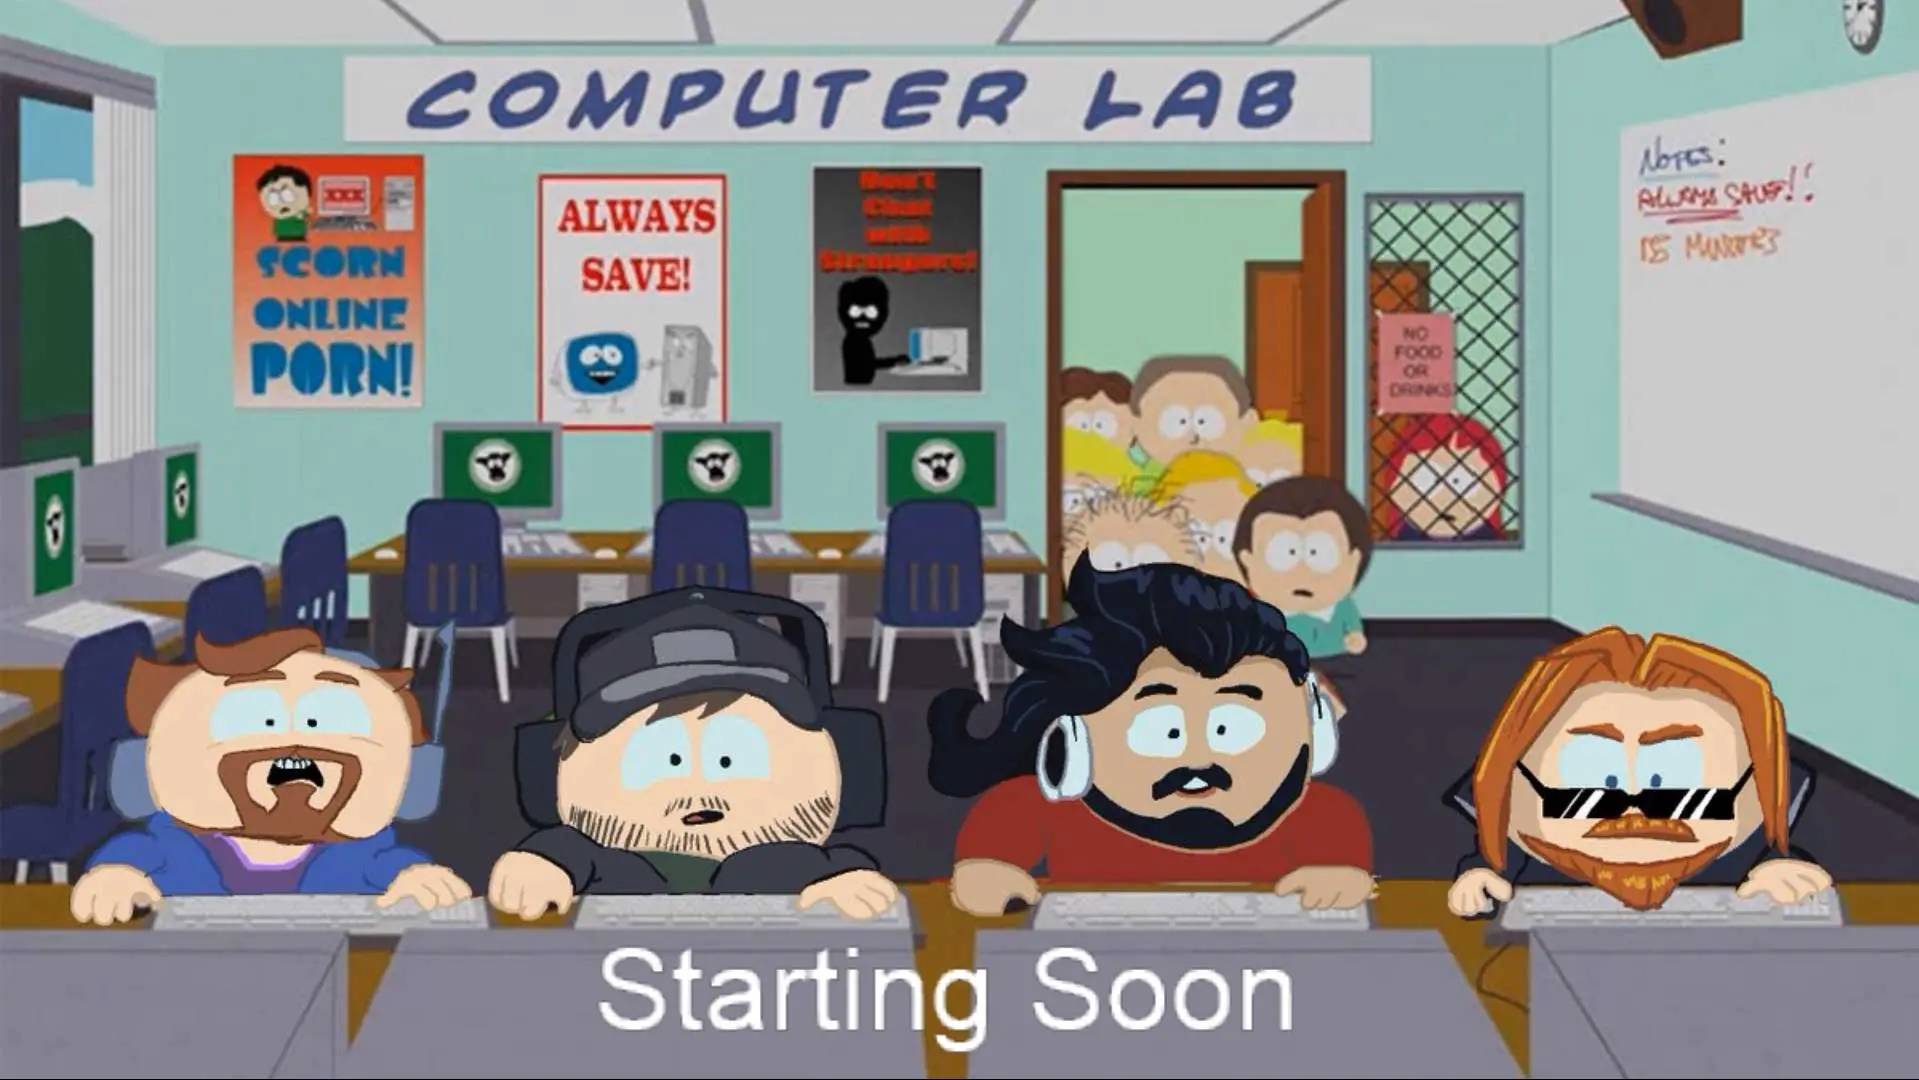
Stream Starting Scene
When you want to go live on your platform, make sure you’ve selected this scene before you start streaming. Your followers will get a notification that you have gone online and can join your channel.
Your viewers will see that your stream is starting soon, and they are more likely to wait around.
The stream starting scene will also leave a thumbnail if someone is searching for a stream to watch and will be able to tell yours has just started. Here are some example starter scenes from popular streamers on Twitch/Mixer:
 TimTheTatman
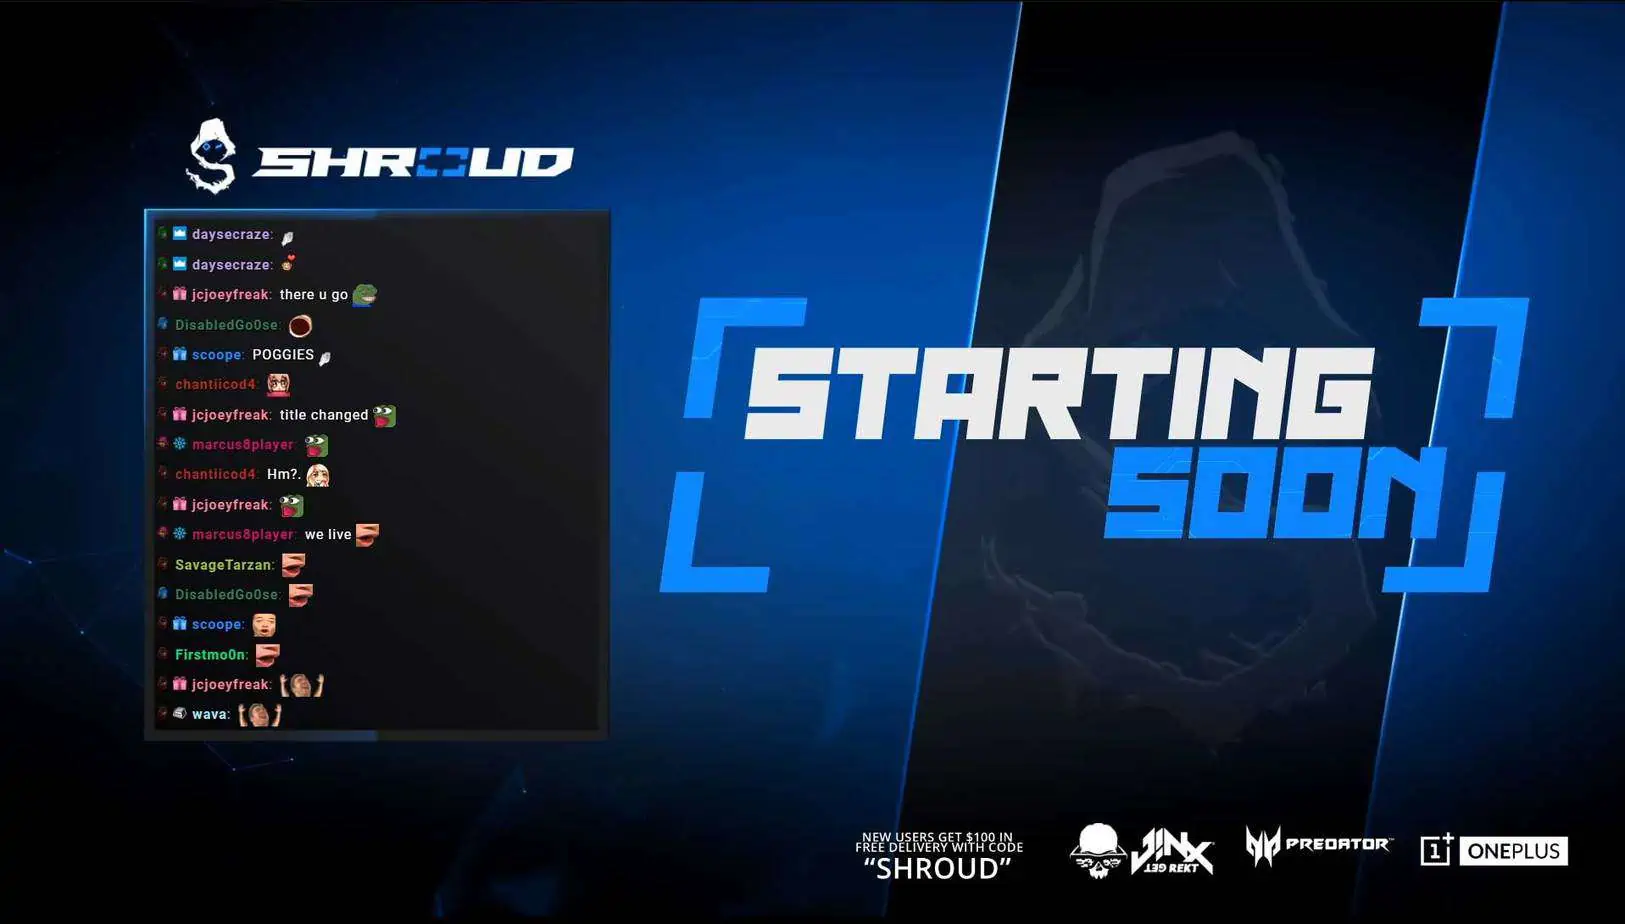
 Shroud
 Asmongold
Intermission Scene
Streamers like to create intermission scenes, where they can switch to it on the fly while either waiting to get into a game or to chat with their viewers.
By doing this, it enables them to give their viewers something else to look at while everything else happens in the background. Most viewers appreciate this as its typically done in between games, which provides a small downtime to chat with the streamer.
The content host usually gets a little break from this, and it lets him catch up with everything. It just gets everyone involved and helps to promote a good community.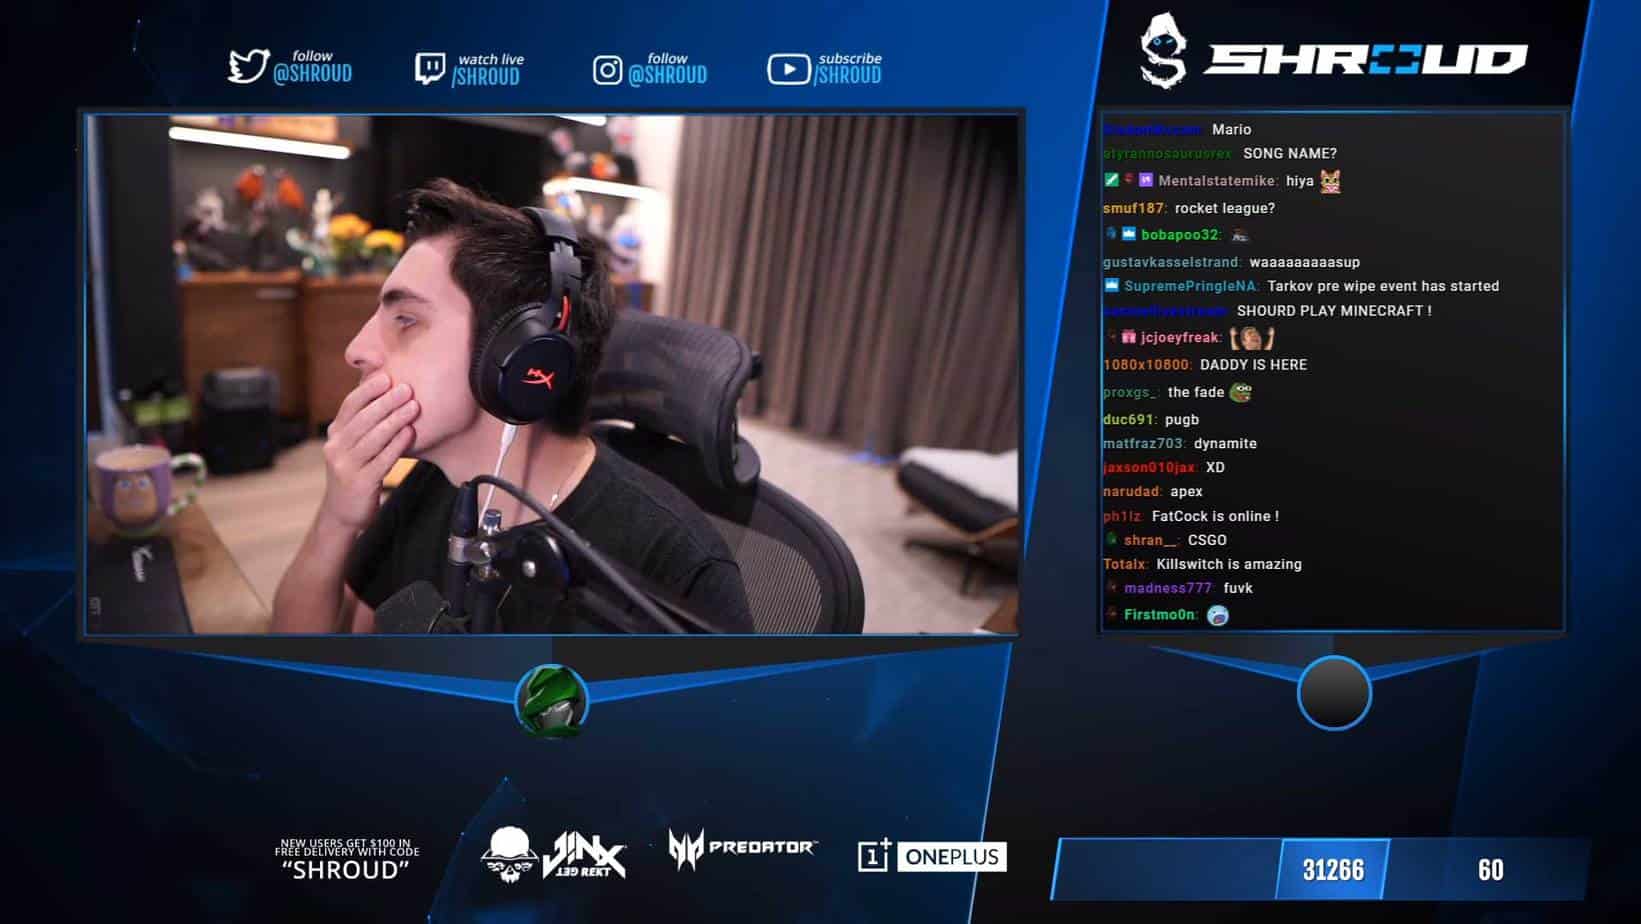
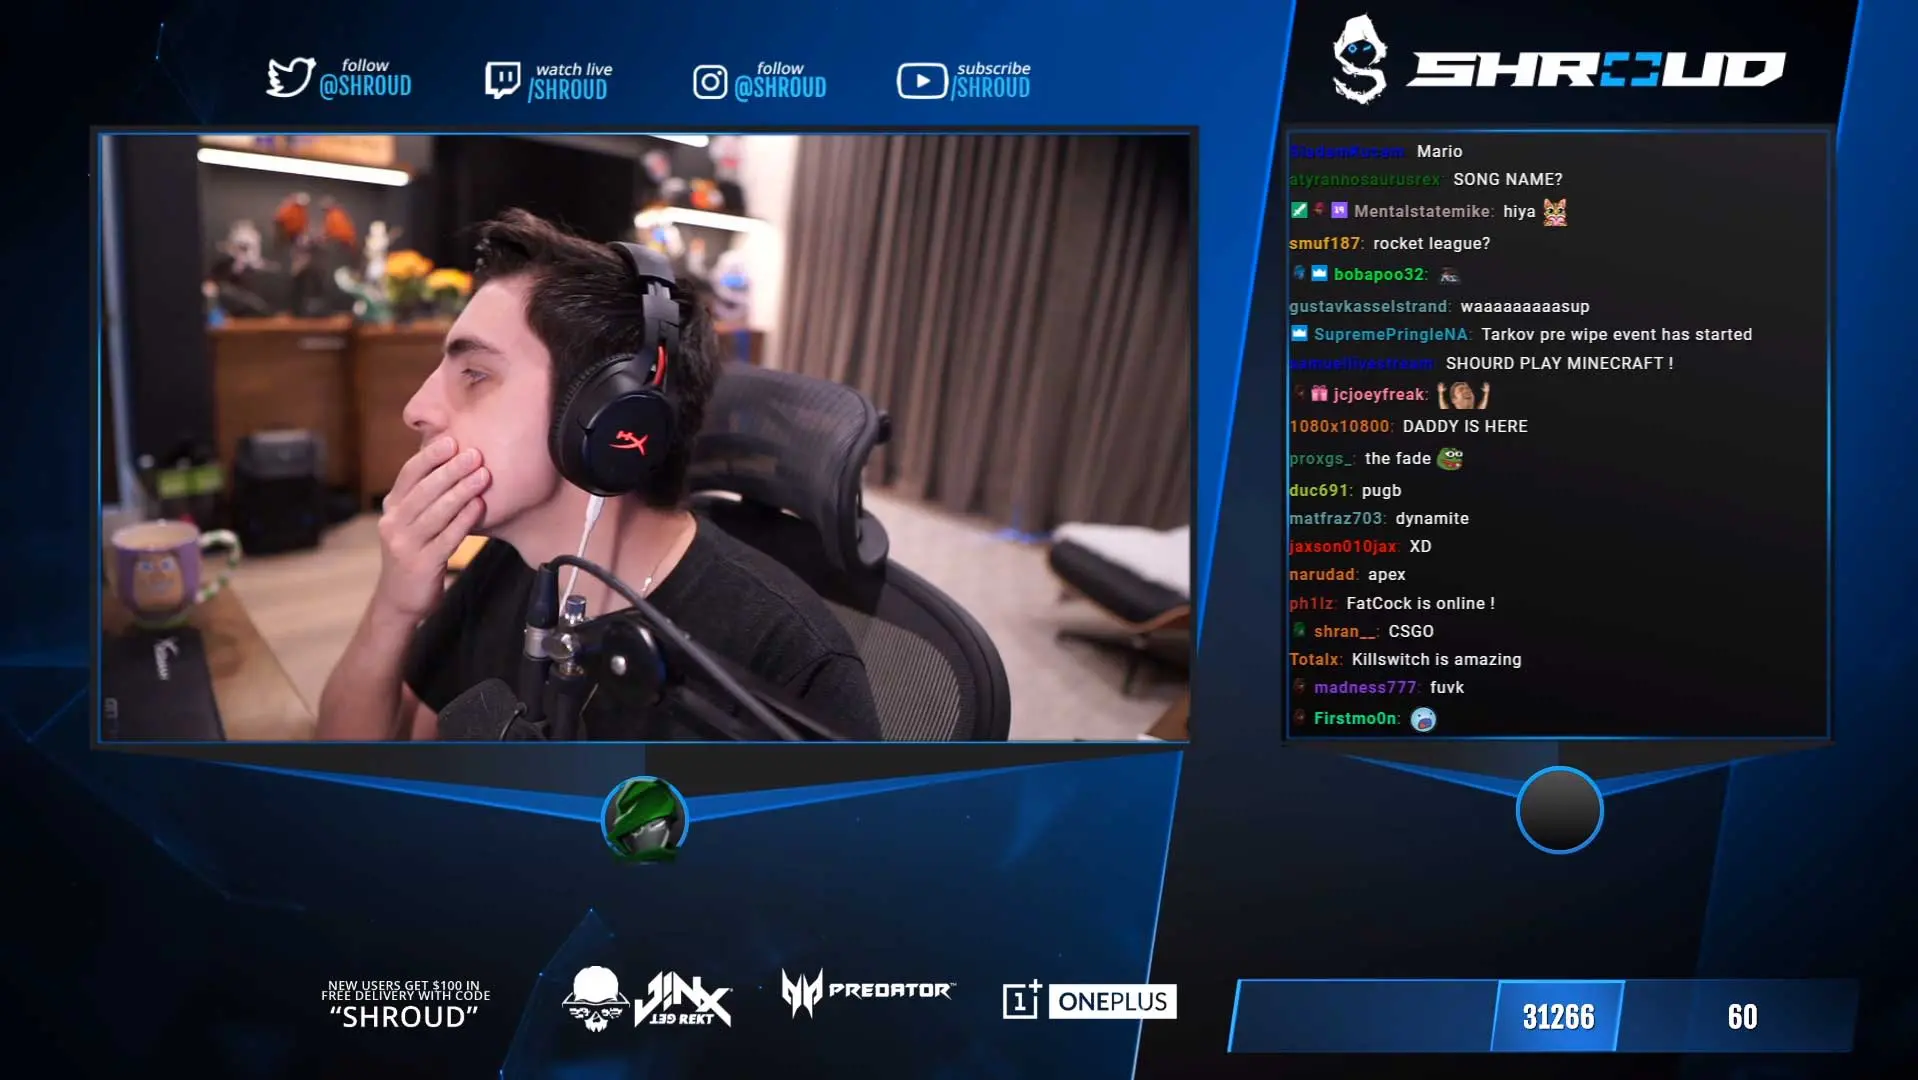 Shroud
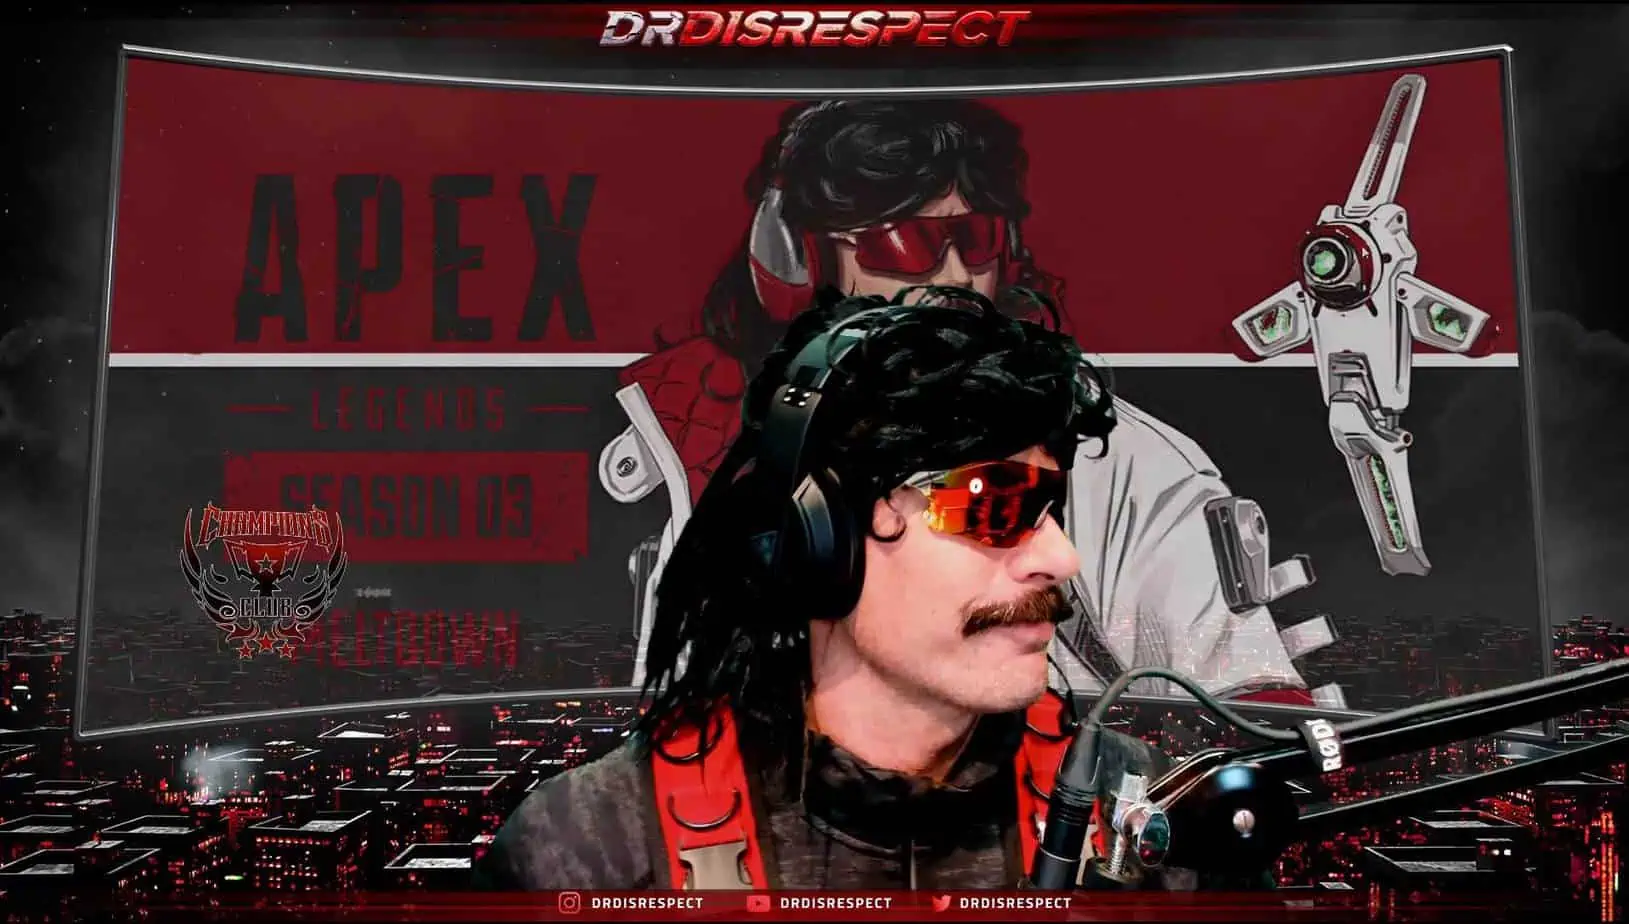
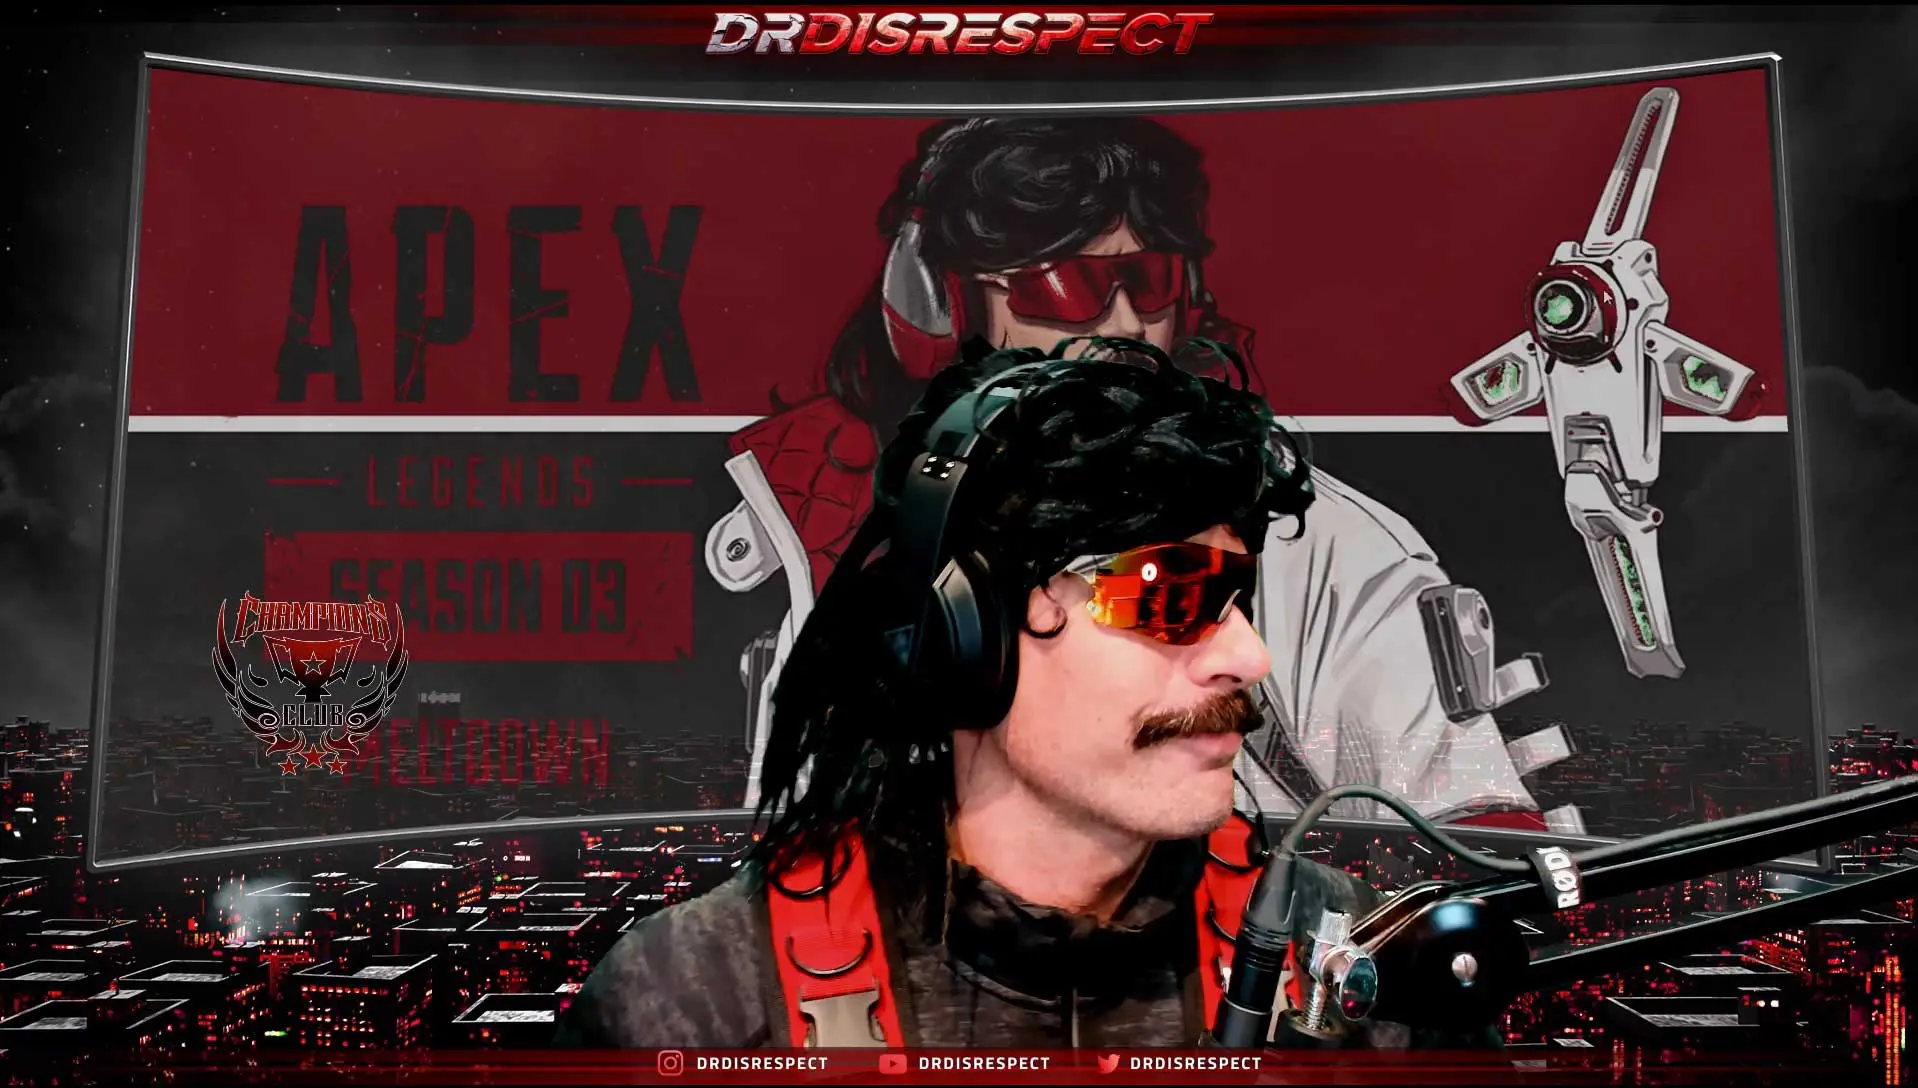 Dr Disrespect
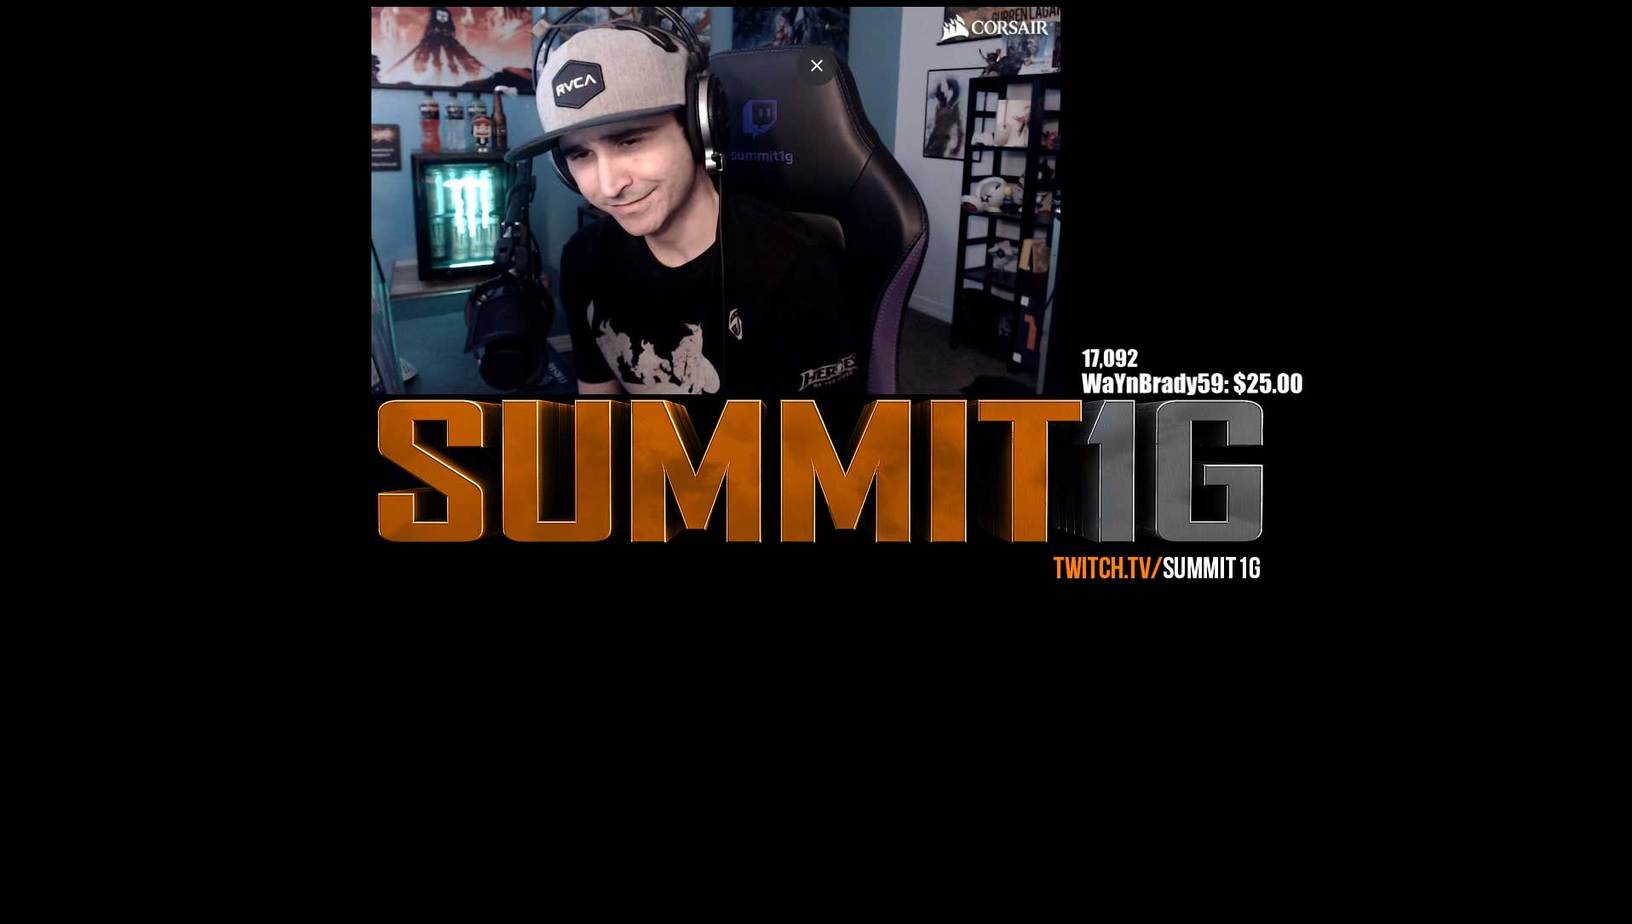
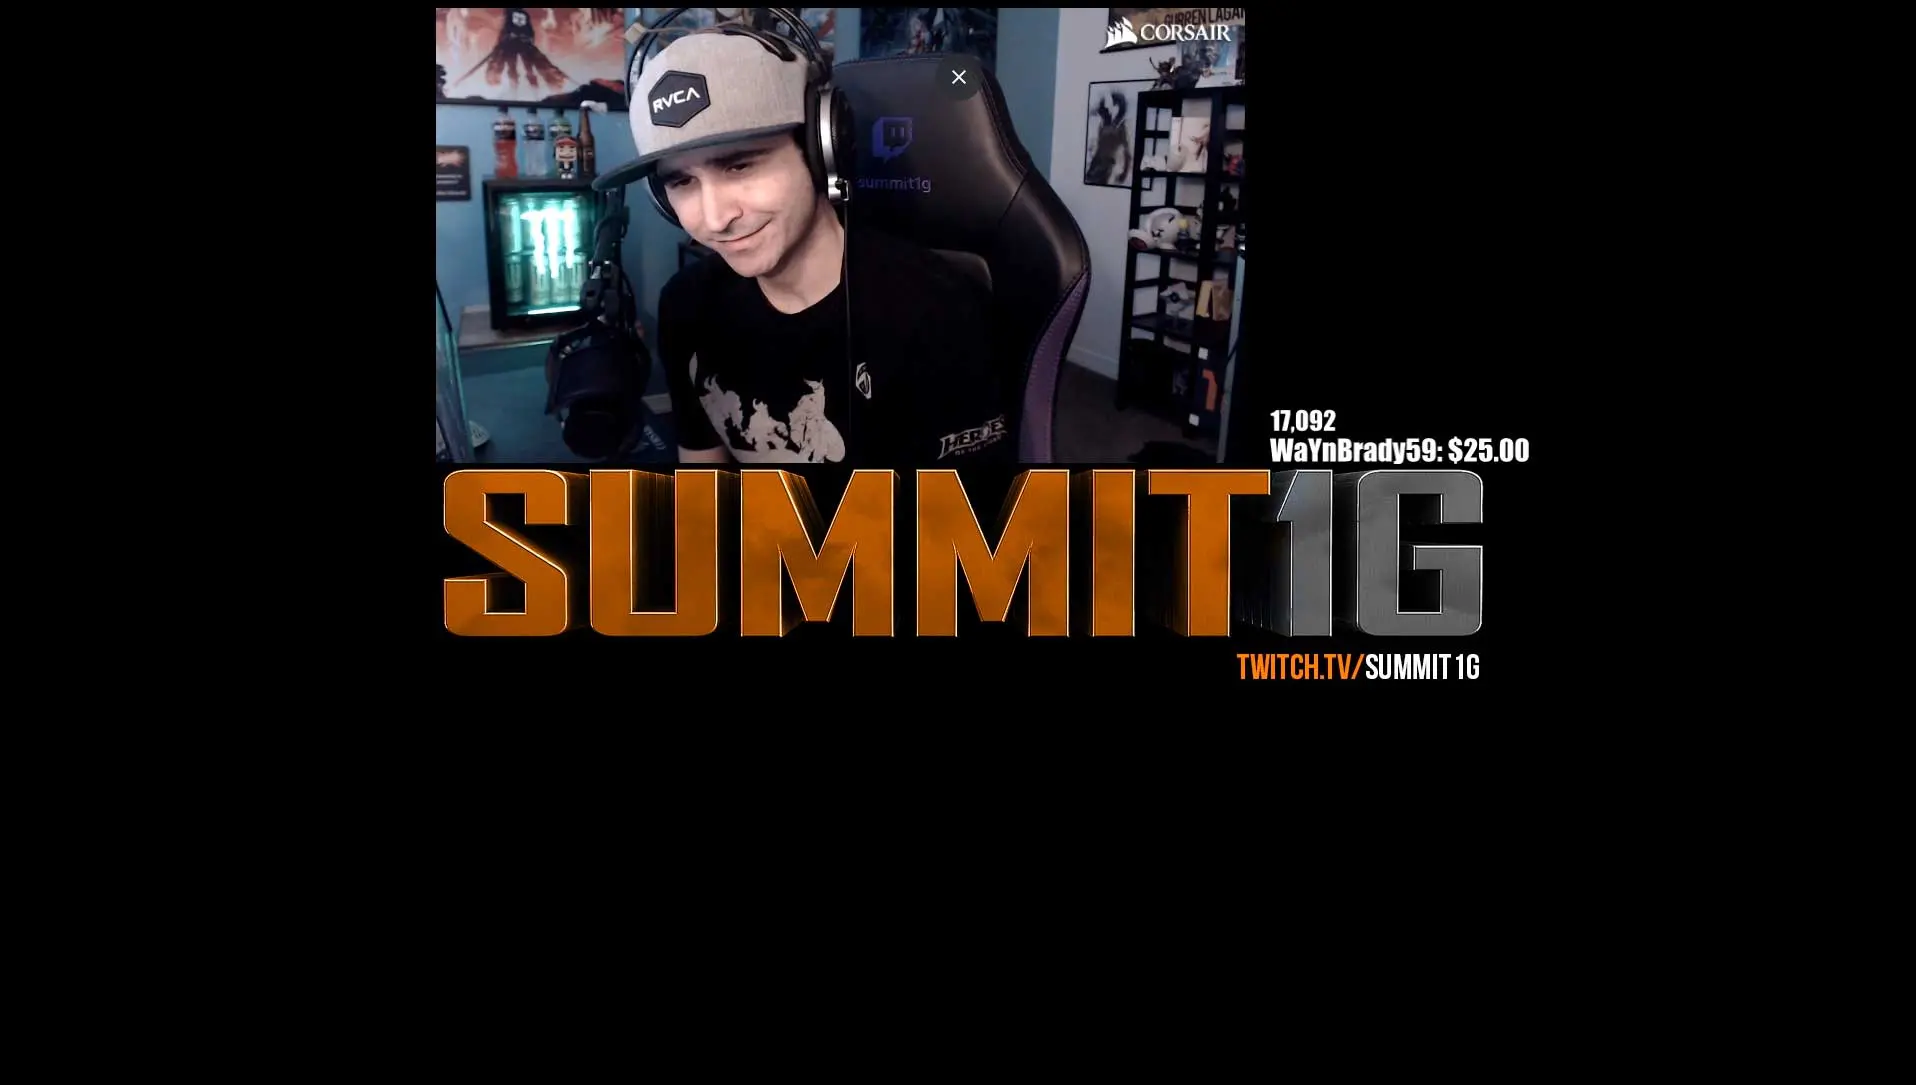 Summit1G
Game Scene
The game scene will be the main attraction as it typically includes gameplay. Couple gameplay with a webcam section and a beautiful overlay, and you have a good stream going.
Don’t add too much clutter as it tends to distract viewers from what is happening on-screen during the game. Keep it simple, and keep it clean!
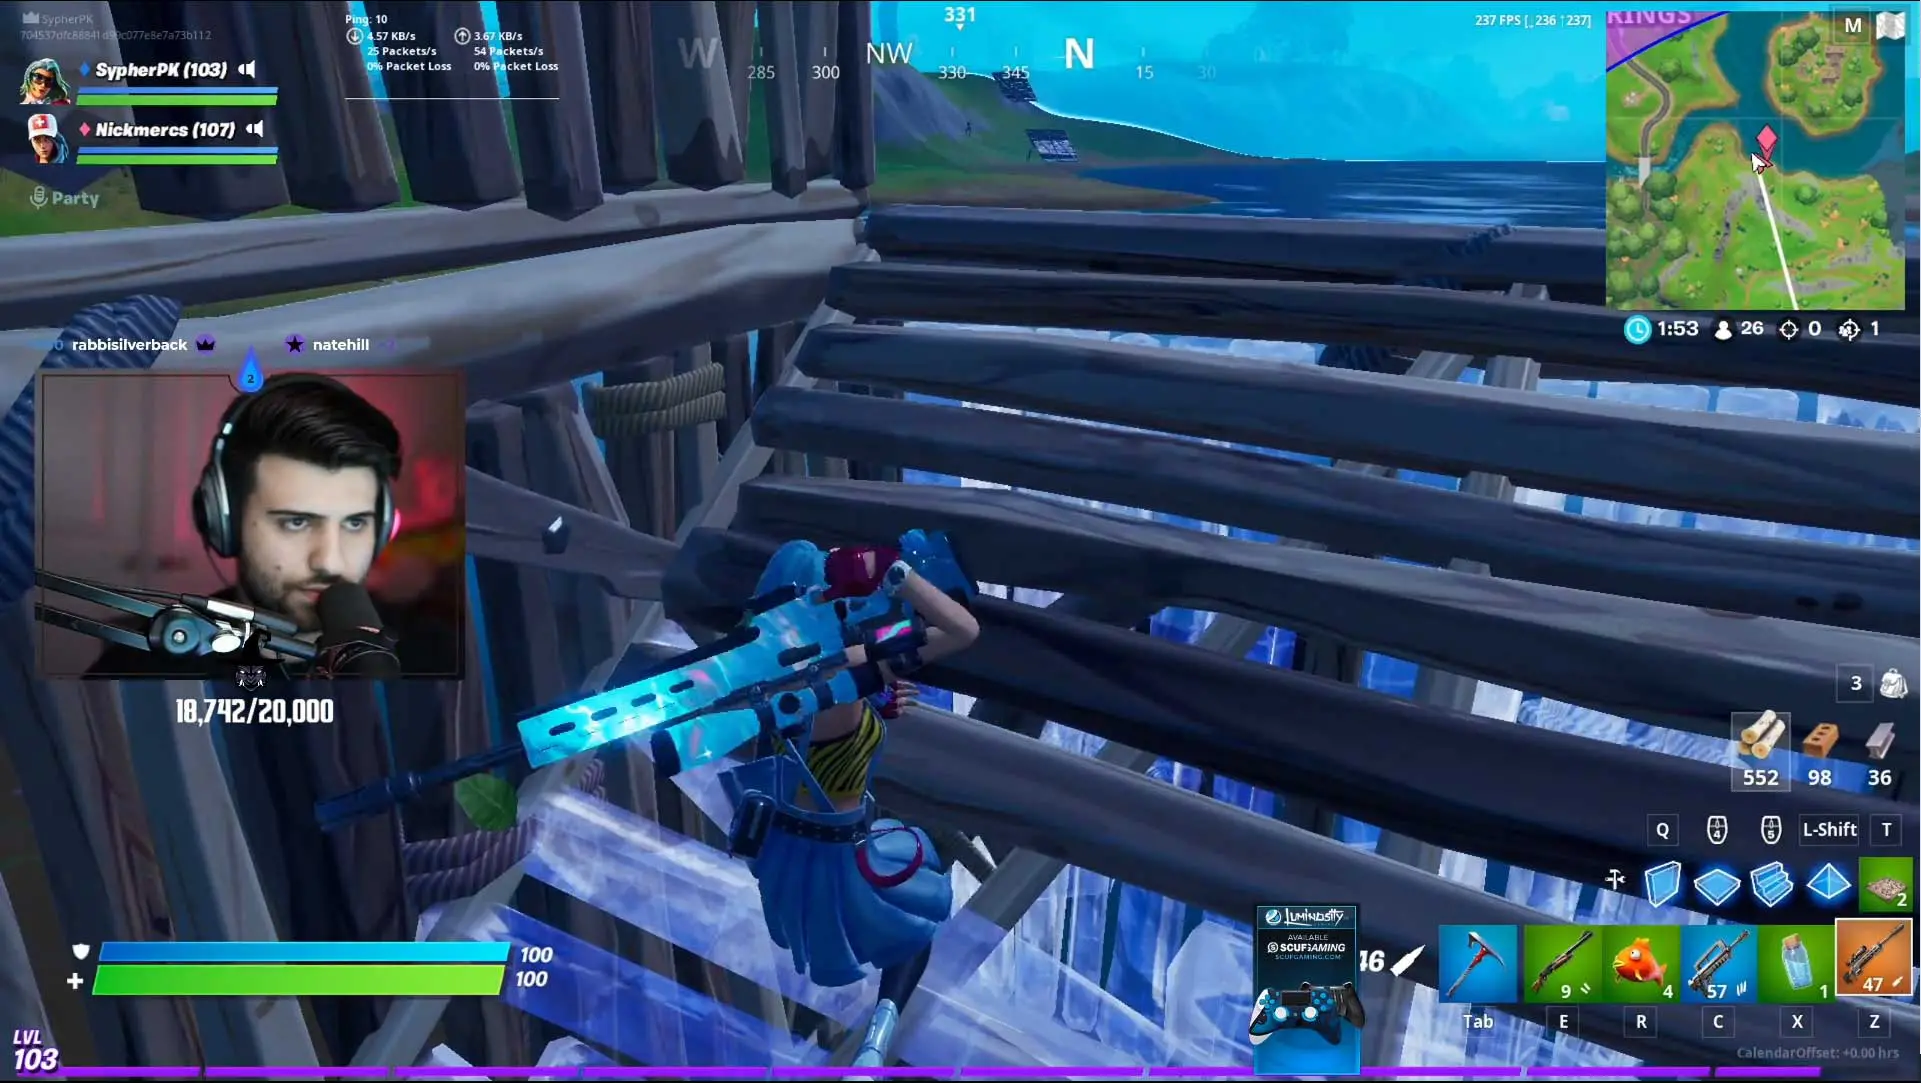 SypherPK
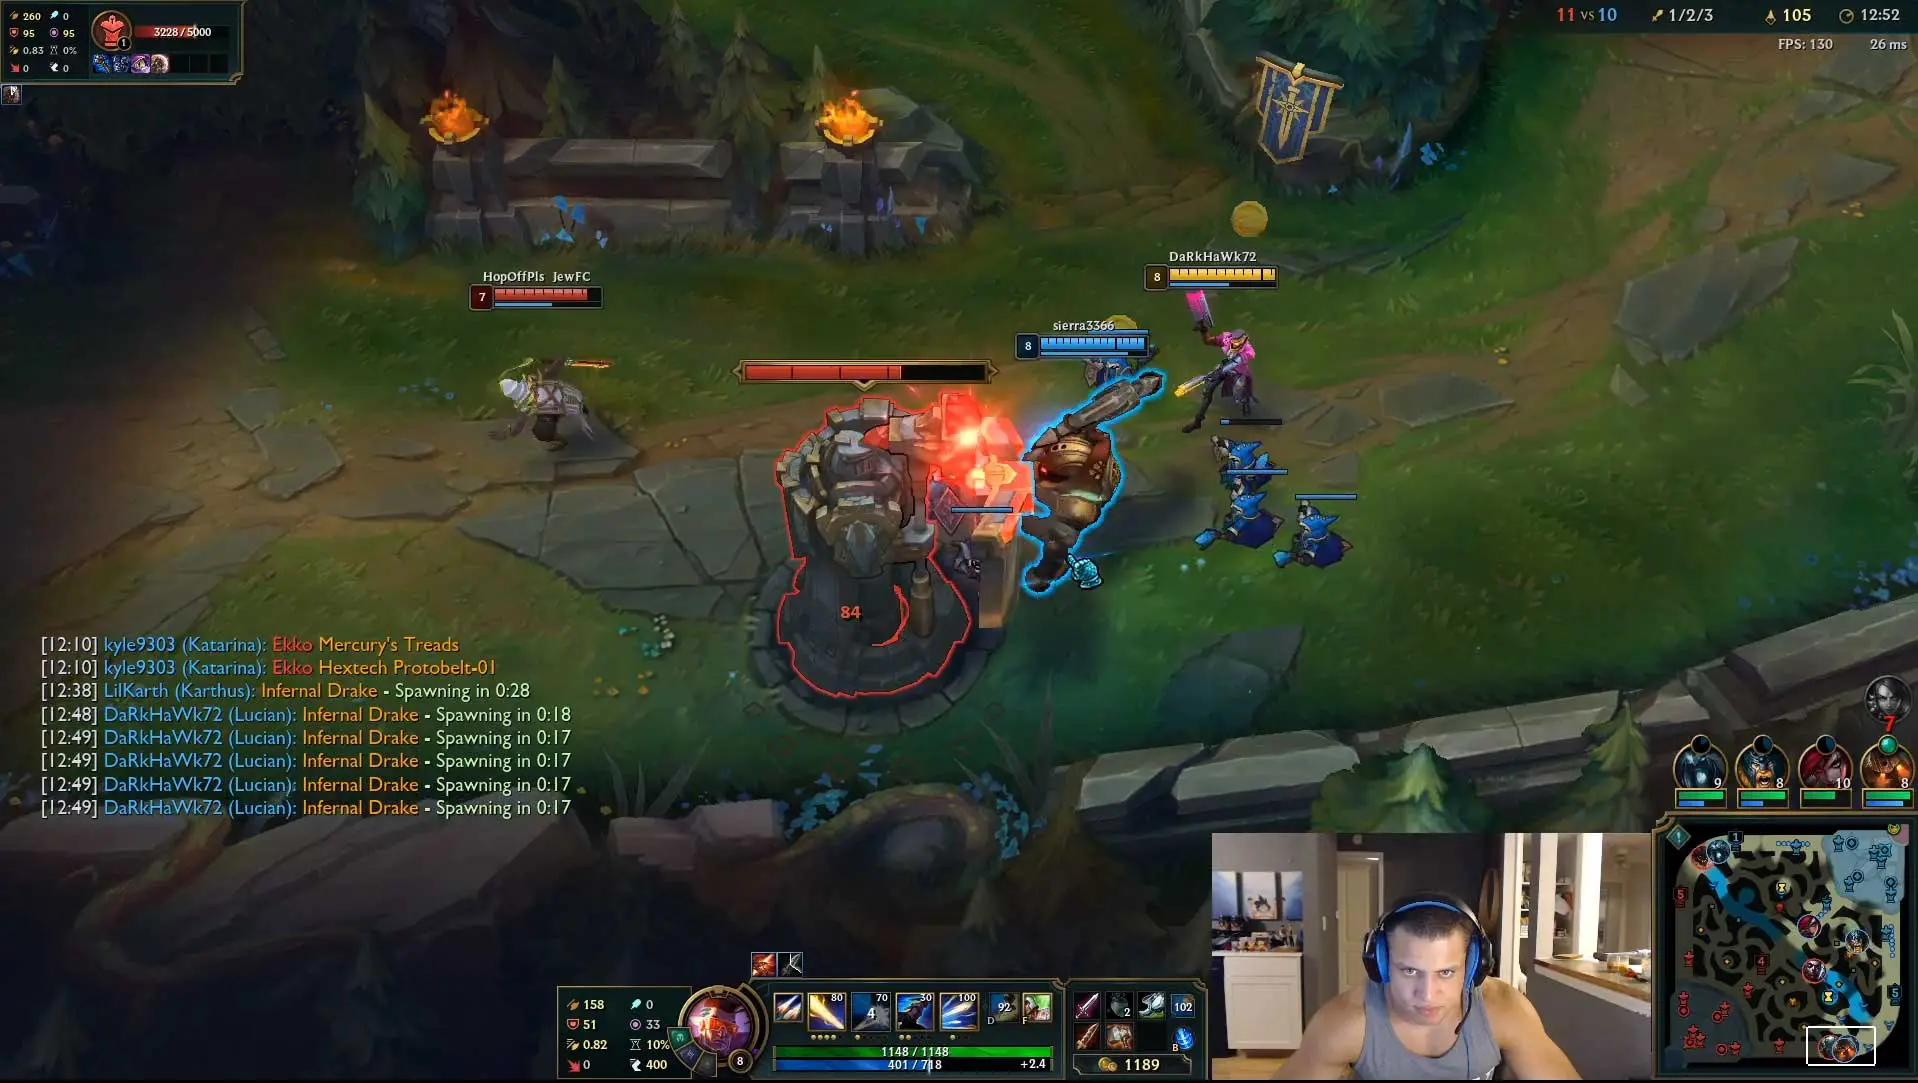 loltyler1
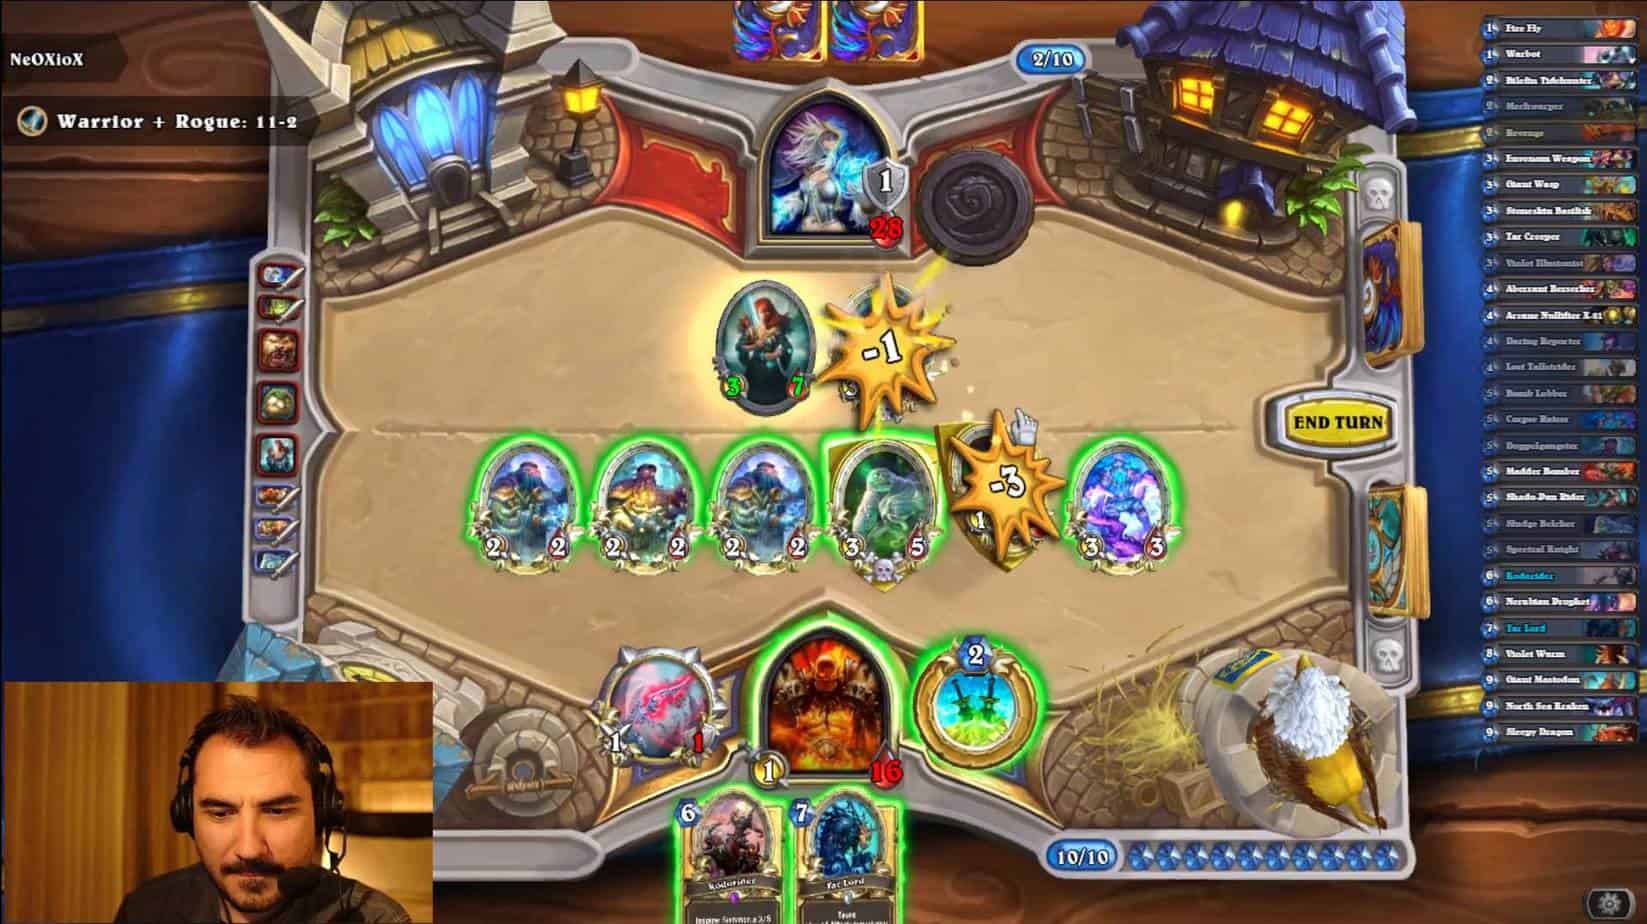
 nl_kripp
Stream Ending Scene
Nothing too fancy here, just a little something to let viewers know that the stream is over. Some streamers say goodbye and get off. Both are fine, honestly.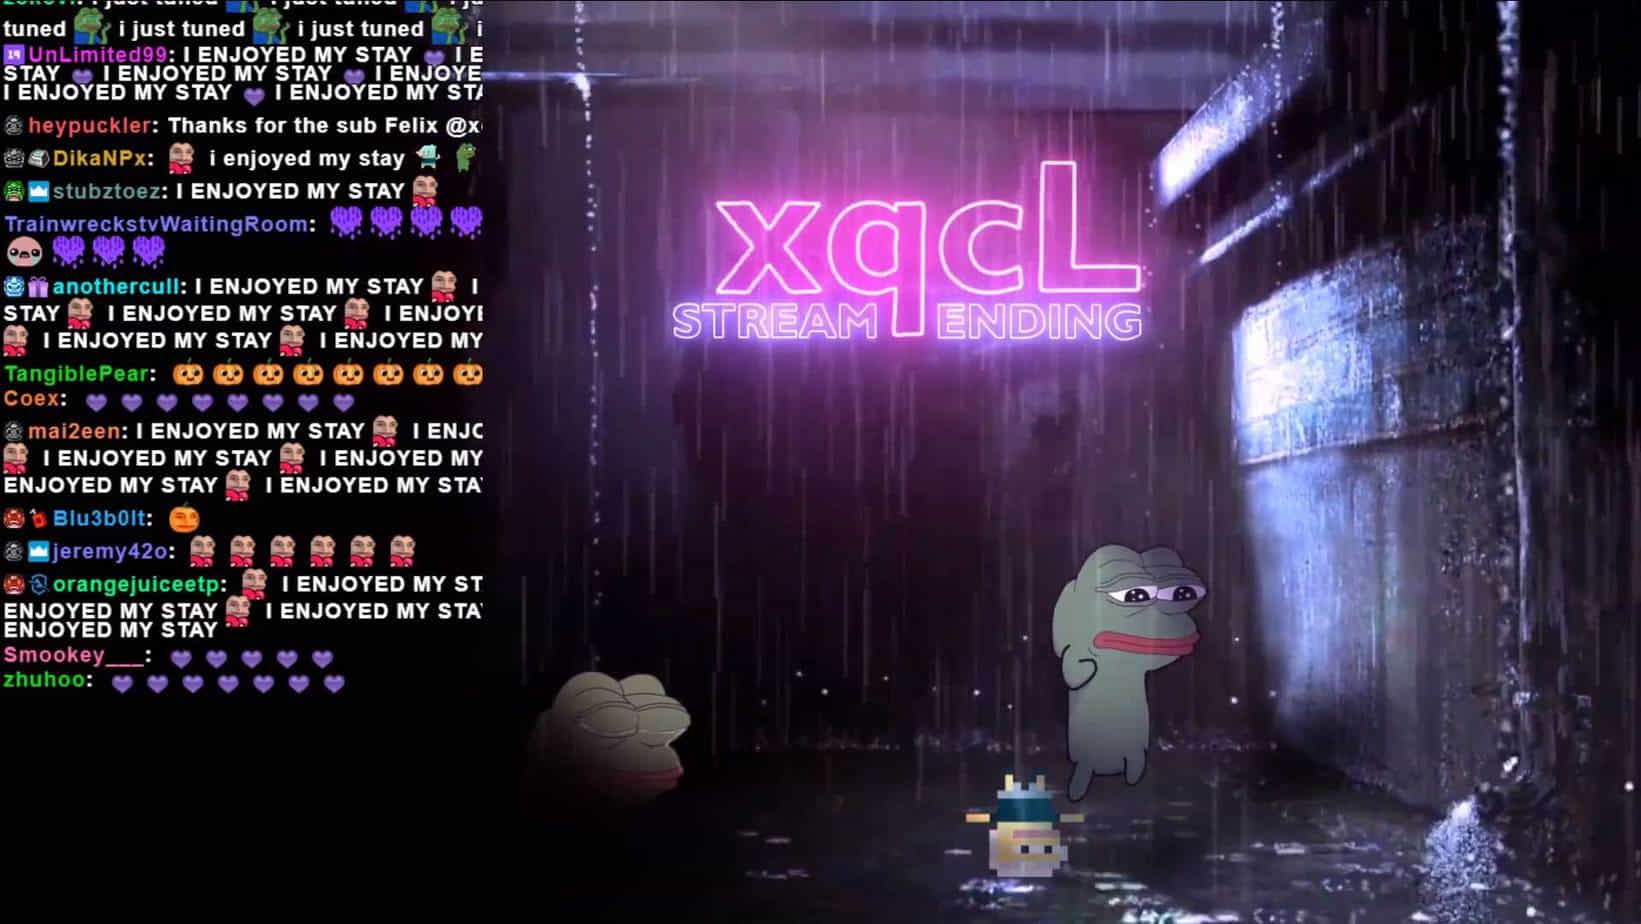
 xQcOW
xQcOW
 AdmiralBahroo
Adding Sources To Our Scenes In OBS Studio
Now that our scenes are set up, we can start adding some sources to complement the look of the stream. We will begin with our game scene. Here we’ll set up three primary sources that every streamer should have:
1. Game Source
2. Webcam Source
3. Overlay/Image Source
To begin, make sure your game scene is selected in the Scenes section and click on the little “+” icon in the Sources section to bring up the list of sources that you can add.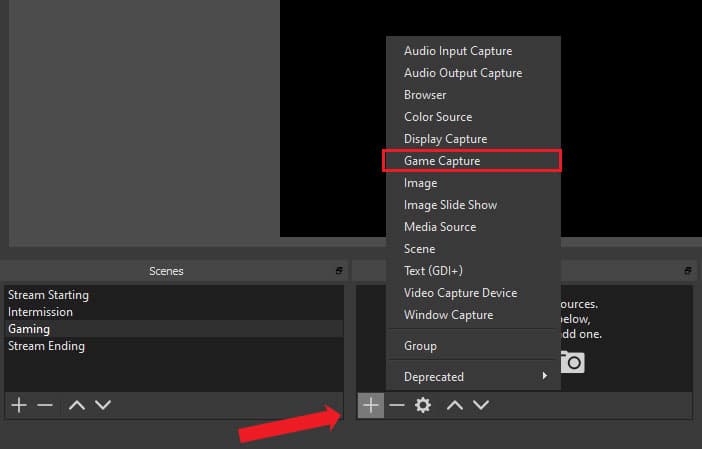

Adding A Gameplay Source In OBS Studio
For your game to be able to get picked up by OBS Studio, you will need it running in the background as you set this up. Otherwise, OBS Studio won’t see the process running and won’t be able to select it.
There are currently three methods of capturing your game. The most preferred way to do it is using the Game Capture source as it directly captures the game application (DirectX/OpenGL).
Not all games will need the Game Capture source, as many of them work fine on borderless window mode. In which case, the preferred capture method would be the Window Capture source. The frames are limited to 60 fps in window applications such as fullscreen window/borderless window, and Window Capture works well with this.
Last but not least is the Display Capture source, which is one of the worst-performing sources for capturing games out of the three. It is recommended trying to use either Game Capture or Window Capture before trying Display Capture.
In terms of performance, this is the consensus in ranking for them:
1. Game Capture (always use this unless it won’t work)
2. Window Capture (Borderless window is fantastic with this and super stable)
3. Display Capture (least performing one of all, and your monitor/desktop is shown to everyone when you exit games)
Configuring A Game Capture Source In OBS Studio
Once you add your Game Capture source, you will need to configure it, so select it in the Sources section and click on the little gear icon. Once the properties window opens, you will be able to choose the following Modes:
1. Capture any fullscreen application
2. Capture specific window
3. Capture foreground window with hotkey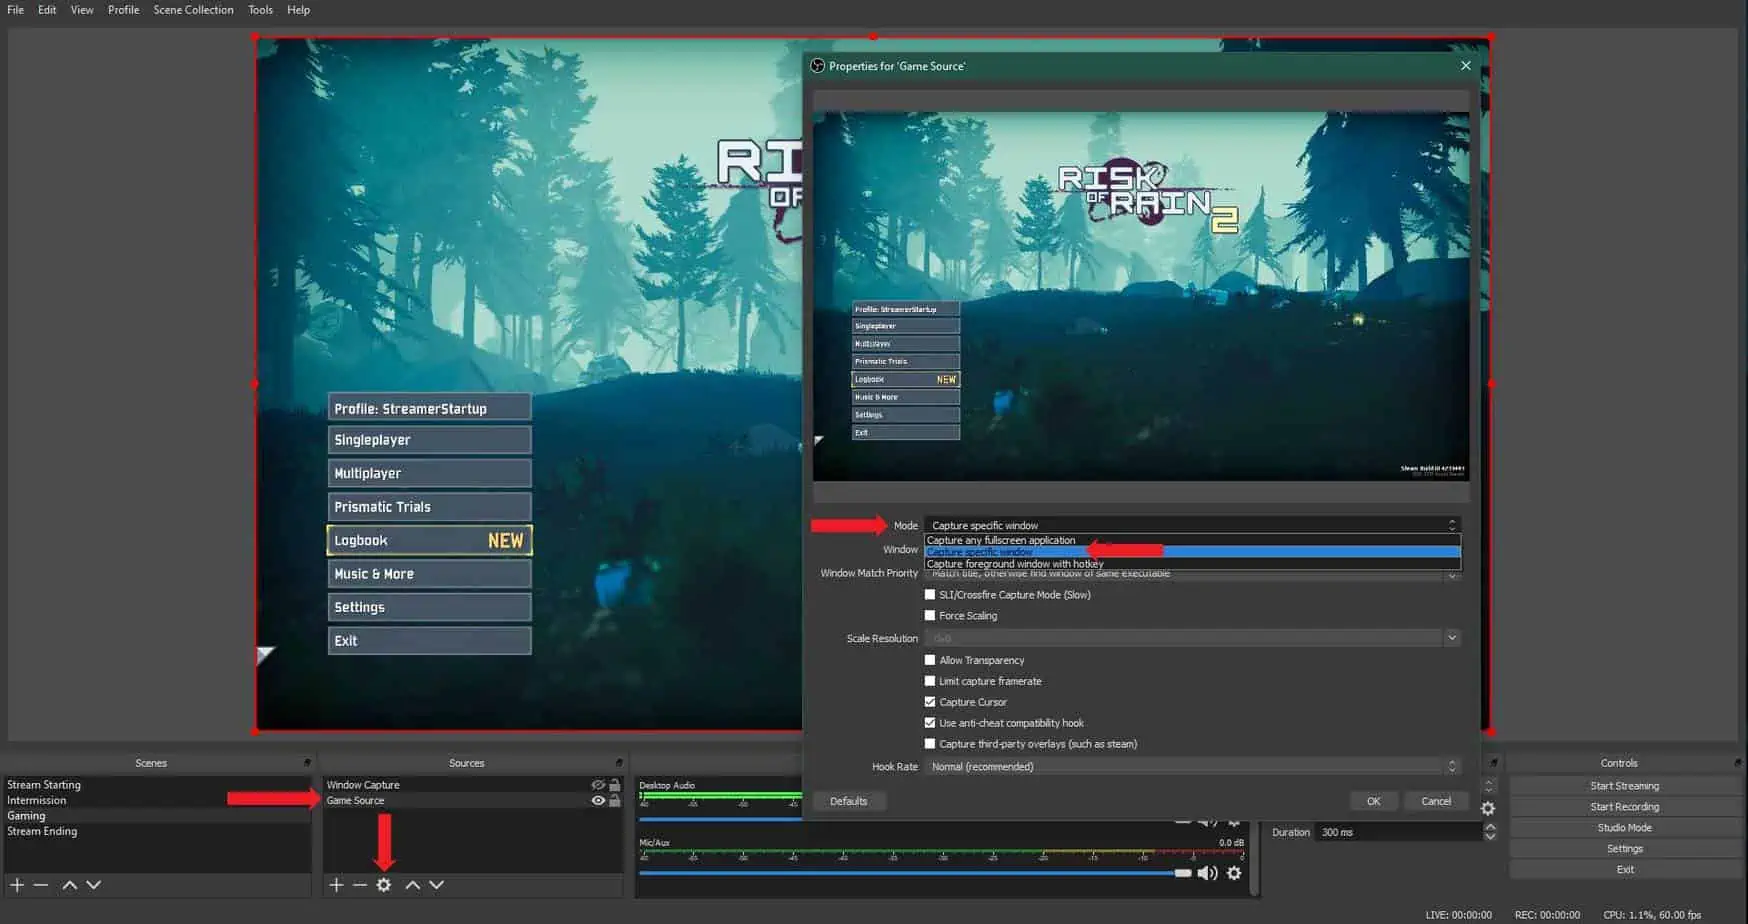
 My recommendation for which mode to use is: Capture specific window.
It gives you the freedom to show what you want to your viewers, and it allows you to select the exact application you want. You can choose the program you wish to display under the Window drop-down list.
You can also change your Scale Resolution to 720p. With that completed, all that’s left is to click OK.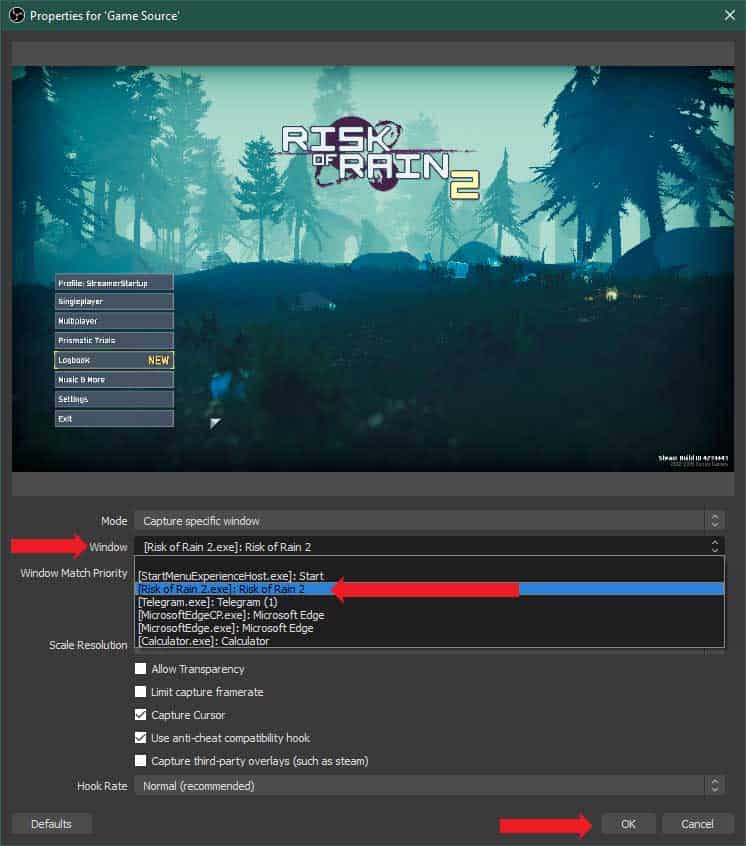
 Now that you have added your Game Capture source, you are ready to move on to the next step.
If you have issues with the capture being too big or too small for your preview, right-click on your Game Source in your Sources section, hover over Transform and select Fit to screen.

Configuring A Webcam/Video Capture Device Source In OBS Studio
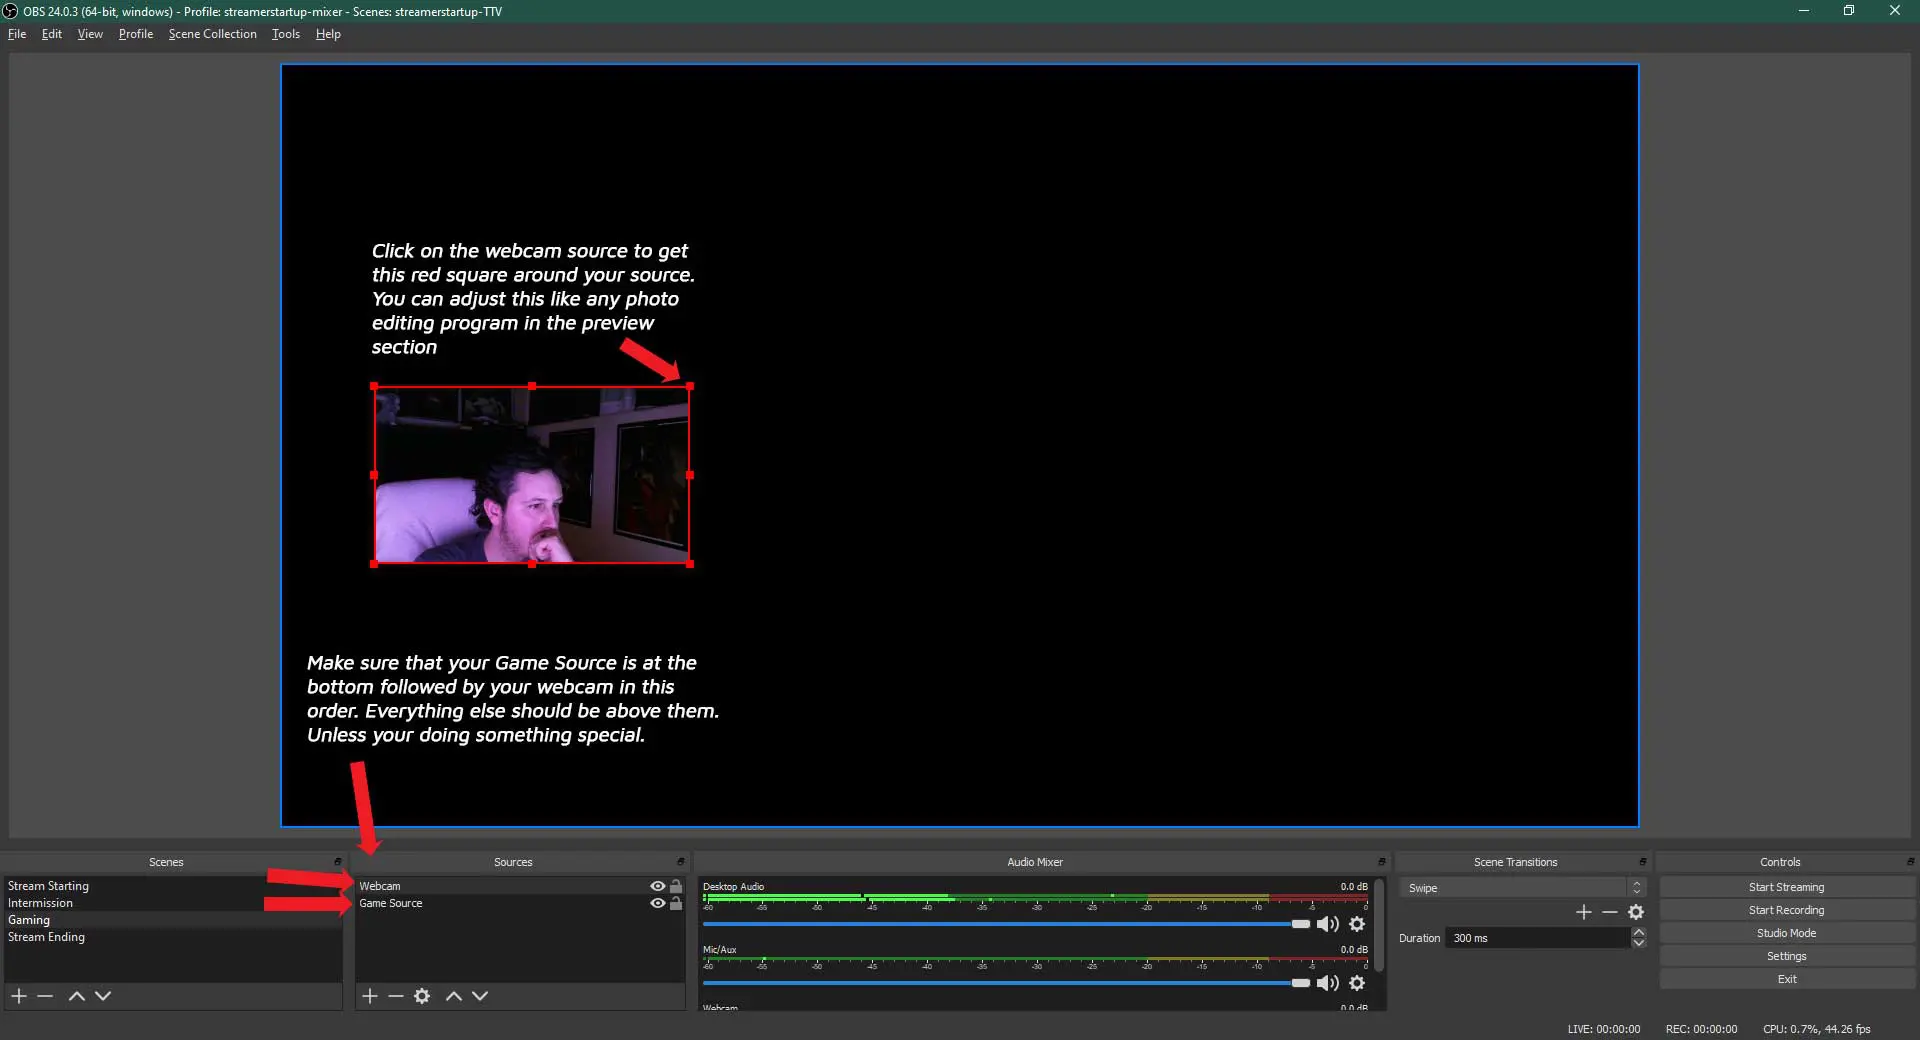
Now that our Game Source is set up, we will look into getting our video capture source (webcam) configured. Make sure the Game source is under the Webcam/Video Capture source. If you don’t do this, your webcam won’t show. You should layer your sources in this order to avoid conflicting issues:
1. Overlays/graphics
2. Everything else
3. Webcam Source
4. Game Source
You can change the order of your sources by either selecting the source and using the down/up arrow or click and dragging them higher/lower.
Similar to adding a Game source, you add a Video Capture source the same way. Click the “+” icon and select the Video Capture Device option. Give it a name, and then hit OK.
The properties window for your webcam or camera should now be open. You can select the device you want to use in case you have multiple cameras. If you are starting out and only have one webcam, it will be already auto-selected.
For starters, unless you are going for a studio-quality production or are doing a big webcam scene for your intermission screen layout, I’d recommend setting a custom resolution of 720p (1280×720).
If you are new to streaming, 720p is more than enough, and your CPU will thank you. All that’s left is to resize your webcam source in the preview section.
When resizing your webcam, if you hold Left-Shift while resizing, it will break your aspect ratio and allow you to resize it anyway you want.
Adding Overlays In OBS Studio
Now that we have added a Game Capture source and a Video Capture source, your stream should be looking good. To get your stream to pop off, you will need to add in some images/graphics and overlays. A very simple graphic or overlay to add is a webcam border. There are plenty of these that you can find for free.
The benefit of getting an overlay over some smaller graphics pack is that it includes everything (most of them). Overlays come with a stream starting scene with a beautiful background (some even animated), an Intermission scene, and a stream ending scene.
Furthermore, it comes with every icon/graphic/sounds/alerts you need. Lastly, some overlays include panels that you can add to your streaming channel itself.
Not everyone is an artistic type. Don’t worry! You can get some free overlays, widgets, icon packs, transitions, and much more from Nerd or Die. They have a Name Your Price section, which allows you to put any price you want for a kit. You can put 0.00$ if you wish and get it for free (but it’s always nice to give a little something for their hard work).
If you are going to take streaming seriously, spending 10-30$ to have a complete package that comes with everything is very worth it and recommended.
Check out the following overlay reviews we have done: Retrowave
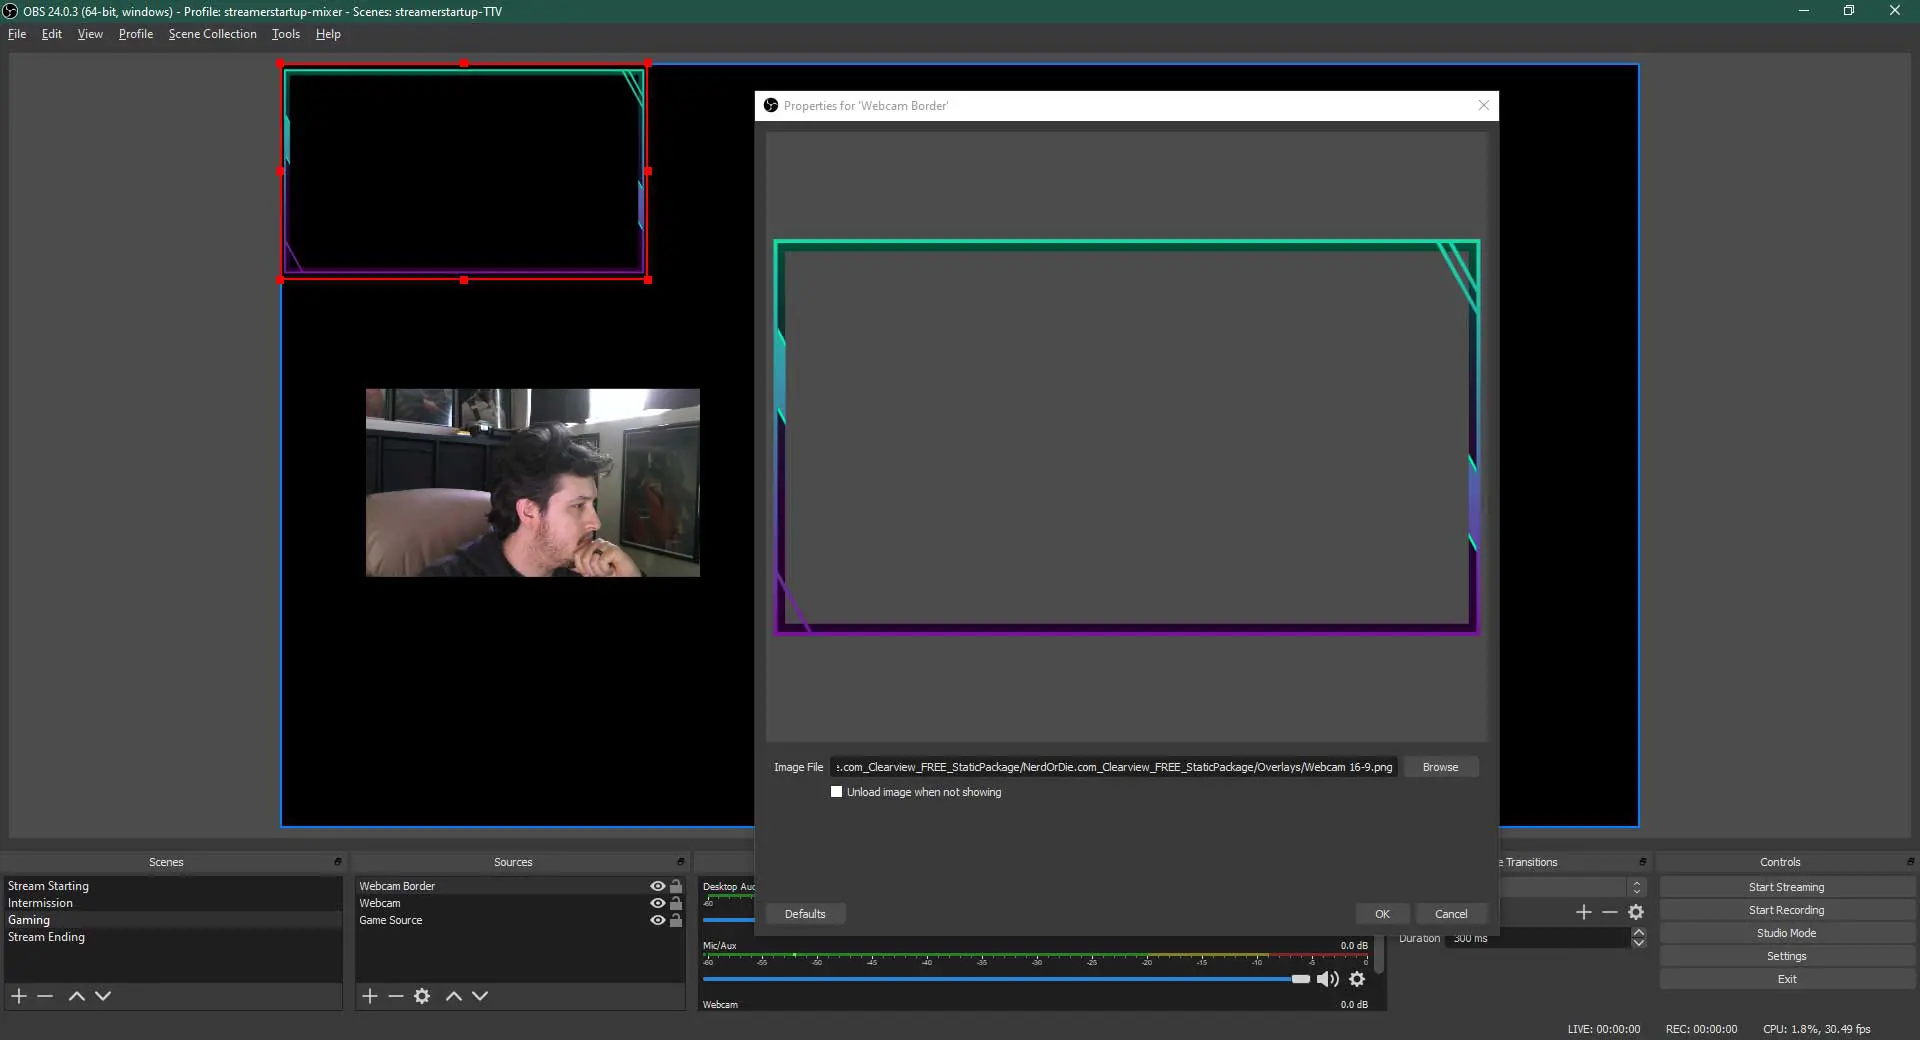
Nonetheless, once you’ve downloaded an overlay pack (I got the Clearview pack), all you need to do is unzip it to a location on your hard drive. With the files extracted, you can start adding some of your overlays. I will show you how to add a webcam overlay.
Adding A Webcam Overlay In OBS Studio
In OBS Studio, select the scene that you want to add your overlay to and add one of the following sources:
1. For a regular image/graphic, make sure you choose Image Source
2. For an animated image/video loop, make sure you select Media Source
Give it an identifiable name. After, it will prompt you to locate the file you want to use. Make sure you use the correct size (16:9 or 4:3) of overlay for your webcam size. If you are using 720p as a resolution, the 16:9 overlay will be what you want to use.
Head over to the extracted pack you downloaded earlier and select the appropriate image. It will show up in your Preview section. When you are satisfied with your overlay, click OK.
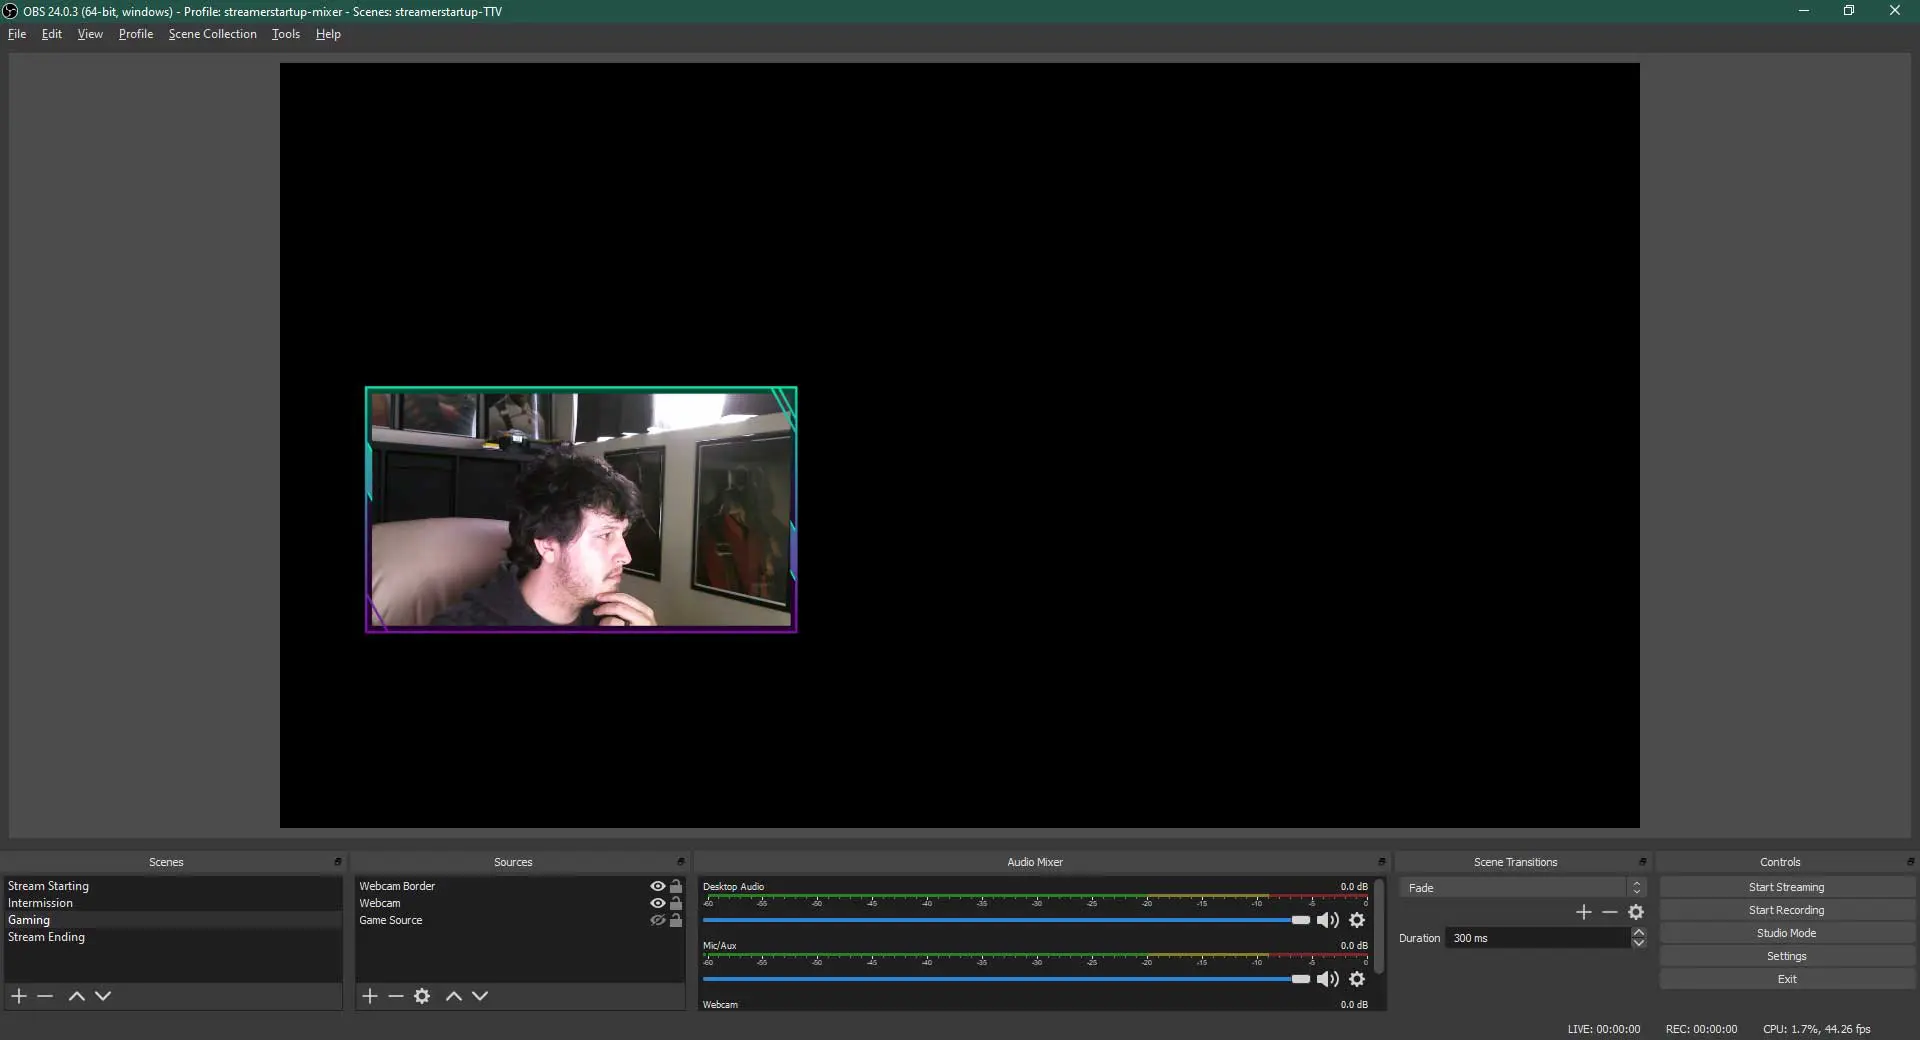
 With your overlay in the Preview section, you can resize it with your webcam source so that it fits appropriately together.
When resizing images/media files, holding Left-Shift will let you break that aspect ratio and allow you to manipulate the overlay to fit correctly. Meanwhile, holding Left-ALT will crop your webcam when you drag the corners (I don’t use this feature, but decided to include it in case someone wants to try something with it).
Once completed, your Preview section should look close to mine.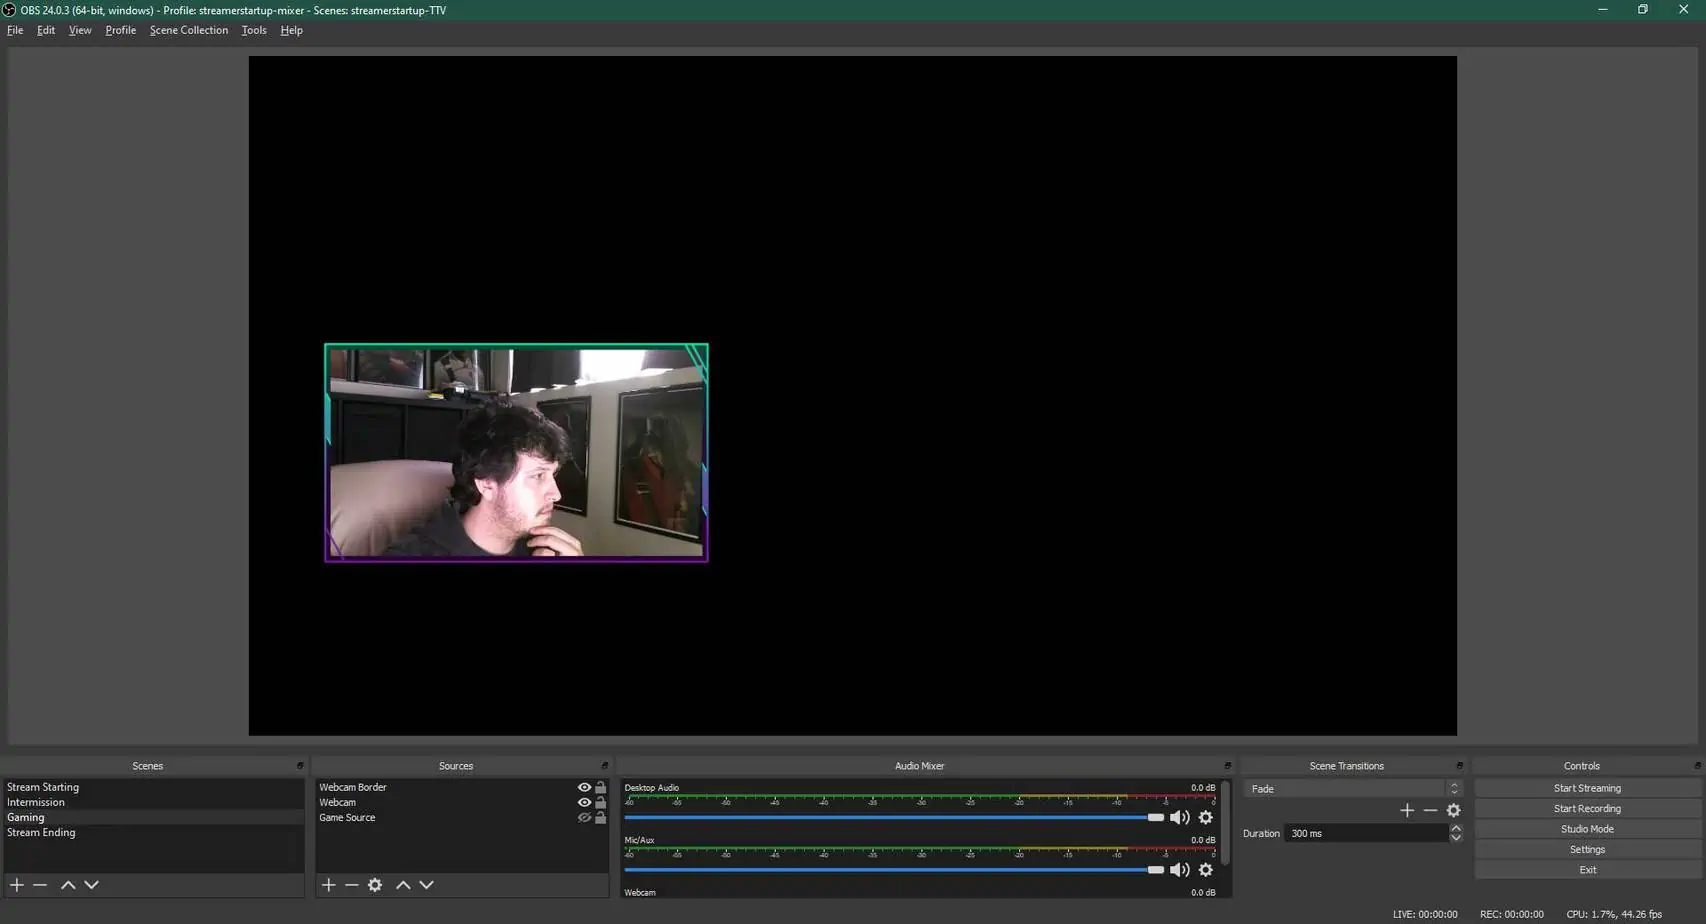
 Make sure to add your webcam and webcam overlay in a group. There will come a time when you need to move it depending on what you are streaming.
To do this, create a group in your Sources section by clicking the + icon. Give it a name (ex. Webcam Group) and place this group over your Game Capture source.
Make sure the group is above your Game Capture source. Drag your webcam source and border source into the group. You will need to make sure your overlay is above your webcam.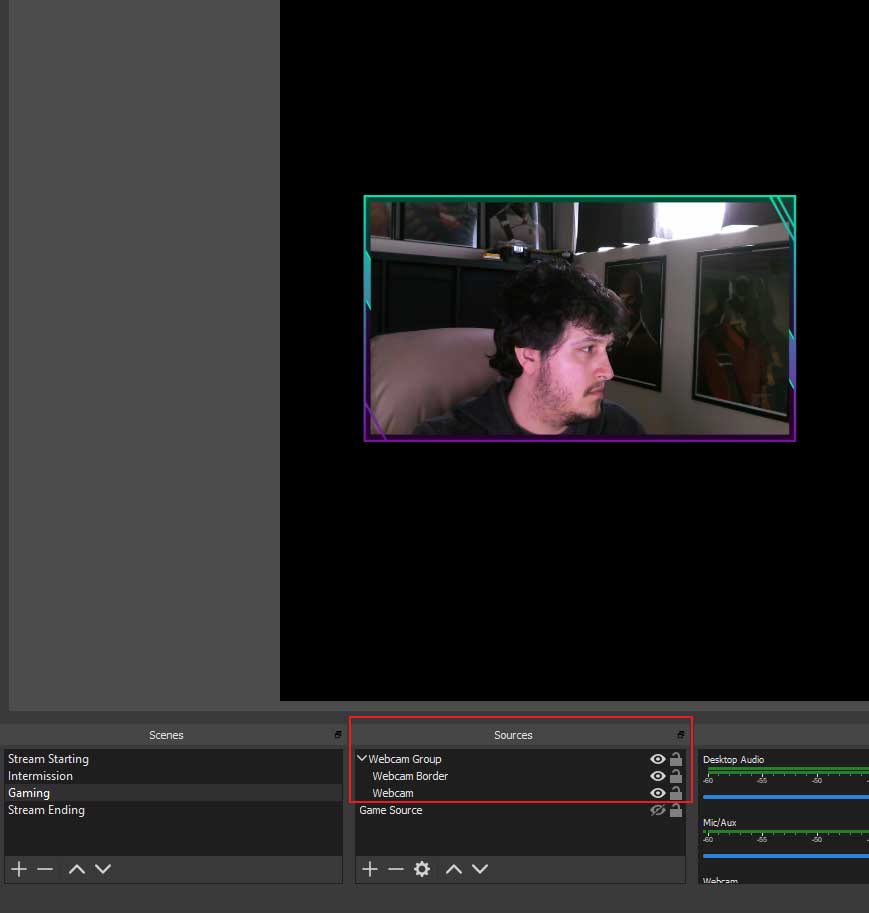
 Grouping your items will let you scale them together. So if you ever need to adjust your webcam source, select the group, and it will all scale together.
You can also click and drag your files from your folder into OBS Studio and it will properly create the sources for all of them.
In Conclusion
With everything that we covered on how to use OBS Studio, you should be able to stream to your preferred streaming platform right away.
Continue reading: